Trail – API Reference

By |

Trail

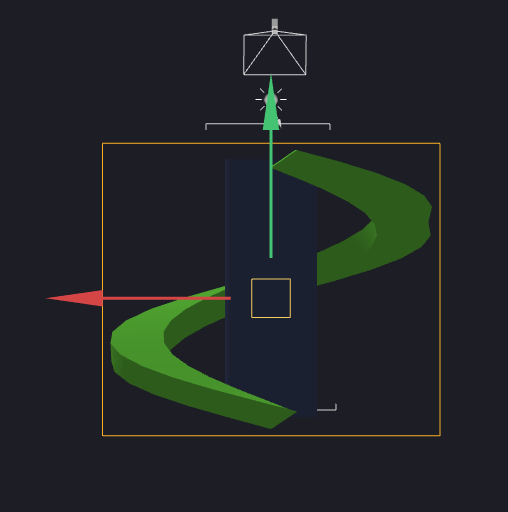
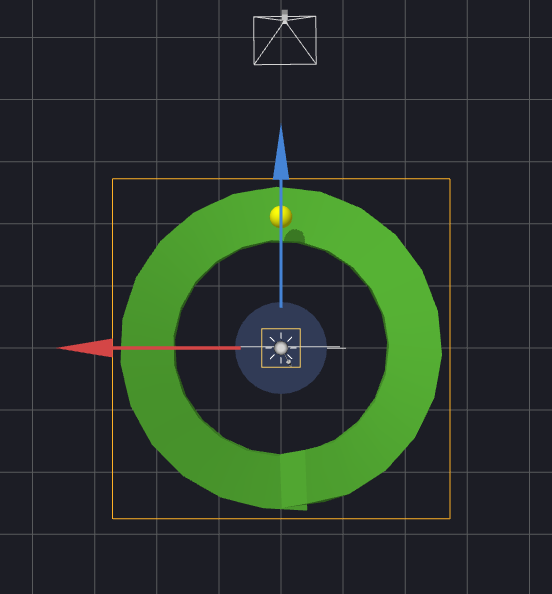
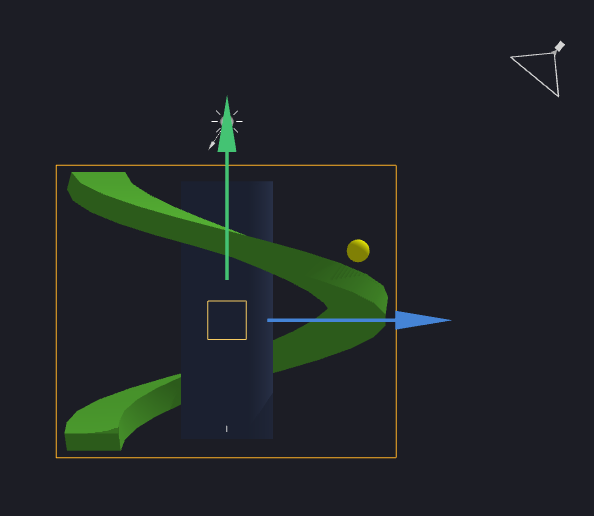
A Trail is a node that creates a trail behind the Entity.

Function Description
globalDepth()

Returns the depth of the Trail in a 2D World.

setColor(r, g, b, a)

Sets the color of the trail.

setGlobalDepth(value)

Sets the depth of the Trail in a 2D World.

setUpVector(value)

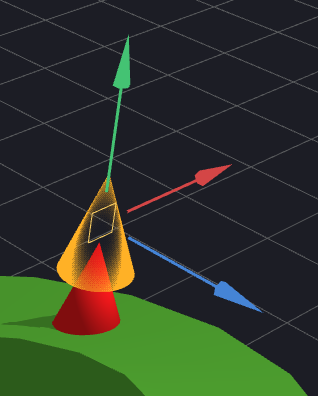
Sets the “up vector” of the Trail. This changes the orientation of the tail, which is useful for 2D games.

upVector()

Returns the “up vector” of the Trail.


globalDepth()

Returns the global depth of the Trail node. Depth decides which object is on top in a 2D World. A higher value will be above a lower number in the Scene.

Returns

number – The global depth of the Trail

↑ Back to top


setColor(r, g, b, a)

Sets the color of the trail.

Parameters

number red – the red component of the new color
number green – the green component of the new color
number blue – the blue component of the new color
number alpha – (Optional) the opacity component of the new color, max 255

let trail = this.entity().component("Trail");
trail.setColor(193, 66, 66); // set the trail to be red

↑ Back to top


setGlobalDepth(value)

Sets the global depth of the Animation node. Depth decides which object is on top in a 2D World. A higher value will be above a lower number in the Scene.

Parameters

number value – The global depth of the Animation

↑ Back to top


setUpVector(value)

Sets the “up vector” of the Trail. This changes the orientation of the tail, which is useful for 2D games. The range is 0-1 for the x, y, and z values.

Parameters

Vec3 value – The new “up vector”

↑ Back to top


upVector()

Returns the “up vector” of the Trail.

Returns

Vec3 – The Trail’s “up vector”

↑ Back to top

Did you find this page useful?

Please give it a rating:

Please provide some feedback!

This is very helpful to us.

Tell us how we can improve this post?

Wake Up Node – Buildbox 3 Manual

By |

Wake Up

This action node activates the Awake output after character has moved the specified distance from the scene start point

Option Description
Name Type a custom name for this node, if needed.
Distance Enter a numeric value to determine how far the Character needs to move away from the scene start point.
Sleep Distance The distance from the Start point the Character must travel to deactivate the Awake output.

If needed, you can also customize this node. For details, see Customizing Nodes.

Font Editor- Buildbox 3 Manual

By |

Font Editor

The Font Builder allows you to add fonts to use in text labels in your game. For details, see Adding Fonts below.

A window opens with three panels:

A Font templates with a list of fonts already added to your game at the top and a list of all fonts installed on your computer underneath.

B Font preview of the selected font with the properties selected in the Options panel.

C Options panel with the properties of the selected font that you can define to meet your needs.

Adding Fonts

To add a font to your game:

  1. Select Tools > Font Editor on the Buildbox menu bar.
  2. Scroll through the list of fonts in the left panel, previewing each font you select in the middle of the workspace (B).
  3. Select the one you want to use for labels in your game.
    If you don’t see the font you need, install it on your computer first.
  4. In the Options panel on the far right, type a name for the font to be displayed in the workspace and edit any other properties as needed. For details, see Font Options below.
  5. Click Add in the Templates section at the top of the panel on the left.
    The selected font is added in the Labels section of the Asset panel in the World and UI workspaces with the name you’ve specified for it.

To delete a font, select it in the top section of the Templates panel and click Delete.

Font Options

The image below shows and exaggerated view of all available font options.

Decide if you you want to use shadow, gradient, or stroke outline, and select the corresponding checkboxes first, then define their respective properties.

Option Allows you to
Name Specify the name for the font to be displayed in the World and UI Asset panels. It’s for your reference only within this game. You may still change it, if needed, in the Text Label Options.
Font Name Change the name of the selected font, if needed.
Font Size Set the font size.
Padding Set the space between letters in pixels.
Stroke Width Set the width of the font outline, if the Draw Stroke checkbox is selected.
Shadow Offset Set the offset of the font shadow, if the Draw Shadow checkbox is selected.

To drop shadow under the text to the right, enter positive values for both axes.

To drop shadow above the text to the left, enter negative values for both axes.

Main Color Click this field, select the desired font color from the several options provided in the Colors window, and click OK.
Gradient Color Select a gradient color, if the Draw Gradient checkbox is selected. The main font color will fade into this color from the top.
Stroke Color Select the font outline color, if the Draw Stroke checkbox is selected.
Shadow Color Select the font shadow color, if the Draw Shadow checkbox is selected.
Draw Shadow Select to add a shadow to the font.
Draw Stroke Select to add an outline to the font.
Draw Gradient Select to add gradient to the font color.

Node Map Workspace – Buildbox 3 Manual

By |

Node Map Workspace

To define the behavior of an asset in the game in response to the player’s actions, enable physics, as well as modify the associated game flow logic, you may need to add a few nodes on its Node Map.

To access the Node Map of a character or object:

  1. On the Mind Map, double-click the 3D World node where you want to modify an asset.
  2. Inside the 3D World, on the Asset panel, double-click the asset, for example, the character asset in your game.

The corresponding Node Map appears with the selected asset’s name added to the Navigation bar as a highlighted tab.

The Node Map workspace consists of the following parts:

For details on how to work with the Node Map, such as zooming or dragging the grid, see Workspace Overview.

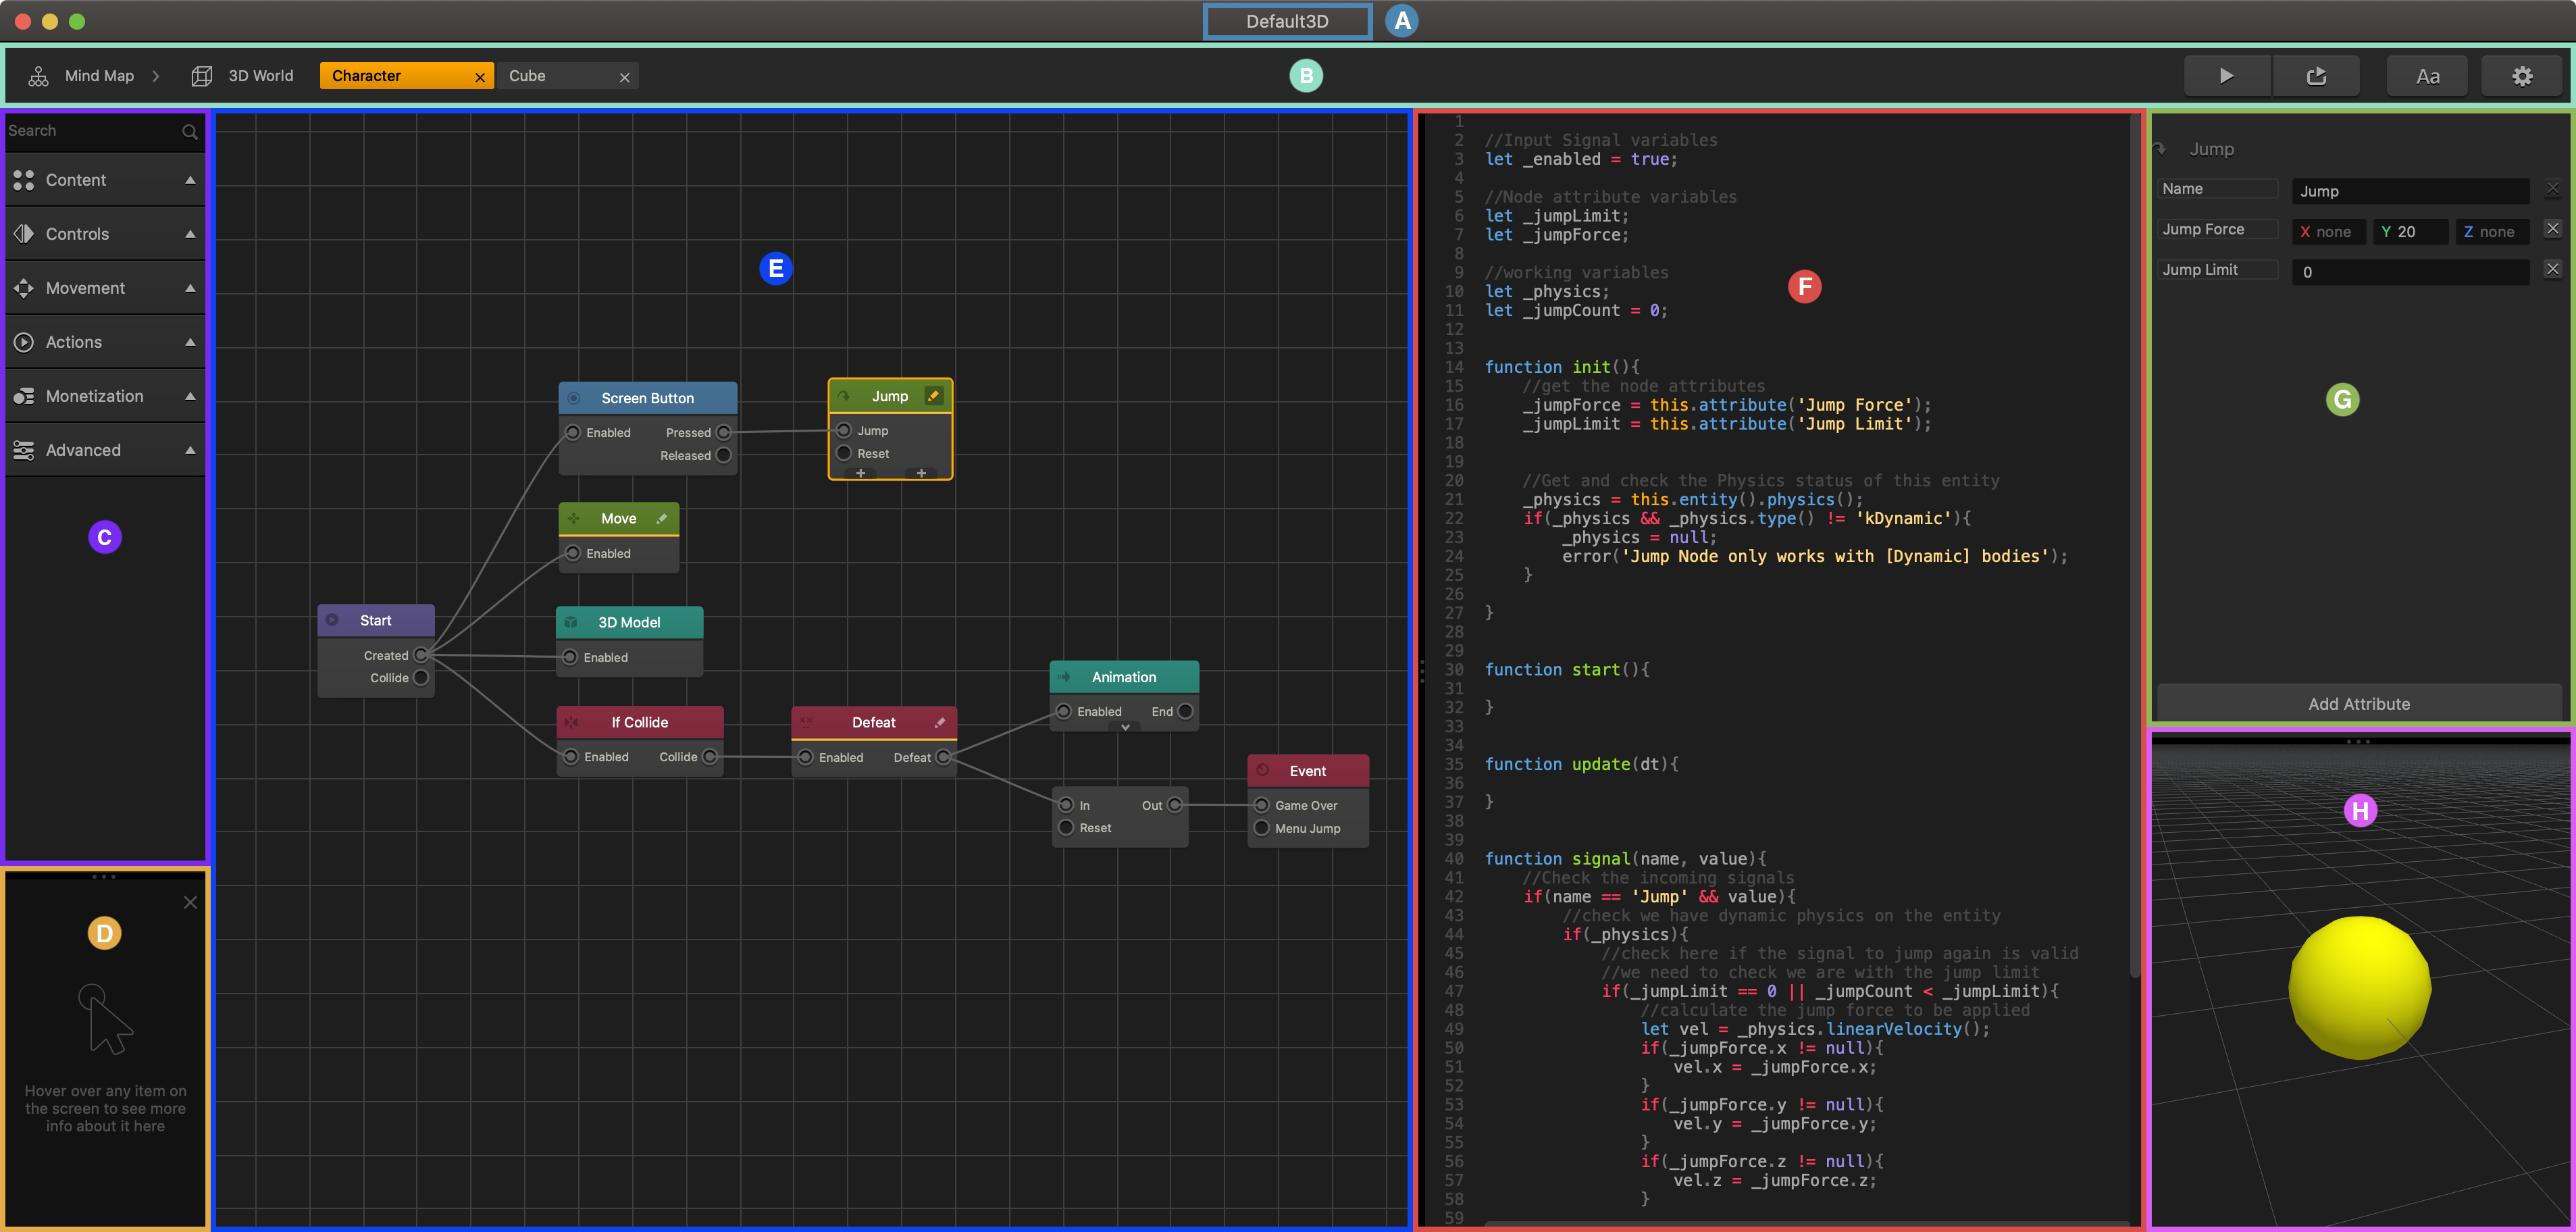
At the very least, any object or character in Buildbox must have two nodes on the Node Map:

  • A Start node, which creates the character or object and enables its physics.
  • A 3D Model node, which defines the shape of the asset.

Adding, Editing, and Deleting Nodes for an Asset

To add a node to the Node Map:

  1. On the Mind Map, double-click the 3D World node where you want to modify an asset.
  2. Inside the 3D World, on the Asset panel, double-click the asset, for example, the character asset in your game.
    The Node Map is displayed, with the name of the selected asset highlighted on the navigation bar.
  3. In the Node panel on the left, expand the node category from which you want to add a node.
    If you don’t know the category, type the name of the node in the Search field.
  4. Drag the node you need from the Node panel to the Node Map.
  5. Define the node attributes in its Options panel.
  6. Customize the node, if needed, and connect it to the other nodes.
If applies, you can also duplicate an existing node with its connectors, if there are any—just select the node and press D on your keyboard.

To remove or create a duplicate of a node, right-click the grid and select an option:

Option Keyboard Shortcut
Duplicate W, A, S, or D
Copy Ctrl/CMD + C
Paste Ctrl/CMD + V
Delete Delete, Backspace

To edit the attributes of a node:

  • Click the node and make the necessary updates in the respective Options panel.
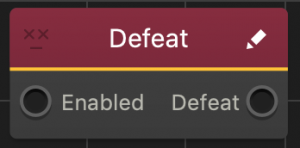
  • If the node has an Edit icon in the top right corner, you can customize the node by editing its JavaScript code and modifying its inputs and outputs. In this case, either click the Edit icon or simply double-click the node. For details, see Customizing Nodes.

    To see the Buildbox JavaScript API documentation, on the Buildbox menu bar, go to Help > JS API Reference.

To delete a node with its connectors, select the node and press Delete on the keyboard.

Pinned Node Attributes

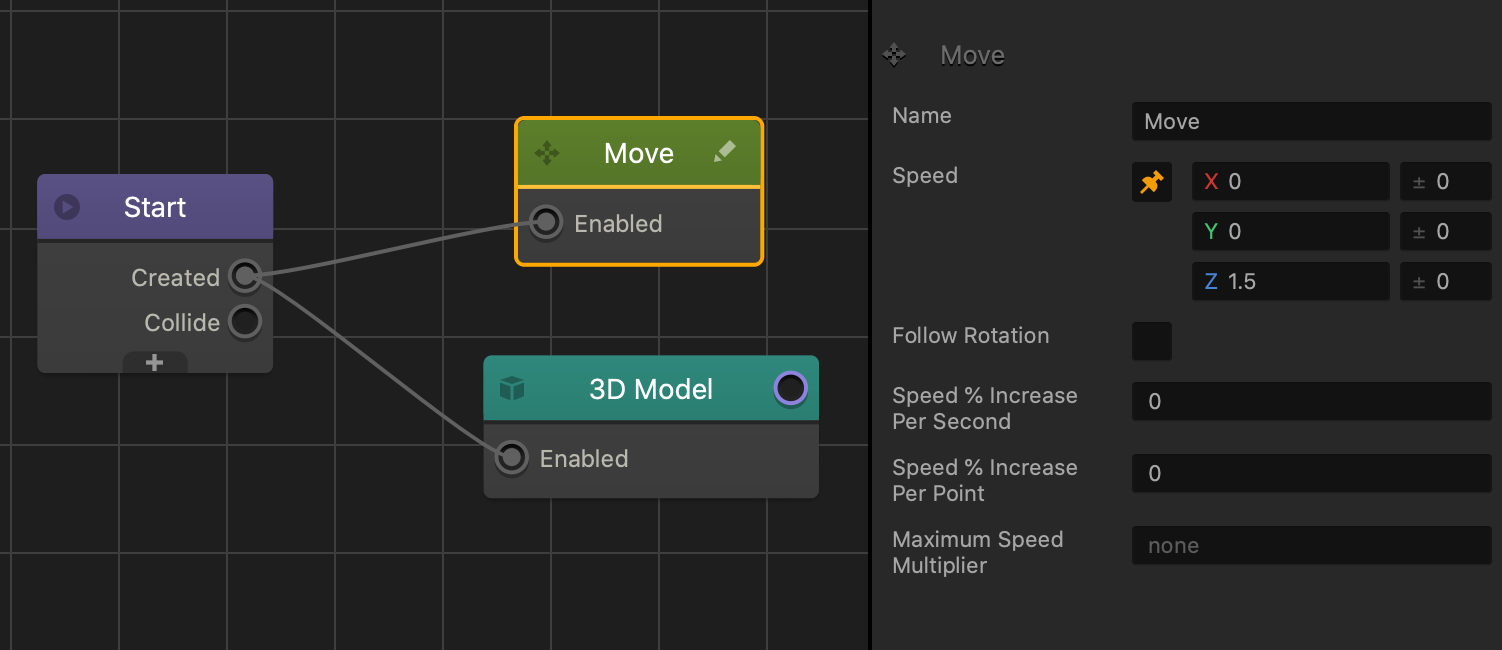
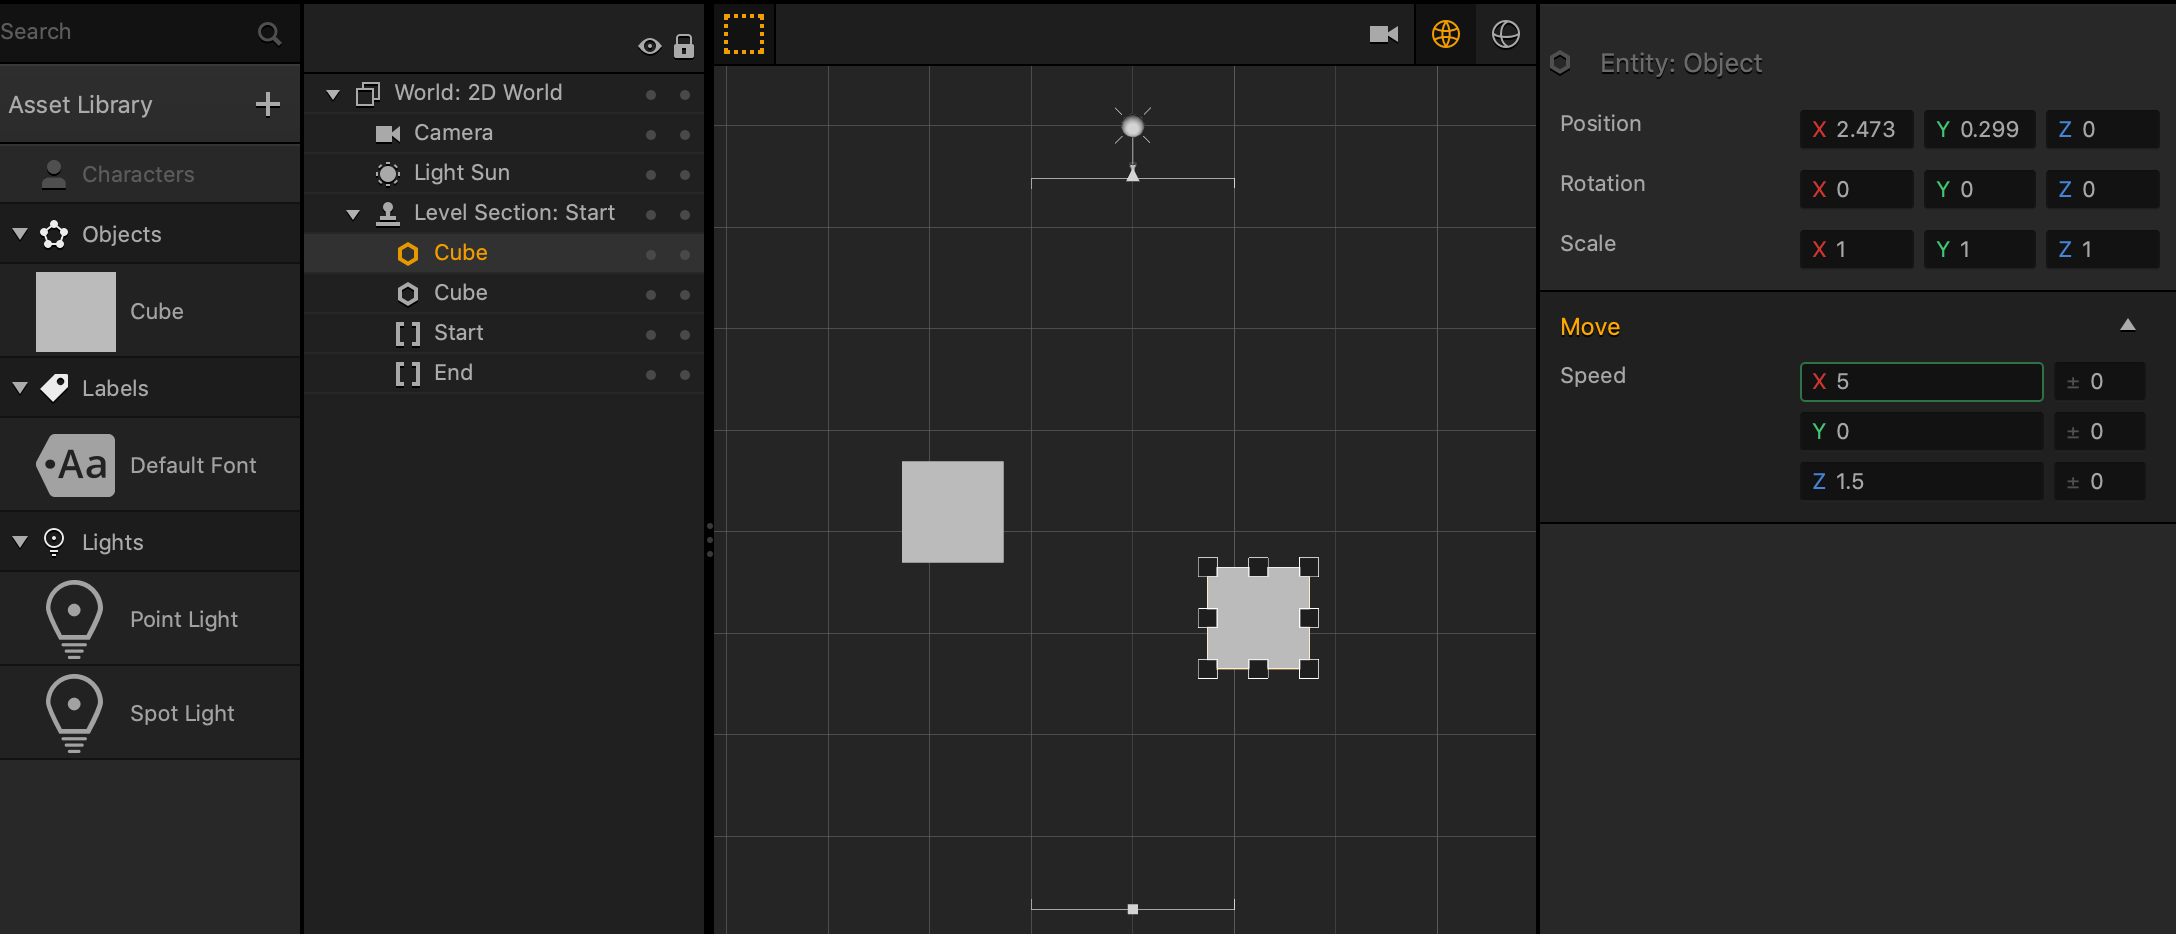
Some attributes contain the button that allows you to make the attribute value unique per instance in the Scene Editor. This allows you to set a different value for each instance of the asset in a scene. The following walks you through how to pin the Speed attribute of the Move node:

  1. On the Asset’s node map, select the Move node then hover your mouse over the Speed attribute and click the pin icon that appears.
  2. Click the World tab to go back to the World Editor.
  3. Drag the asset from the asset panel to the Scene Editor multiple times to create multiple instances of the asset in the Scene.
  4. Select an instance of the asset in the Scene Editor, and in the Options panel, enter a numeric value in the desired Speed attribute field. Repeat this step for each instance in the Scene Editor.

When you preview your game, you will notice that even though the same asset is present in multiple instances, each instance will move at a different speed.

If a pin icon doesn’t appear, then the attribute cannot be pinned or made unique.

Grouping Nodes

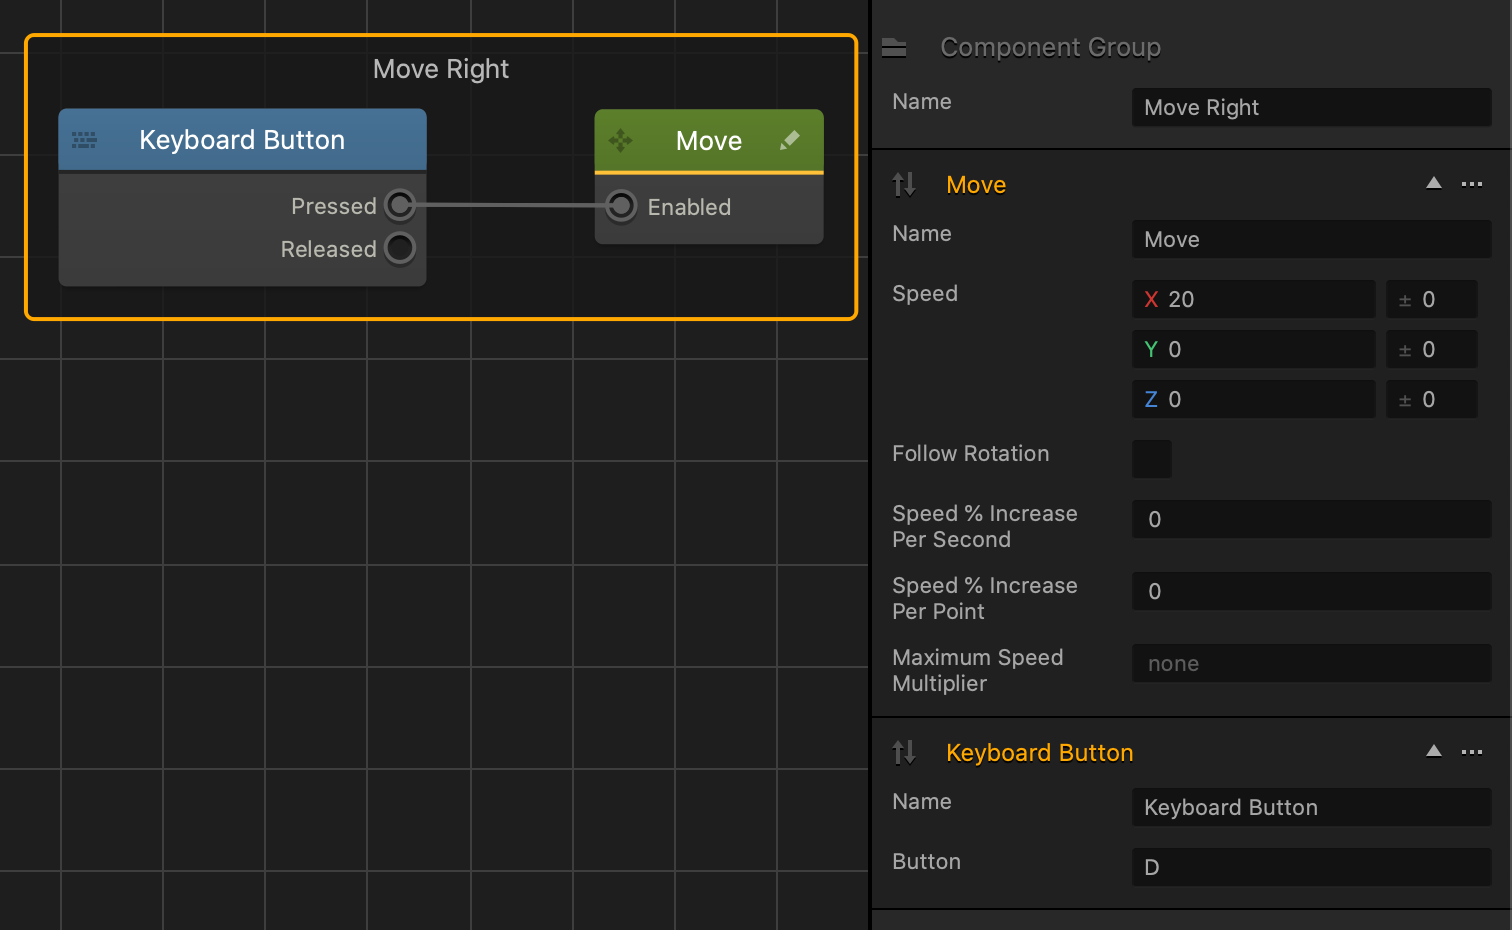
A Node Group contains multiple nodes that in a single colored rectangle.

  • To create a Node Group, click and drag a bounding box over each desired node, then right-click and select Group Nodes.
    The nodes are now contained with a black rectangle.
  • To select the group, click anywhere in the colored area of the group. All of the associated node attributes appear in the Options panel.
  • To rename the group, select it and in the Options panel on the right, in the Name attribute, enter a new name.

Previewing Mesh

When you open the Node Map of an asset, the preview of its mesh appears at the bottom of the Options panel. It displays what your asset will look like when you drag it into a scene.

Use the following controls to change the view of the preview mesh:

Control Description
Click + drag,

Space + Right-click and drag

Rotate the view.
Middle Mouse click + drag

Space + click and drag

Change the position of the view.
Scroll up Zoom the view in.
Scroll down Zoom the view out.

Sub Scene – API Reference

By |

Sub Scene

A Sub Scene is used to control an imported FBX asset. Check the Manual page for more information.

Function Description
animationSpeed(anim)

This method takes a Keyframe Animation Model object and returns the animation’s speed. It will return 0 if the animation isn’t currently active.

animationTimeElapsed(anim)

This method takes a Keyframe Animation Model object and returns the time elapsed as an active animation. The time elapsed is a value from 0-1, 1 being the completion of the animation. This method will return -1 if the animation isn’t currently active.

animationTransitionTime(anim)

Returns the transition time of the animation. This is the time during which this animation and the next one will be blended in transition.

animations()

Returns an array of the currently active Keyframe Animation Models.

attachEntity(joint, entity)

This method is used to attach an Entity to a joint of your Sub Scene. For example, it can be used to attach an item to the hand of your character.

isAnimationPlaying(anim)

Returns true if the given animation is playing, false if not.

jointRotation(name)

Returns the rotation of the given joint in degrees. Joints are named within the 3D modeling software used to create the fbx file.

jointRotationQuat(name)

Returns the rotation of the given joint in Quaternion. Joints are named within the 3D modeling software used to create the fbx file.

jointScale(name)

Returns the scale of the given joint. Joints are named within the 3D modeling software used to create the fbx file.

jointTranslation(name)

Returns the translation of the given joint. Joints are named within the 3D modeling software used to create the fbx file.

jointWeight(name)

Returns the weight of the given joint. Joints are named within the 3D modeling software used to create the fbx file.

meshComponents()

Returns an array containing all the 3D Models associated with the Sub Scene.

playAnimation(anim)

Plays the given Keyframe Animation Model. Optionally takes a second parameter bool looped to make the animation loop.

position()

Returns the position of the Sub Scene. The Sub Scene’s position is relative to its parent Entity.

rotation()

Returns the rotation of the Sub Scene in degrees. The Sub Scene’s rotation is relative to its parent Entity.

rotationQuat()

Returns the rotation of the Sub Scene in Quaternion. The Sub Scene’s rotation is relative to its parent Entity.

scale()

Returns the scale of the Sub Scene. The Sub Scene’s scale is relative to its parent Entity.

setAnimationSpeed(anim, speed)

This method sets the animation speed for the given Keyframe Animation Model.

setAnimationTransitionTime(anim, value)

Sets the transition time of the animation. This is the time during which this animation and the next one will be blended in transition.

setColor(r, g, b, a)

Sets the RGB color of the Sub Scene. Alpha is optional.

setJointRotation(name, value)

Sets the rotation of the given joint in degrees. Joints are named within the 3D modeling software used to create the fbx file.

setJointRotationQuat(quat)

Sets the rotation of the given joint in Quaternion. Joints are named within the 3D modeling software used to create the fbx file.

setJointScale(name, value)

Sets the scale of the given joint. Joints are named within the 3D modeling software used to create the fbx file. The scale can be given in Vec3 or as setJointScale(name, x, y, z).

setJointTranslation(name, value)

Sets the translation of the given joint. Joints are named within the 3D modeling software used to create the fbx file. The translation can be given in Vec3 or as setJointTranslation(name, x, y, z).

setJointWeight(name, value)

Sets the weight of the given joint. Joints are named within the 3D modeling software used to create the fbx file.

setPosition(value)

Sets the position of the Sub Scene. The Sub Scene’s position is relative to its parent Entity. The position can be given as Vec3 or as setPosition(x, y, z).

setRotation(value)

Sets the rotation of the Sub Scene in degrees. The Sub Scene’s rotation is relative to its parent Entity. The rotation can be given as Vec3 or as setRotation(x, y, z).

setRotationQuat(quat)

Sets the rotation of the Sub Scene in Quaternion. The Sub Scene’s rotation is relative to its parent Entity.

setScale(value)

Sets the scale of the Sub Scene. The Sub Scene’s scale is relative to its parent Entity. The scale can be given as Vec3 or as setScale(x, y, z).

stopAnimation(anim)

Stops the given Keyframe Animation Model.


animationSpeed(anim)

This method takes a Keyframe Animation Model object and returns the animation’s speed. It will return 0 if the animation isn’t currently active.

Parameters

Keyframe Animation Model – the animation

Returns

number the speed of the animation

↑ Back to top


animationTimeElapsed(anim)

This method takes a Keyframe Animation Model object and returns the time elapsed as an active animation. The time elapsed is a value from 0-1, 1 being the completion of the animation. This method will return -1 if the animation isn’t currently active.

Parameters

Keyframe Animation Model – the animation

Returns

number the time elapsed of the animation

↑ Back to top


animationTransitionTime(anim)

Returns the transition time of the animation. This is the time during which this animation and the next one will be blended in transition.

Parameters

Keyframe Animation Model – the animation

Returns

number the transition time

↑ Back to top


animations()

Returns an array of the currently active Keyframe Animation Models.

Returns

Array the array of currently active Keyframe Animation Models.

↑ Back to top


attachEntity(joint, entity)

This method is used to attach an Entity to a joint of your Sub Scene. For example, it can be used to attach an item to the hand of your character.

Parameters

string joint – the joint name
Entity entity – the entity

↑ Back to top


isAnimationPlaying(anim)

Returns true if the given animation is playing, false if not.

Parameters

Keyframe Animation Model anim – the animation to check

Returns

boolean true if the animation is playing, false if not

↑ Back to top


jointRotation(name)

Returns the rotation of the given joint in degrees. Joints are named within the 3D modeling software used to create the fbx file.

Parameters

string name – the name of the joint

Returns

Vec3 the rotation of the joint in degrees

↑ Back to top


jointRotationQuat(name)

Returns the rotation of the given joint in degrees. Joints are named within the 3D modeling software used to create the fbx file.

Parameters

string name – the name of the joint

Returns

Quaternion the rotation of the joint in Quaternion

↑ Back to top


jointScale(name)

Returns the scale of the given joint. Joints are named within the 3D modeling software used to create the fbx file.

Parameters

string name – the name of the joint

Returns

Vec3 the {x, y, z} scale of the joint

↑ Back to top


jointTranslation(name)

Returns the translation of the given joint. Joints are named within the 3D modeling software used to create the fbx file.

Parameters

string name – the name of the joint

Returns

Vec3 the translation of the joint

↑ Back to top


jointWeight(name)

Returns the weight of the given joint. Joints are named within the 3D modeling software used to create the fbx file.

Parameters

string name – the name of the joint

Returns

number the weight of the joint

↑ Back to top


meshComponents()

Returns an array containing all the 3D Models associated with the Sub Scene.

Returns

Array – an array of 3D Models

Returns

number the weight of the joint

↑ Back to top


playAnimation(anim)

Plays the given Keyframe Animation Model. Optionally takes a second parameter bool looped to make the animation loop.

Parameters

Keyframe Animation Model anim – the animation
bool looped – (optional) true if the animation should loop, false if not

↑ Back to top


position()

Returns the position of the Sub Scene. The Sub Scene’s position is relative to its parent Entity.

Returns

Vec3 the {x, y, z} position of the Sub Scene

↑ Back to top


rotation()

Returns the rotation of the Sub Scene in degrees. The Sub Scene’s rotation is relative to its parent Entity.

Returns

Vec3 the {x, y, z} rotation of the Sub Scene

↑ Back to top


rotationQuat()

Returns the rotation of the Sub Scene in Quaternion. The Sub Scene’s rotation is relative to its parent Entity.

Returns

Quaternion the rotation of the Sub Scene in Quaternion

↑ Back to top


scale()

Returns the scale of the Sub Scene. The Sub Scene’s scale is relative to its parent Entity.

Returns

Vec3 the {x, y, z} scale of the Sub Scene

↑ Back to top


setAnimationSpeed(anim, speed)

This method sets the animation speed for the given Keyframe Animation Model.

Parameters

Keyframe Animation Model anim – the animation
number speed – the speed

↑ Back to top


setAnimationTransitionTime(anim, value)

Sets the transition time of the animation. This is the time during which this animation and the next one will be blended in transition.

Parameters

Keyframe Animation Model anim – the animation number value the transition time

↑ Back to top


setColor(r, g, b, a)

Sets the RGB color of the Sub Scene. Alpha is optional.

Parameters

number r – the red component of the color range 0-255
number g – the green component of the color range 0-255
number b – the blue component of the color range 0-255
number a – (optional) the alpha component of the color range 0-255

↑ Back to top


setJointRotation(name, value)

Sets the rotation of the given joint in degrees. Joints are named within the 3D modeling software used to create the fbx file.

Parameters

string name – the name of the joint
Vec3 value – the rotation in degrees

// example: rotate the models head to follow the players touch
let subScene;
let prev;
let delta = new Vec2(0,0);

function init(){
    subScene = this.attribute('Scene')[0]; // the sub scene is connected to this node by reference
    this.enableTouch(true);
}

function touchBegan(point){
    // save the point where the touch started
    prev = point;
}
component.touchBegan = touchBegan;

function touchMove(point){
    // calculate the distance between this touch point and the last one
    delta = new Vec2 ( delta.x + prev.x - point.x, 
                       delta.y + prev.y - point.y);
    prev = point;
}
component.touchMove = touchMove;

function update(dt){
    // change the rotation of the head joint based on the touch
    subScene.setJointRotation('head', new Vec3(-delta.x,0,-delta.y));
}

↑ Back to top


setJointRotationQuat(quat)

Sets the rotation of the given joint in Quaternion. Joints are named within the 3D modeling software used to create the fbx file.

Parameters

string name – the name of the joint
Quaternion value – the rotation in Quaternion

↑ Back to top


setJointScale(name, value)

Sets the scale of the given joint. Joints are named within the 3D modeling software used to create the fbx file. The scale can be given in Vec3 or as setJointScale(name, x, y, z).

Parameters

string name – the name of the joint
Vec3 value – the {x, y, z} scale of the joint

↑ Back to top


setJointTranslation(name, value)

Sets the translation of the given joint. Joints are named within the 3D modeling software used to create the fbx file. The translation can be given in Vec3 or as setJointTranslation(name, x, y, z).

Parameters

string name – the name of the joint
Vec3 value – the {x, y, z} translation of the joint

↑ Back to top


setJointWeight(name, value)

Sets the weight of the given joint. Joints are named within the 3D modeling software used to create the fbx file.

Parameters

string name – the name of the joint
number value – the weight of the joint

↑ Back to top


setPosition(value)

Sets the position of the Sub Scene. The Sub Scene’s position is relative to its parent Entity. The position can be given as Vec3 or as setPosition(x, y, z).

Parameters

Vec3 value – the position of the Sub Scene

↑ Back to top


setRotation(value)

Sets the rotation of the Sub Scene in degrees. The Sub Scene’s rotation is relative to its parent Entity. The rotation can be given as Vec3 or as setRotation(x, y, z).

Parameters

Vec3 value – the rotation of the Sub Scene

↑ Back to top


setRotationQuat(quat)

Sets the rotation of the Sub Scene in Quaternion. The Sub Scene’s rotation is relative to its parent Entity.

Parameters

Quaternion quat – the rotation of the Sub Scene

↑ Back to top


setScale(value)

Sets the scale of the Sub Scene. The Sub Scene’s scale is relative to its parent Entity. The scale can be given as Vec3 or as setScale(x, y, z).

Parameters

Vec3 value – the {x, y, z} scale of the Sub Scene

↑ Back to top


stopAnimation(anim)

Stops the given Keyframe Animation Model.

Parameters

Keyframe Animation Model anim – the animation to stop

↑ Back to top

Did you find this page useful?

Please give it a rating:

Please provide some feedback!

This is very helpful to us.

Tell us how we can improve this post?

Toolbar Buttons – Buildbox 3 Manual

By |

Scene Editor Toolbar Buttons

The buttons described below are located on the Scene Editor toolbar on the right. For the tool buttons shown on the left, see Scene Editor Tools.

Button Icon Description View Example
Camera Click to get the camera view of your game. This is what the player will see on the screen.

In this view, you can change the position, rotation and zoom of the game camera.

Local Axes Allows you to view the actual object orientation in the 3D space.

Click this button and, depending on the currently selected tool, the position, rotation, or scale axis handles get aligned with object orientation instead of pointing in the standard X, Y, and Z directions.

World Editor Select to hides all collision shapes and components in the Scene Editor.
Collision Shape Editor Click to see the collision shapes of the objects in the scene. Use the Scene Editor tools to rotate, scale, and change the position of the collision shapes of the objects (but not the objects themselves) in the Scene Editor.

Drag the axis handles to move the collision shape to the desired position.

If you don’t see the collision shape of an object, see Viewing Collision Shapes.

To preview the collision shapes in the scene, turn on the Debug Mode in the Preview window.
2D Mode To make a 2D game, click this button to turn on the 2D mode.

Keyboard Shortcuts – Buildbox 3 Manual

By |

Buildbox 3 Keyboard Shortcuts

General
Operation Windows Mac
Save Ctrl + S Command + S
Open Ctrl + O Command + O
Minimize/Hide Buildbox Windows logo key + Down arrow Command + H
Quit Buildbox Alt + F4 Command + Q
Tab Navigation
Operation Windows Mac
Close Tab Ctrl + W Command + W
Next tab Ctrl + Page Down Command + Page Down
Previous tab Ctrl + Page Up Command + Page Up
Previously viewed tab Ctrl + 9 Command + 9
Go to a specific tab Ctrl + 1-8 Command + 1-8
View Navigation
All Editors
Operation Windows Mac
Move view in any direction Middle-click + Drag / Spacebar + Left-click + Drag Middle-click + Drag / Spacebar + Left-click + Drag
Zoom in Scroll up / Ctrl + + (plus) Scroll up / Command + + (plus)
Zoom out Scroll down / Ctrl + – (minus) Scroll up / Command + – (minus)
3D Worlds
Operation Shortcut
Center your view on the selected object F
Rotate view in any angle around the scene Spacebar+ Right-click + Drag
Rotate view Rick-click + Drag
Move view forward Right-click (hold) + W
Move view backward Right-click (hold) + S
Move view left Right-click (hold) + A
Move view right Right-click (hold) + D
Move view up Right-click (hold) + E
Move view down Right-click (hold) + Q
Rotate view up Numpad 8
Rotate view down Numpad 2
Rotate view counterclockwise Numpad 4
Rotate view clockwise
Numpad 6
Front view Numpad 1
Left view Numpad 3
Top view Numpad 7
Top view flipped Numpad 9
Perspective/Orthographic Numpad 5
Duplicate Selected Objects and Nodes
Operation Windows Mac
Cut Ctrl + X Command + X
Copy Ctrl + C Command + C
Paste Ctrl + P Command + P
Duplicate Up W W
Duplicate Down S S
Duplicate Right D D
Duplicate left  A A
Scene Editor and Tools
Operation Shortcut
Switch to Select tool `
Switch to Move tool 1
Switch to Rotate tool 2
Switch to Scale tool 3
Switch to Multitool 4
Maintain aspect ratio while using the Manipulator Shift (hold)
Move selected object 0.1 unit

(2d Worlds and UI Screens)

Arrow Keys
Move selected object 1 unit

(2d Worlds and UI Screens)

Shift + Arrow Keys
Solo scene S
Mute Scene M
Preview Window
Operation Windows Mac
Preview Ctrl + P Command + P
Preview Scene Ctrl + Alt + P Option + Command + P
Restart Ctrl + R Command + R
Take screenshot Alt + S Option + S
Node Map: JavaScript panel
Operation Windows Mac
Search Ctrl + F Command + F

Buildbox Menu Bar – Buildbox 3 Manual

By |

Buildbox Menu Bar

The Buildbox menu bar is located at the very top of the Buildbox window.

Here is a quick overview of the Buildbox menus and their options.

Each Menu option’s keyboard shortcut is displayed next to its name. See also Keyboard Shortcuts.
Buildbox Menu (Mac)
Menu Option Allows you to
About View the About Buildbox window with the product installation and license summary.
Services Select your keyboard preferences.
Hide Buildbox Minimize the Buildbox window.
Hide Others Minimize all application windows, except Buildbox.
Show All View all active windows on the screen.
Quit Buildbox Save your work and close Buildbox.
File Menu
Menu Option Allows you to
New Save changes to the current project file or abandon it altogether and create a new one.
Open Save changes to the current project file or abandon it altogether and load an existing project file.
Open Recent View a list of recent projects, which you can choose to open or clear the list.
Save Save the project with its current file name.
Save As Save current project with a new file name, thus creating a copy.
Export Export your project when you are ready to submit your game to the App Store. See also Export a Game Project.

Fill in all required information for the desired export option in the project Settings before exporting your project.

Select the desired export platform:

  • iOS
  • Android
  • Steam
  • Windows EXE
Edit Menu
Menu Option Allows you to
Undo Undo the last operation.
Redo Redo the last operations.
Align Scenes Play scenes in a linear sequence in the Preview window.
Randomize Scenes Play scenes in a randomized sequence.
Run Menu
Menu Option Allows you to
Preview Play and test your entire game as it would look after export. See also Preview and Testing.
Preview Selected Scene Play and test the current scene in the editor as it would look after export. See also Preview and Testing.
Add Menu
This menu is available only in the UI node workspace.
Menu Option Allows you to
New Image Add an image object to a UI screen, where you can define its attributes.
New Button Add an image as a Navigation button to a UI screen.
View Menu
Menu Option Allows you to
Zoom In Increase magnification on the grid of the currently displayed editor or map to get a closer view of the screen.
Zoom Out Decrease magnification on the grid of the currently displayed editor or map to get a wider view of the screen.
Show All Change the zoom level to show all items in the currently displayed editor or map.
Show Frame Reset the zoom level and position of the view in the currently displayed editor or map.
Actual Size Reset the zoom level to the actual view size of the currently displayed editor or map, neither zoomed in or out.
Helper Show or hide the Helper section that provides help info about the panel, button, or attribute field you are working with, in the bottom left corner of the Buildbox window.
Enter Full Screen (Mac) View the Buildbox window in the full screen mode.
Scene View Menu Options
The following View options are available only in the Scene Editor in 3D World workspaces.
Menu Option Allows you to View Example
Animation Bar Toggle the visibility of the animation bar at the bottom of the scene editor.
Snap Mode Allows you to snap the selected object’s position to each grid point when using the move tool.
View Persp/Orth Switches between perspective (3D) and orthogonal views. In orthogonal view, the camera is set at a right angle, which gives more of a 2D look to the game.
View Align by X View the scene from the side, aligned along the X axis.
View Align by Y View the scene from the top, aligned along the Y axis.
View Align by Z View the scene from the other side, aligned along the Z axis.
View Rotate Left Rotate the current view slightly to the left.
View Rotate Right Rotate the current view slightly to the right.
View Rotate Up Rotate the current view slightly up.
View Rotate Down Rotate the current view slightly down.
View Rotate 180 Flip the view horizontally, by rotating it 180 degrees.
View Move to Ground Move the view to the default vertical position.
Reset View Reset the current view to the default rotation and position.
Tools Menu
Menu Option Allows you to
Font Editor Open the Font editor to create a
custom font.
Atlases Open the Atlas Editor.
Remove Unused Sound Objects Remove any MP3 sound files that were uploaded to Buildbox and
not used in the game.
Select Select any of these tools to use in a 3D World.
Move
Rotate
Scale
Multitool
Help Menu
Menu Option Allows you to
Report an Issue Access an online form to report a bug or issue to the Buildbox team.
Report a Feature Access an online form to report a feature idea or suggestion to the Buildbox team.
Buildbox Documentation Access product documentation online.
JS API Reference Access the Buildbox JavaScript API reference online.
Check for Updates Check if there is a new version of Buildbox available for download.
Get Logs Save a log file on your desktop. Provide this to the Buildbox Support team for troubleshooting purposes.
Activate License Switch from a demo version of the software into a fully licensed product.
Tutorial View a quick walkthrough to familiarize yourself with the Buildbox basics.
Account

There is currently only one option, Sign Out(Your email) that logs you out of Buildbox and
takes you back to the Login screen.

Graphics Settings Node – Buildbox 3 Manual

By |

Graphics Settings

This advanced node toggles Image Filtering in a World and is only available in a World’s Mind Map. Image filtering blurs the edges of pixels in every image and texture.

To rename this node, in the Options panel on the right, and in the Name attribute, enter a new name.

The example below demonstrates how image filtering affects a low resolution texture.

With Image filtering selected, the pixel lines of the texture are blurred Disabling Image Filtering allows you to see the lines and shape of each pixel.


Animation Node – Buildbox 3 Manual

By |

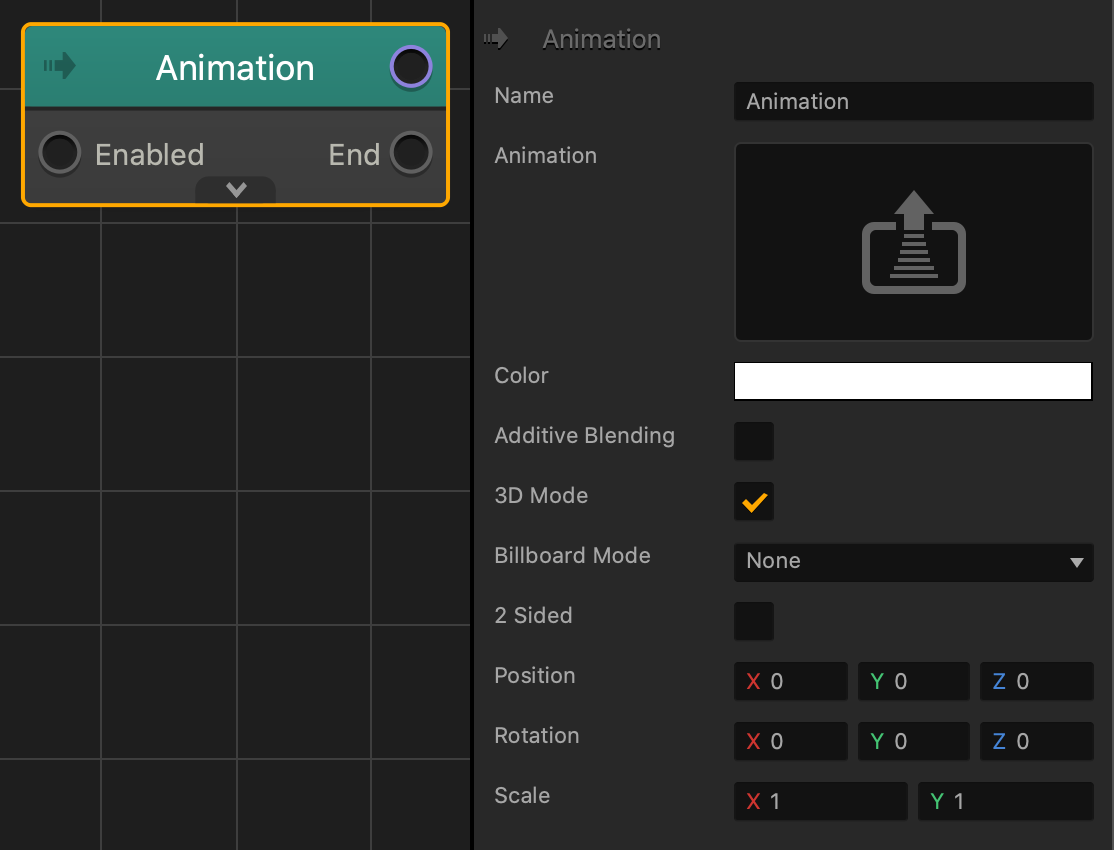
Animation Node

This content node creates a 2D plane that plays a PNG sequence or displays an image.

Option Description
Name Type a custom name for this node, if you have many of the same types of nodes.
Animation To add a PNG sequence, drag all PNG images associated with that sequence to this area.

To edit the properties of a PNG sequence, click the Edit icon in the top-right corner to open the Animation Editor.

Color Click the color field to change the color of the asset.

If the Animation attribute as an image attached, this attribute will apply a color overlay on top that image.

Additive Blending Select to make the image (or animation) add a glow effect to any graphics or 3D models objects underneath it.
3D Mode Select to show the Billboard Mode attribute. Clear to hide the Billboard Mode attribute
Depth Order Enter a numeric value to determine which animation node will be placed on top if there are multiple animation nodes in this asset’s node map.
Billboard Mode Select an option to determine how the image automatically faces the camera in the game:

  • Point—the image will change its rotation in the game to always point towards the camera.
  • Plane—keeps the image aligned with the camera view at all times.
2 Sided Select to show the image on both sides of the plane.
Position To offset the position of the 3D model, enter the appropriate X, Y, or Z axis values.
Position To move the 2D plane without moving the entire asset, enter the appropriate X, Y, or Z axis values.
Rotation To rotate of the 2D plane without rotating the entire asset, enter the appropriate X, Y, or Z axis values.
Scale Enter a numeric value in the X and Y axis fields to change the size of the image.