
Scene Selector
The Scene Selector is the horizontal bar at the very bottom of the World workspace. It displays the sequence of scenes added to the World. As its name suggests, this bar allows you to select a scene for editing in the Scene Editor.

By default, all new Worlds have a Start scene added to them. If you select a template, additional scenes may be already added for you.
Here’s what you can do in the Scene Selector:
- To view the contents of a scene or edit it, select it and use the Scene Editor.
- To add a new scene, click Add on the right.
New scenes are added to the end of the sequence from left to right, numbered sequentially. See also Add a scene. - To change the scene order, drag the scenes left or right to the desired location.
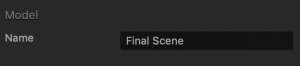
- To rename a scene, select it and in the Options panel, type a name for the scene.
- To delete a scene, select it and press the Delete key on your keyboard. Alternatively, right-click the scene and make the corresponding selection from the menu.
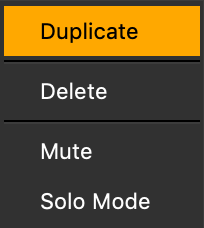
- To duplicate a scene with its contents, press D on your keyboard.
- To mute a scene (make it inactive), press M on your keyboard.
A red underline appears at the bottom of the scene button to indicate that it is muted. - To mute all scenes, except one, press S (for “Solo”). This scene is underlined in green when highlighted or blue when it is not highlighted.
- To preview a scene, click the Preview selected scene
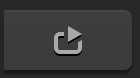 button on the Navigation bar. The preview will skip all UI screens and start from the current game scene. See also Preview and Testing.
Note: You can’t rename, mute, or delete the Start scene, but you can duplicate it, if needed.


