
UI Screen Nodes
Although not required, UI nodes allows you to create user interfaces for menus or in-game overlays. Here you can add buttons, text labels, and images to your game. You can also display ads on the UI screens. For details, see Ad Monetization and FAQs.
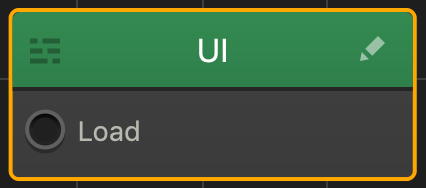
By default, a new UI node has only a Load input, which you can connect to the output of any other node on the Mind Map, a Start node, another UI node, or a 3D World node. See also Node Anatomy.
Depending on your UI design, you may add Navigation buttons, such as the Start button, which will result in additional outputs on the UI node itself.
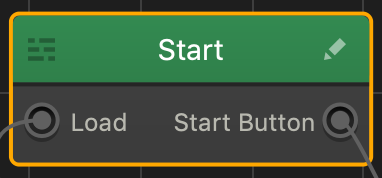
You can connect these additional outputs to the input of either another UI node or a 3D World node.
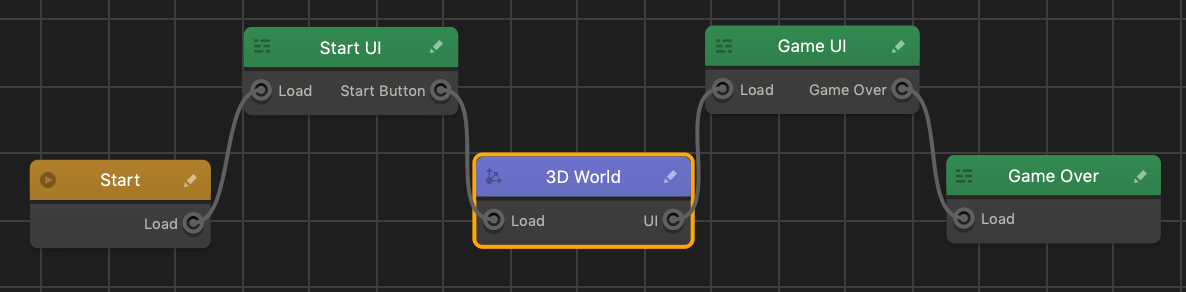
Typically, a game would have a Start UI node, a Game Over node, and a Game UI node that is an overlay that displays the player’s score during a game session.
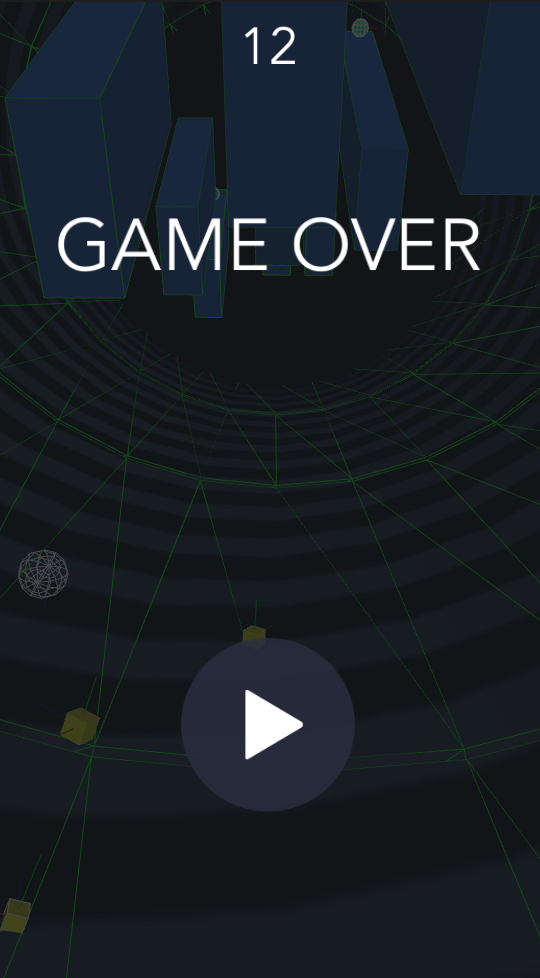
Here’s what a UI screen may look like for a Game Over node during a game session:
Adding, Deleting, and Editing Game UI Screens
To add a UI node, do one of the following on the Mind Map:
- Drag the UI node from the Node panel to the Mind Map.
- Right-click anywhere on the Mind Map grid and select Add New UI.
- Duplicate and existing UI—select the node and press D on your keyboard.
To delete a UI, select the corresponding node and press Delete on the keyboard.
To change the UI node attributes in the Mind Map, select the node and make the appropriate changes in the Options panel on the right, where you can add music and ads to each UI screen.
To add buttons, text, player’s score counter, facebook likes, animations, event observer and unlocking logic, you need to go inside the UI node. To open the UI node workspace, do either of the following:
- Double-click the UI node.
- Click the Edit icon in the top right corner of the node.
See also Add Control Button.


