
Create a Game Project
There are two ways of creating a project in Buildbox:
- Creating a new game from scratch. For example, see Making a Simple Game.
- Using a guided wizard that walks you through the process.
To create a project:
- On the Getting Started screen, click Create New at the top left.
A page with two options is displayed.
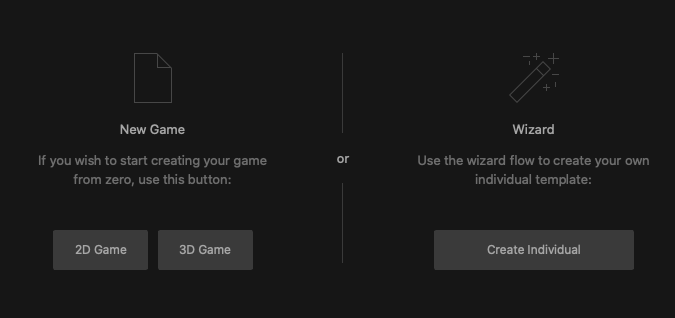
- Depending on your preference, do either of the following:
- To be guided through the process, click Create Individual and follow the on-screen instructions.
- To create a game from scratch, click 2D Game or 3D Game.
A new project loads with two nodes on the Mind Map: the Start node and either a 2D World or 3D world, depending on your selection.- On the Buildbox menu bar, select File > Project Settings to open the Project Settings window.
- In the Full Game Name field, type a name for your game.
- In the Orientation drop-down list, choose the appropriate orientation, and click OK.
- Start building your game by adding levels, creating characters, enemies, UI screens, and so on.
- To save your project, do the following:
- On the Buildbox menu bar, click File and select Save As.
- Choose a location and type a name for your project.
- Click Save.
After the project is created, a BBDOC file will be created on your computer with the name of your game, and its name will also appear in the Open Recent section on the Getting Started screen.
For exporting and ad monetization, see Export a Game Project and Ad Monetization.


