
Previewing Game Templates
Buildbox provides a variety of simple mini-games with prebuilt functionality. They can save you time and help you get started by experimenting and learning product features at the same time.
To preview a Buildbox template and familiarize yourself with the Buildbox workspace and features:
- Click the New Game tab on the main screen.
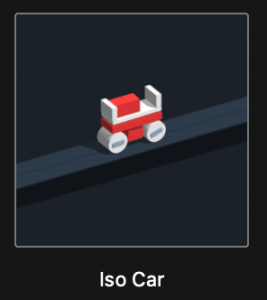
- Scroll up and down to browse the available templates and hover your mouse over each template to preview it.
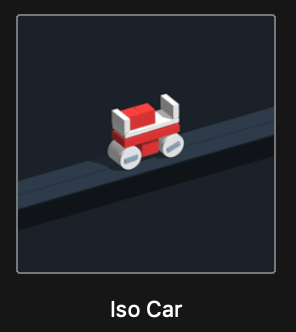
- After you find a game style you like, double-click the template, for example, Iso Car.
When the selected project is loaded, its Mind Map is displayed. - Explore the game flow on the Mind Map represented by several nodes connected from the yellow Start node that loads the game, to the green UI nodes, such as Start UI, Game UI, at least one purple 3D World node, and a Game Over UI node at the end.

- On the Navigation bar, click the Preview
 button.
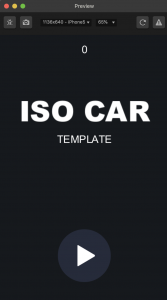
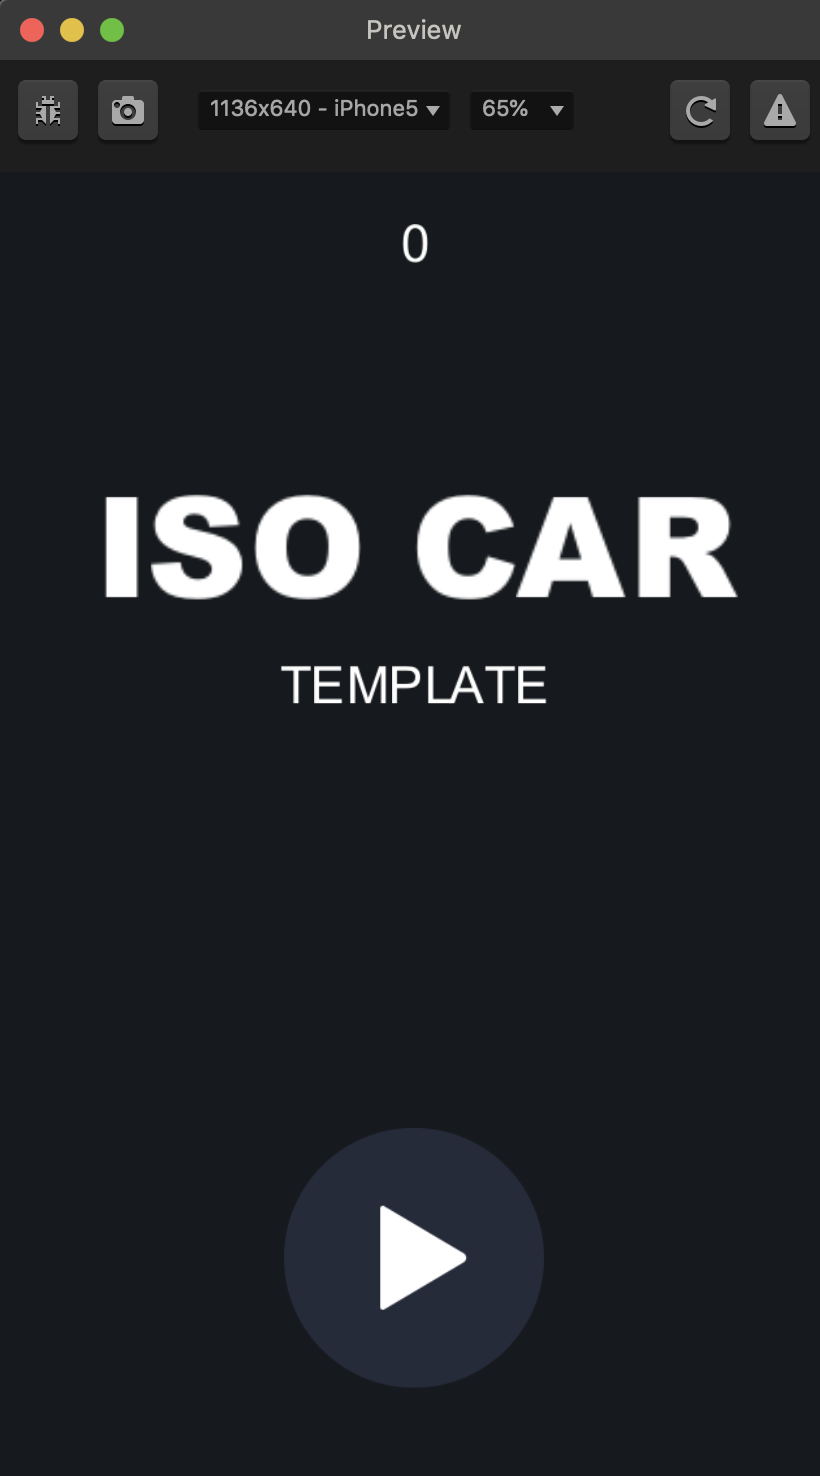
The Preview window appears with the Start UI screen of the selected game loaded.
Most likely, this UI screen includes three text labels at the top (the score (0), template name, the word “template”) and a Play button at the bottom, all against a black background.
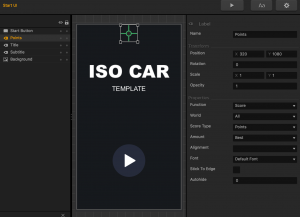
You can keep the preview window open as you work on your game, and it will update accordingly. - On the Mind Map, double-click the Start UI node that defines the screen you see in the Preview window and click each asset in the UI Editor to explore its properties in the Options panel on the right.
For example, the image below shows how the game score attributes are defined.
 Use the Helper in the bottom left corner of the screen for guidance.
 - In the Preview window, click the Play button and start playing the game, for example, by pressing the right mouse button to make the iso car move forward.
- Replay the game as many times as you need, taking notice of when you score, what happens in the game, when and how it ends.
- Now take a look another look “under the hood.”
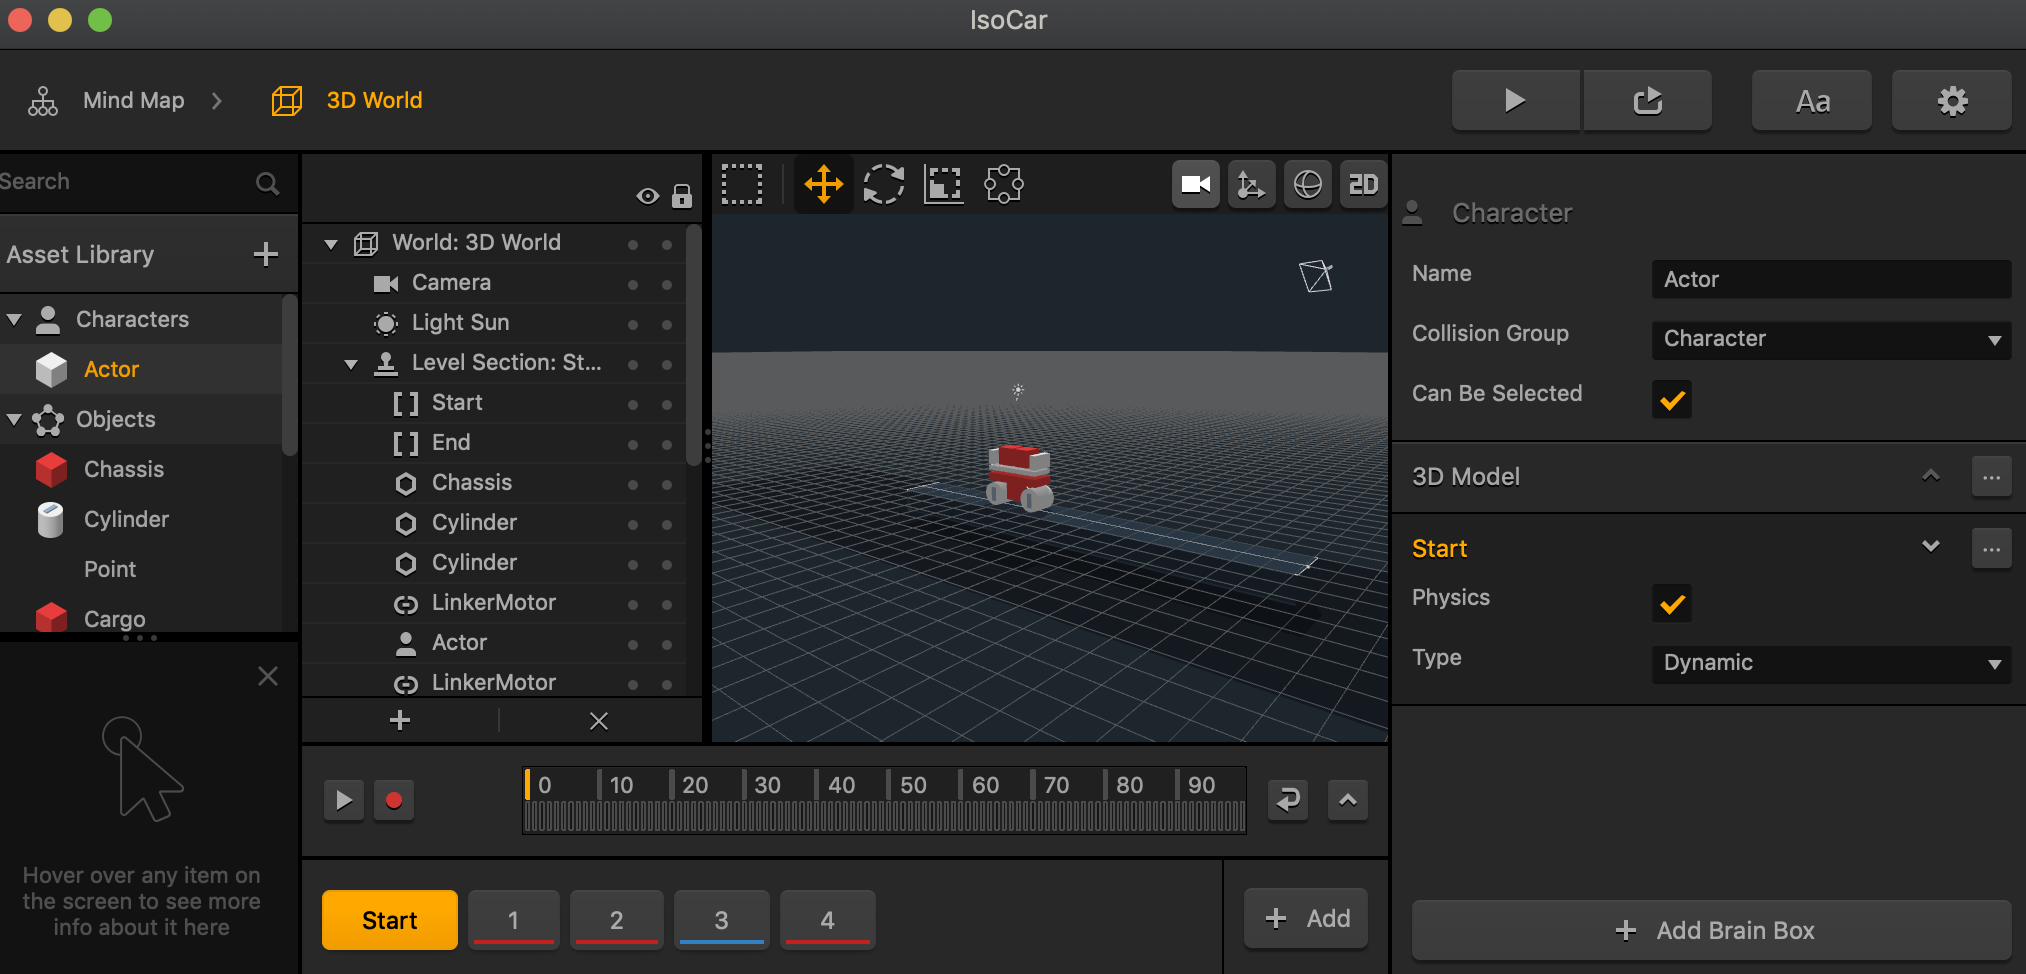
Game assetsWhat you see while playing the game is the 3D World node that represents a game level.- On the Buildbox navigation bar, click Mind Map at the top left to go back to the game nodes you saw in step 4 above.
- Double-click the purple 3D World node to explore its workspace and setup.
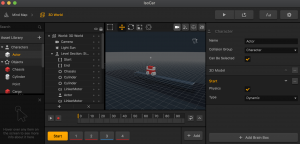
- In the Asset panel on the far left, click different assets and check out their attributes in the Options panel on the far right.
- Hold the spacebar and drag the grid to change your view of the scene.
- Drag an asset to the Editor grid and play with different controls on the toolbar, for example, click the Camera button
 to turn on and off the camera view.
 - In the Outliner, click the assets added to the scene and see how their position attributes differ from the object attributes.
- At the very bottom, click different scene buttons (Start, 1, 2, 3) and see what assets they have that you can recognize from the game.
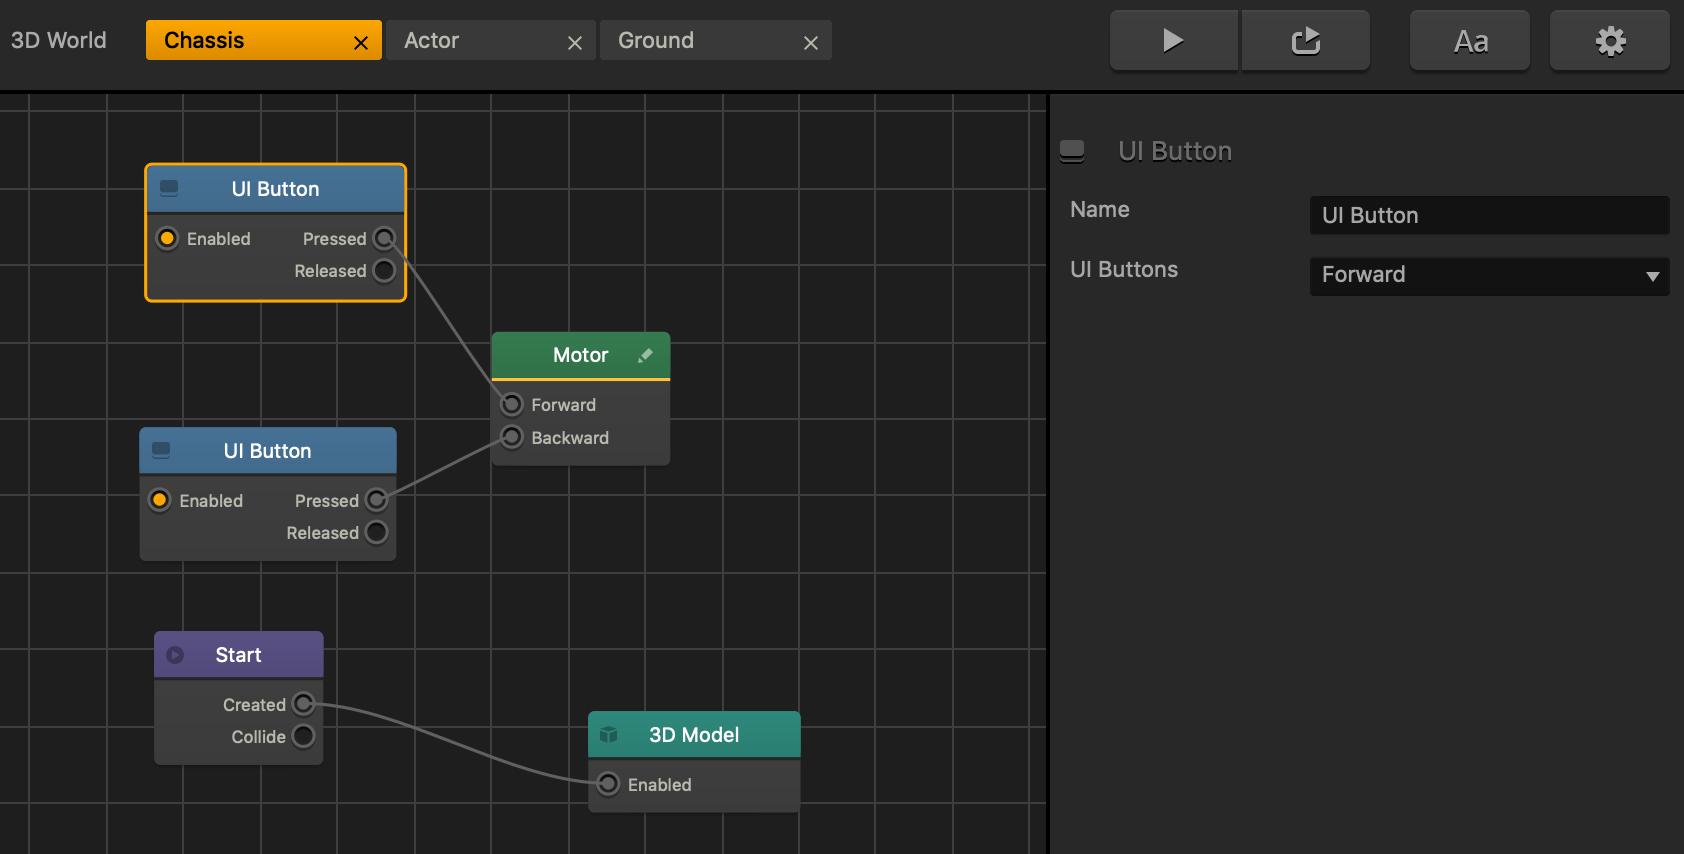
- In the Asset panel, double-click an asset, for example, Actor or Chassis in the Iso Car template and explore the Node Map of the selected asset.

At the very least, there should be two asset nodes, Start and 3D Model, which create the asset and define its shape respectively. On the Chassis Node Map, there are also two UI Button nodes that are linked to the Motor node, which in turn moves the car back or forward when you press the right or left mouse button. - Click any node on the Map or drag a new one from the Node panel on the left and explore its attributes in the Options panel on the right.
Game controls and logicThe game score at the top and the logic that determines what happens as a result of your actions during the game are defined in the Game UI node.- Use the navigation bar to go back to the Mind Map.
- Double-click the green Game UI node.
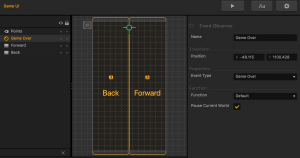
- Click the Event Observer icon
 at the top left of the UI screen in the Editor, and check it attributes in the Options panel. It “listens” to the game and load the Game Over UI when the game is over.
 - Check out any additional elements, such as two control buttons in the Iso Car template, which correspond to the UI Button nodes in the Chassis Node Map above.
Game endWhen your game ends, a Game Over UI screen appears. It is represented by Game Over UI node on the Mind Map, which is very similar to the Start UI node.
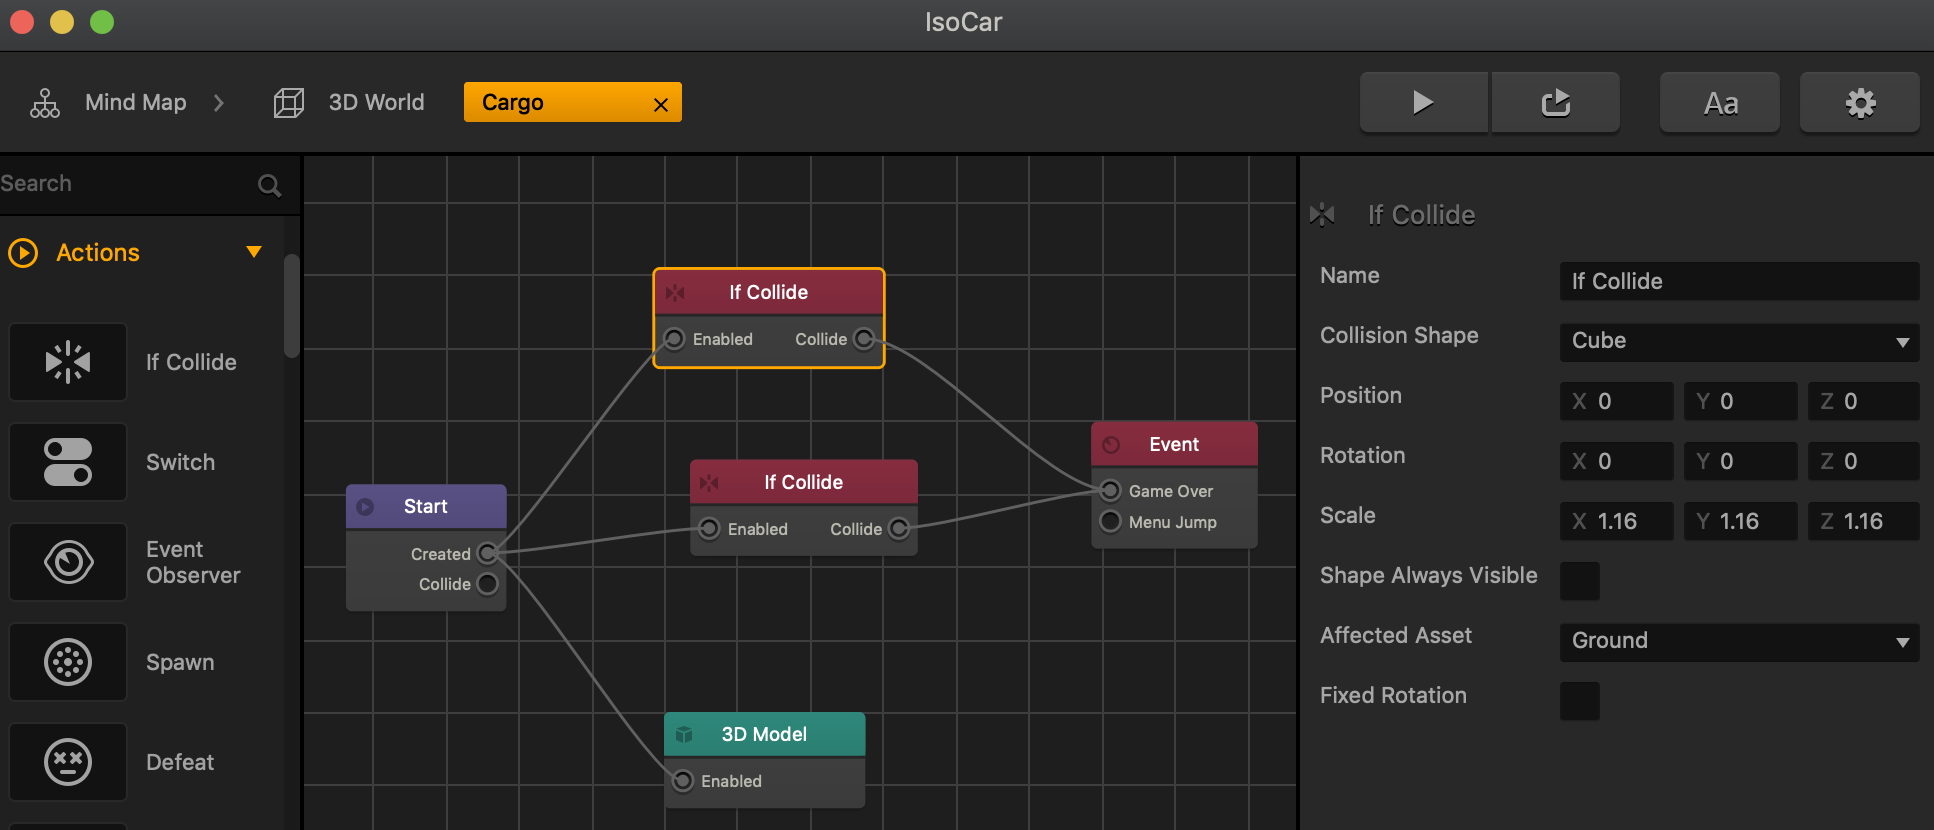
The outcome of the game is also determined by the Action nodes, such as If Collide, Health, and Defeat that are typically added to the game assets in their Node Maps, typically to the Actor character.
For example, in the Iso Car template, go to the Mind Map, double-click the 3D World node, then in the Asset panel double-click the Cargo asset and check the Affected Asset attributes in the Options panel of its If Collide nodes that are connected to the Game Over Event node.


10. Go back to the Mind Map and see if the connections between the node outputs and inputs make more sense to you now.
11. Continue exploring different workspaces or create a simple game to further familiarize yourself with Buildbox and its powerful features.
To choose another template to explore, on the Buildbox menu bar, select File > New. See also the Getting Started tutorial.


