
World Outliner
The Outliner panel in a 3D world provides a hierarchical outline of the contents of your game world. It lists all the assets you have in the current scene and the world.
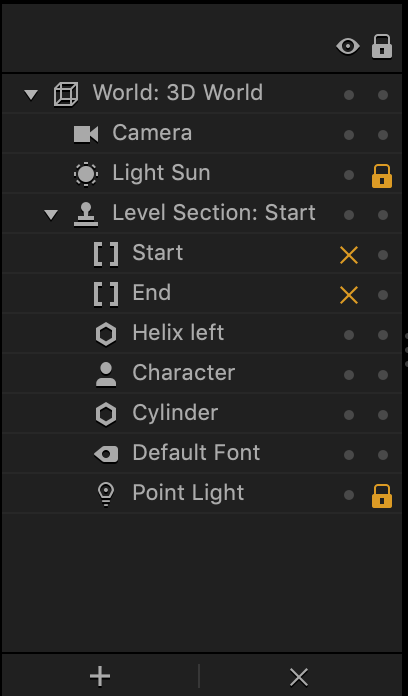
By default, each world has a camera and a light source, which you cannot delete. For each scene, a set of Start and End points is added by default (see Scene Editor). As you add assets to your world or if you select a template, all additional objects will be displayed in the Outliner, as shown in the image below on the left.
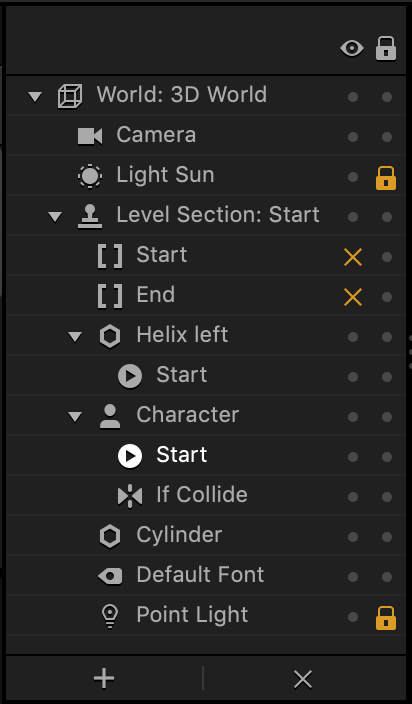
If your click the Collision Shape Editor  button on the Scene Editor toolbar, the Start and If Collide nodes of the assets with the collision shapes will also appear in the Outliner, as shown int he image below on the right. See also Viewing Collision Shapes.
 .
. 
You can lock, hide, add, or delete items in the current Scene by making the corresponding selections for each item in the Outliner.
Here’s what you can do in the Outliner:
- To select multiple assets, hold Shift and click the names of all of the desired assets.
- To see the properties of an object, select it in the Outliner, and view or edit them in the Options panel.
- To hide an asset from the scene, click the option in the Show/Hide
 column.
The asset will be marked with an x next to it. You won’t be able to see, move, or edit the asset while it’s hidden.
NOTE: If you hide or lock the camera in one scene, they will be hidden or locked respectively in all scenes in the current world. - To lock an asset its current position in the scene to avoid accidentally selecting, moving, or deleting it while you edit your scene, click the option in the
 Lock column.
The asset will be marked with a lock next to it. - To delete an asset, select it in the Outliner and click the x button at the bottom or press the Delete key.
NOTE: You can’t delete the camera, light source, and hidden assets. - To add an asset to the Outliner, drag the asset from the Asset Panel.
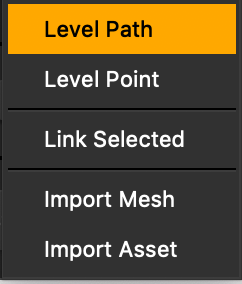
Additionally, you can click the ![]() Add button at the bottom of the Outliner and add the following to the scene:
Add button at the bottom of the Outliner and add the following to the scene:
For more details and usage example, see the Outliner video below.


