
Scene Editor
To access the Scene Editor, double-click a purple 3D World node on the Mind Map or click the Edit icon in the top right corner of the node.
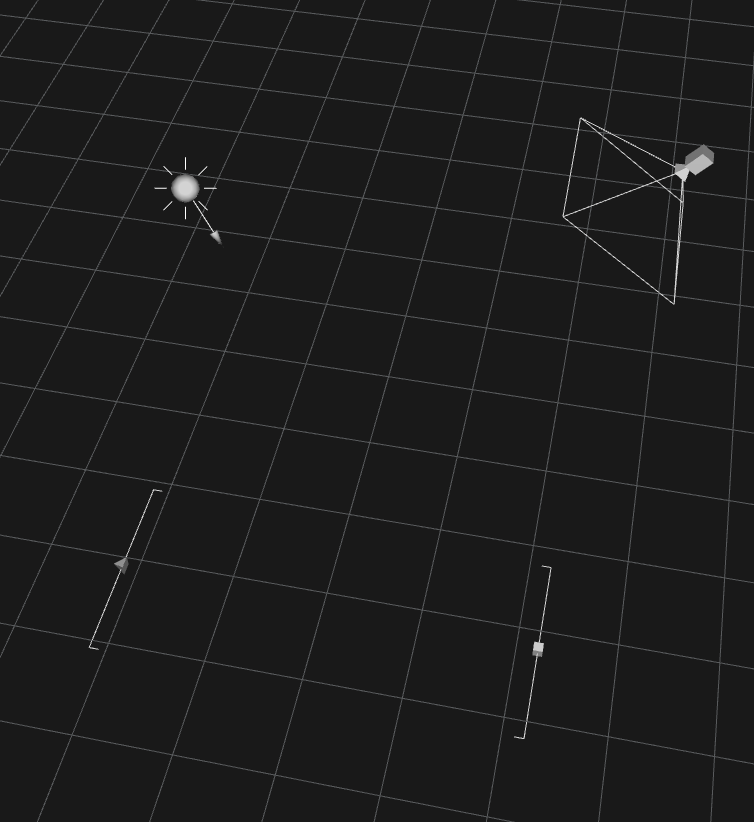
This editor allows you to add assets and lights to a scene as well as adjust the game path and camera. By default, every scene includes a camera, a source of light, and a set of start and end points of the current scene.
There are several important Follow camera attributes, such as Follow Position, Rotation, Offset, and others, that you need to define to make the camera move around as desired in your game. For details, see Camera Attributes.
Navigating in the Scene Editor
To zoom or change the 3D view in the Scene Editor, you can use the View options on the Buildbox Menu Bar, which also include a special set of View options available only in the Scene Editor or the keyboard shortcuts below.
Working in the Scene Editor
- To add scenes, click Add in the Scene Selector at the bottom or duplicate an existing ones.
- To add assets, drag them from the Asset panel on the left.

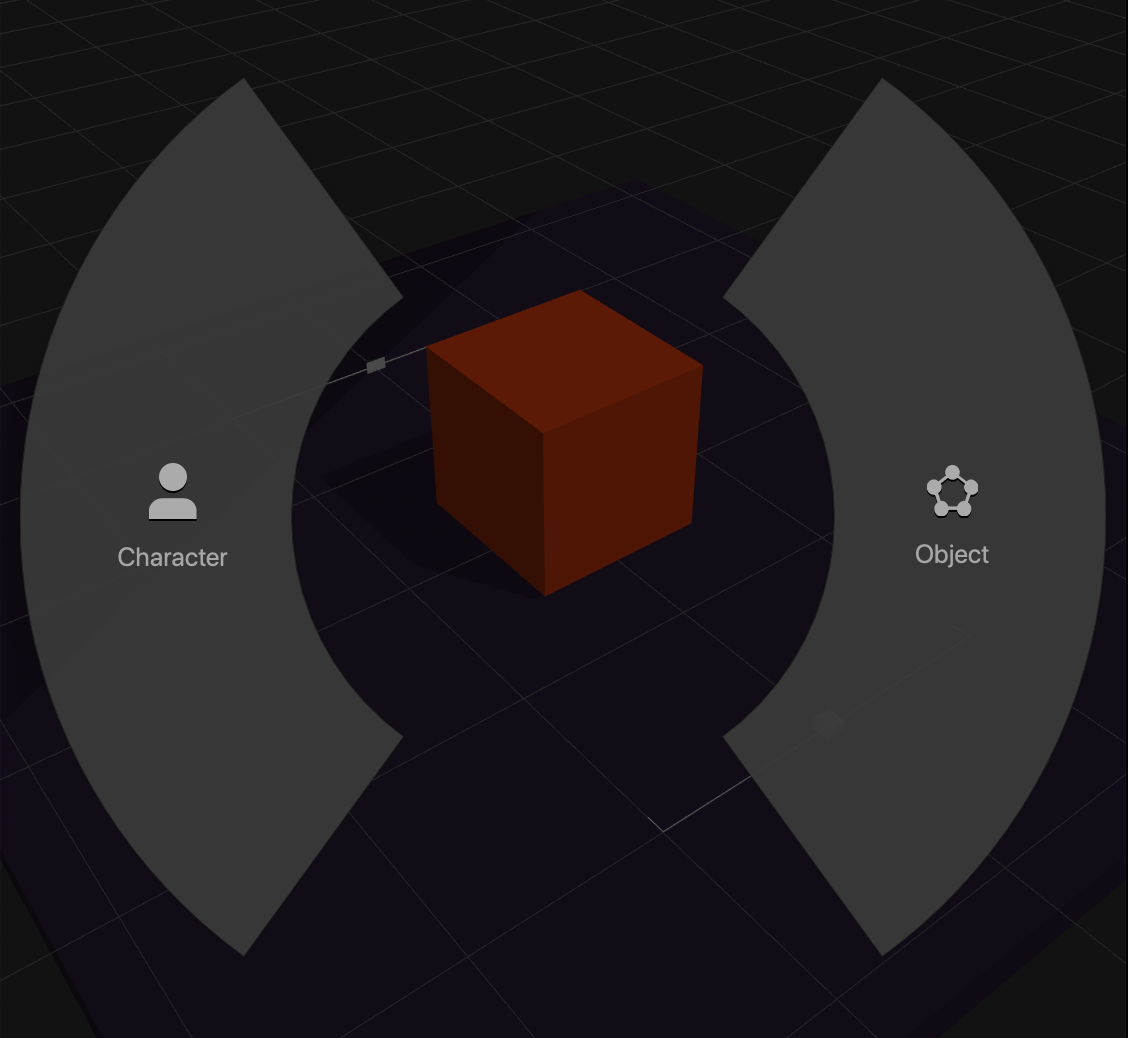
If you drag an outside file to the Editor, for example, with an image you want to add to the scene, a Drop Wheel appears that allows you to set the new asset as a character or an object.

- To delete an object from a scene, select and press Delete on the keyboard.
- To duplicate an object, press D on the keyboard.
- To modify or view the camera, light, or other object attributes, select the object and use the respective Options panel.
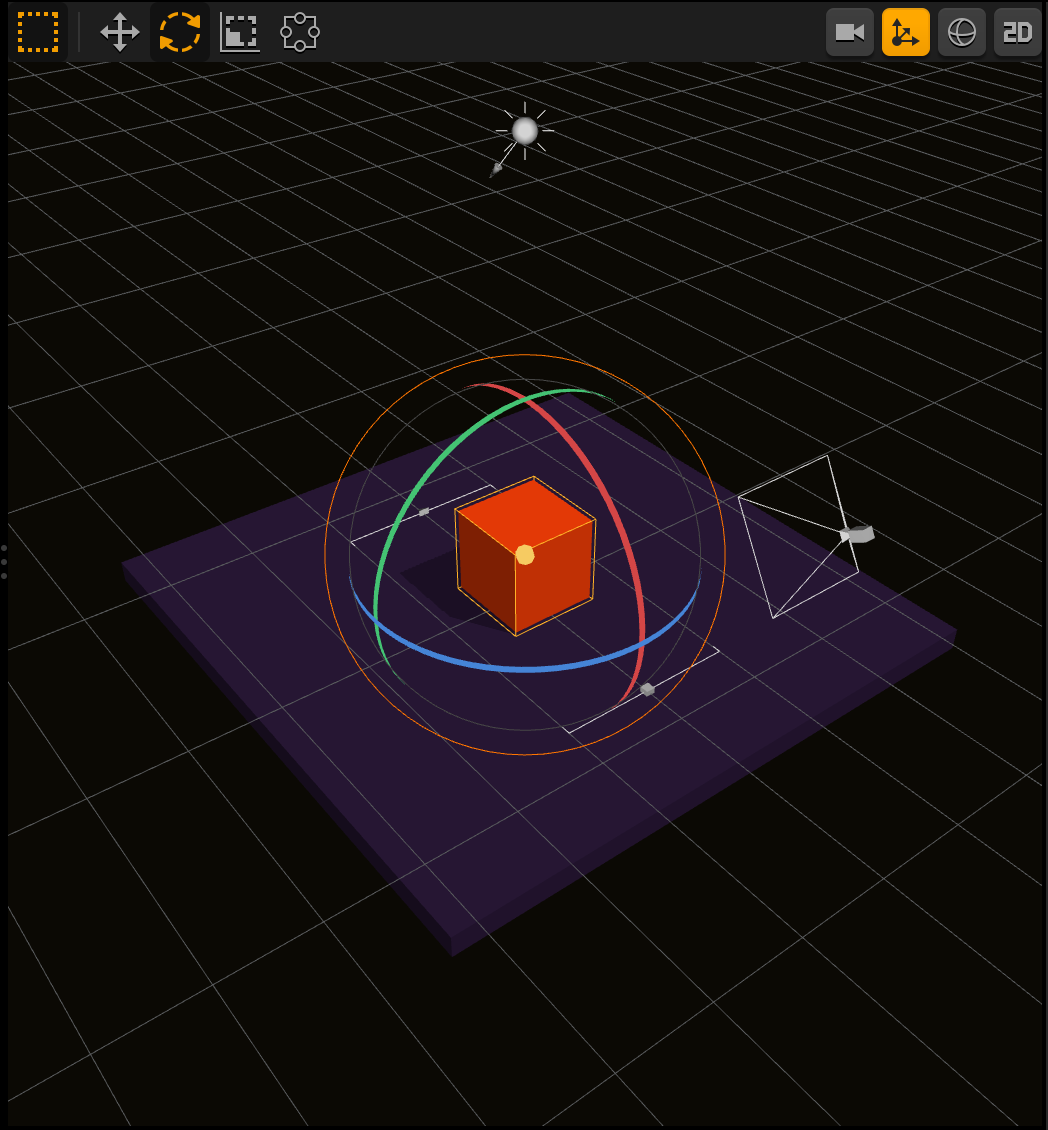
- To move or resize objects, you can manipulate them directly on the grid using the axis handles or enter the appropriate numeric values in the corresponding entity attributes in the Options panel. You can also use the position, rotation, scale, and other tools at the top. For details, see Tools.
- To change the camera view or to open the Collision Shape Editor, use the toolbar buttons at the top. For details, see Toolbar Buttons.


