Buildbox World – Buildbox 3 Manual

By |

Buildbox World

Buildbox World is a mobile app that works with Buildbox 3 and allows you to export your projects directly from Buildbox to your phone or tablet within seconds. Below is some information to help you get started with Buildbox World. If you’d prefer to watch the tutorial video, click here.

Table of Contents

1 Downloading the App
2 User Authentication
3 Storage
4 Exporting from Buildbox 3
5 Navigating Buildbox World App Interface

Downloading the App

Buildbox World is now available for iOS. Click here to view the App Store page. Or scan the QR code below to download it on your mobile device:

Android will be coming later, so stay tuned for that.

User Authentication

In order for Buildbox World to work properly, you’ll need a Buildbox account. If you already have an account, log into Buildbox World how you normally would log into the Buildbox desktop application. 

If you don’t already have one, you can sign up for a new account straight from the Buildbox World app by tapping “Sign Up” at the bottom of the login screen. After you create your account, a welcome email will be waiting in your inbox with a link to download Buildbox 3 to your computer. Please check the spam folder if you don’t see it. 

To learn more about Buildbox 3, or to directly download it to your computer, you can also click here.

Storage

Users on any plan have access to Buildbox World. However, your plan will dictate the amount of storage you have for Buildbox World exports. Upgrade to the PRO plan to have unlimited storage!

Storage tiers:
FREE – 2GB
PLUS – 20GB
PRO – Unlimited!

Exporting from Buildbox 3

Prepping Your Export

ADD A GAME ICON
When your project gets exported to Buildbox World, it is populated with a thumbnail image. To customize this image, go to File > Project Settings. From there, drag your image into the Game Icon image uploader. The ideal ratio for your Game Icon is 1:1 so that it fits perfectly within the given space. We recommend a 1080×1080 @72dpi image. If you do not add your own image, it will load into Buildbox World with a default image.

RENAME EXPORT
Your Buildbox World export takes its name from the BBDOC file name, so to change the name of your export, you’ll have to edit the BBDOC file name. Go to File > Save As and save your BBDOC as your desired name before exporting. We highly recommend to name your exports in a way that will help keep your Buildbox World library organized. Future you will thank you!

Exporting

Once you are ready to export your project to Buildbox World, click on the Export to Buildbox World button on the top right of the navigation bar in the Buildbox editor next to the Preview buttons. You can also export by choosing File > Export > Buildbox World.

You will see the progress of your export and be notified when it is successful. Now, all you need to do is open Buildbox World on your mobile device and your export should be waiting for you on the Your Exports screen. If you do not see it, try pulling down on the middle of the screen to refresh.

Navigating Buildbox World App Interface

You will see 3 navigation tabs at the top of your screen. These will take you to the different sections of Buildbox World.

“Your Exports” Tab

Upon export from Buildbox, your games will automatically populate onto this screen. If for some reason you don’t see it, you can always pull down on the middle of the screen to refresh. Each export is populated with a Game Icon thumbnail image, the export name, date, and size.

  • PLAY
    To play your export, simply tap on it once. You will see the progress bar as it loads and then it will open automatically when it’s finished loading. During gameplay, tap on the BB World icon at the top left to go back to your homescreen.
  • DELETE
    Swipe left or right on your export to reveal an action menu. This is where you can delete your export. Upon deletion, you will not be able to undo or retrieve this export again. You’ll have to re-export from Buildbox to get it back.
  • FAVORITES
    Use the star “Favorites” icon to filter your exports to only see your Favorites for quick access to the ones you use most. To favorite an export, double tap on it’s thumbnail. You can also swipe left or right to reveal the actions menu and tap “Favorite.” To unfavorite, double tap again, or swipe for action menu and tap “Undo Favorite.”
  • SEARCH
    Use this search bar to look up any exports you are looking for. It will automatically start searching as you type. Tap on the “X” icon to clear your search. Tap “Return” to clear your keyboard offscreen.
  • SORTING
    You can sort by date, name, and size of your export, depending on what is more useful for you at the time.

“Shared” Tab

Here you will see some games that the Buildbox team has shared with you. Make sure to check back to see what new games are waiting for you.

“Account” Tab

Here is your account info. You can come here to see how long you’ve been a Buildbox member, what plan you’re on, how many exports you have, and how much storage you’ve used. You can also navigate here anytime you want to sign out of your account.
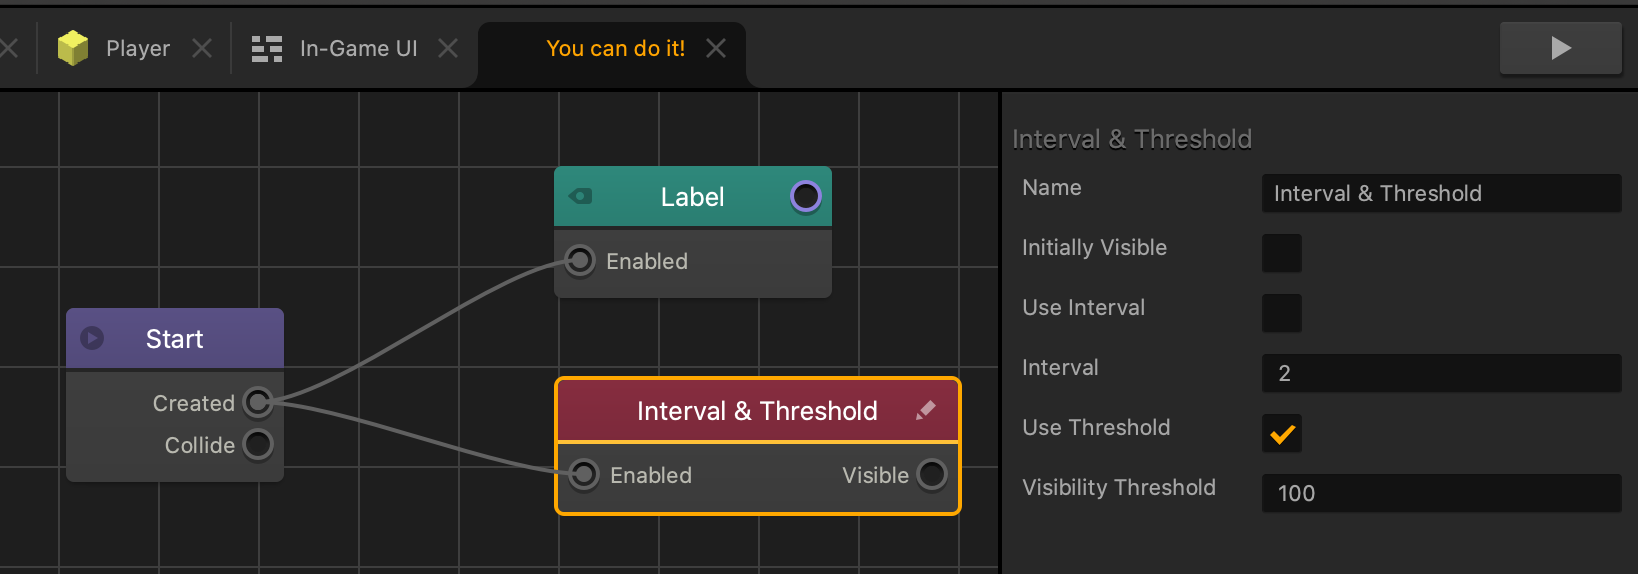
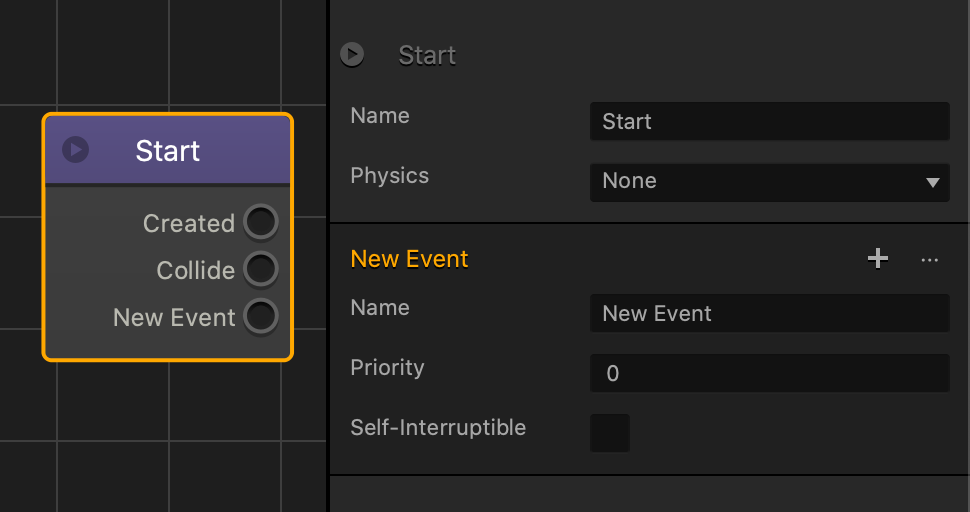
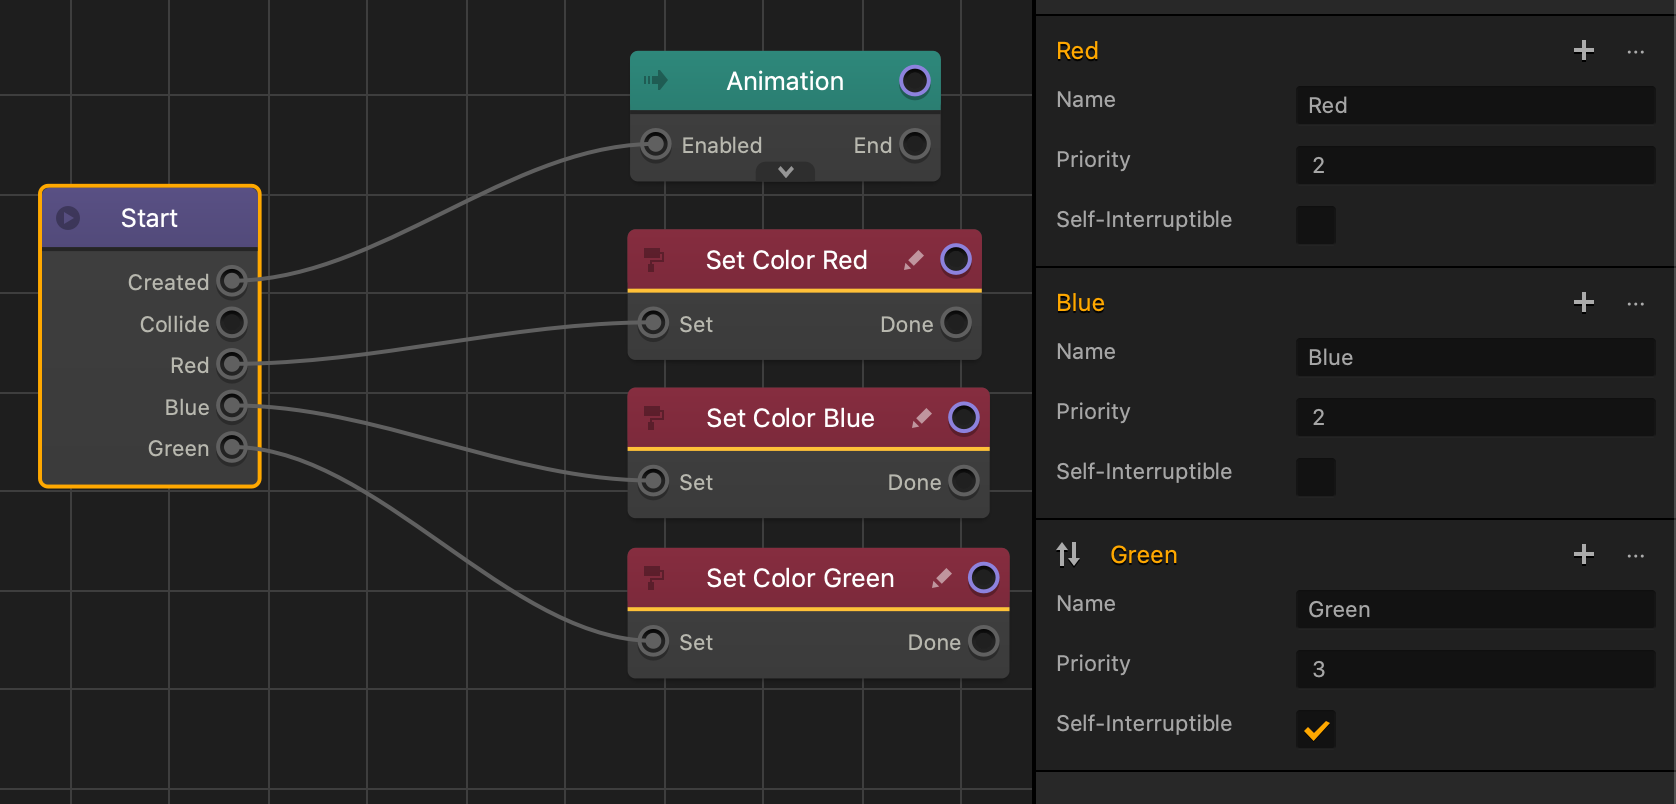
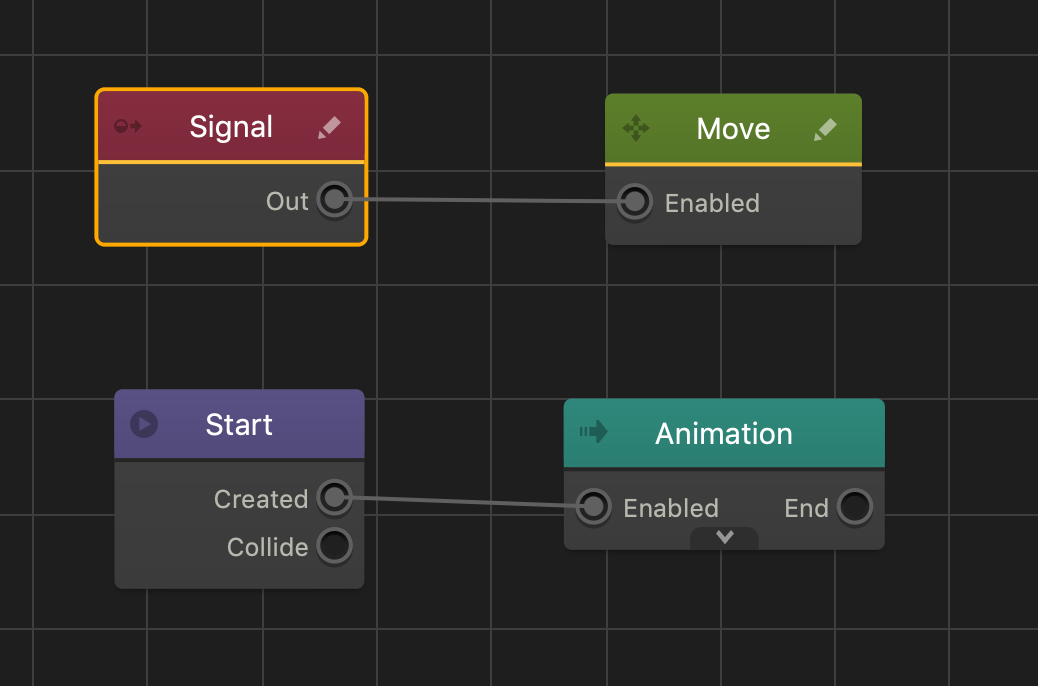
Graphics Settings Node – Buildbox 3 Manual

By |

Graphics Settings

This advanced node toggles Image Filtering in a World and is only available in a World’s Mind Map. Image filtering blurs the edges of pixels in every image and texture.

To rename this node, in the Options panel on the right, and in the Name attribute, enter a new name.

The example below demonstrates how image filtering affects a low resolution texture.

With Image filtering selected, the pixel lines of the texture are blurred Disabling Image Filtering allows you to see the lines and shape of each pixel.


Interval and Threshold Node – Buildbox 3 Manual

By |

Interval and Threshold Node

This action node toggles the visibility of an asset based on the Interval and Threshold values. Interval is the number of times this node is enabled. Threshold is the distance that the first-spawned Character has traveled.

  • To enable this node, connect the Enabled input to another node’s output.
  • To activate other nodes after changing the asset’s visibility, connect the Visible output to any desired node inputs.

To learn more about the Interval and Threshold attributes, click the dropdowns below:

Threshold

Threshold is the distance that the first-spawned Character has traveled in the game. After the first-spawned character travels the distance specified by the Threshold attribute, this node changes the asset’s visibility.

To change the asset’s visibility with the threshold, select the Use Threshold checkbox and in the Visibility Threshold field, enter a distance amount in units.

The following is an example of a UI text asset that appears on the In-game UI screen after the player restarts the level.

After the game starts, the Player character asset moves forward in the Z direction. After the Character travels 100 units, the text appears at the bottom of the screen.
Interval

Interval is the number of times this node has been enabled. After this node enables the number of times specified by the Interval attribute, this node changes the asset’s visibility.

To change the asset’s visibility with an interval, select the Use Interval checkbox and in the Interval field, enter the interval amount.

The following is an example of a UI text asset that appears on the Game Over UI screen after the player dies after the second attempt.

After the player arrives at the Game Over screen for the first time, the interval increases to 1. After arriving at the Game Over screen a second time, the interval increases to 2 and makes the text appear with a tip.

Node Attributes

Option Description
Name Type a custom name for this node, if needed.
Initially Visible Select to make the asset visible when it is created or spawned in the game. Clear to make the asset invisible.
Use Interval Select to enable Interval attribute. Clear to disable the Interval attribute.
Interval Enter the number of times you want this node to be enabled before toggling the asset’s visibility.
Use Threshold Select to enable Threshold attribute. Clear to disable the Threshold attribute.
Visibility Threshold Enter how far you want the first-spawned Character to travel before changing the asset’s visibility.

If needed, you can also customize this node. For details, see Customizing Nodes.

Brainevents – Buildbox 3 Manual

By |

Brainevents and State Brainboxes

Brainevents activate gameplay features and logic in a sequential order that is determined by the object or player action. State Brainboxes allow you to activate the Brainevents that they are attached to, and contain predefined gameplay features and functionalities such as animation, data, motion, and outcomes.

The following example is a 2D character asset that contains multiple Brainevents and State Brainboxes:

When the asset is created in the game, the Idle Brainevent activates, which in turn activates the Idle State Brainbox that plays an animation. After the player presses a movement key, the Idle Brainevent deactivates and the Run Brainevent activates along with the Run State Brainbox that moves the character while playing an animation. After the player releases the movement key, the Run Brainevent deactivates and the Idle Brainevent activates. The character stops moving and plays its Idle animation.
Brainevents

There are two ways you can add a Brainevent to an asset.

To add a Brainevent to an asset from the Asset panel:

  1. In a World workspace and in the Asset panel, select an asset.
  2. In the Options panel, click the Add Brainevent button on the bottom.
  3. In the Name field, enter a new name for the Brainevent.

To add or edit a Brainevent from the asset’s Node Map, double-click the asset in the asset panel and do any of the following:

  • To add a Brainevent in the asset’s Node Map, click the + button on the Start node. A New Event appears on the Start node
  • To type a new name for the Brainevent, click the Brainevent’s name on the Start Node.
  • To view or change the Brainevent’s attributes in the Options panel on the right, select the Start node.

Brainevent Output

After you create a Brainevent, a new output with the Brainevent name appears on the asset’s start node.

  • To allow the Brainevent to activate nodes, connect the Brainevent output to the nodes of your choice.
  • When the Brainevent activates, it will activate all of its connected nodes.

Priority

Since only one Brainevent can be active at a time, you can enter a value in a Brainevent’s Priority attribute to determine how Brainevents can activate and deactivate one another.

  • During an active Brainevent, only Brainevents with the same or higher priority value will be able to activate.
  • For example, if the active Brainevent’s priority is 2, then only other Brainevents with a priority of 2 or higher can activate. Brainevents that contain a priority lower than 2, will not be able to activate.

The following is an example of multiple Brainevents with different priorities that change the color of the asset:

After the Green event activates, the Red and Blue events deactivate and will not be able to activate again until the Green event deactivates. The Red and Blue Brainevents will interrupt one another when either activates.

Self-Interruptible

  • Select the Self-Interruptible checkbox to allow the Brainevent to activate even if it is already active.
  • Clear the checkbox to prevent the Brainevent from activating again when it is already active.
State Brainboxes

State Brainboxes add predefined functionality and outcomes to an asset and can transition to other Brainevents.

To add a State Brainbox to a Brainevent, navigate to the Options panel and next to a Brainevent name, click the Add Brainbox icon and select one of the following State Brainboxes:

Name Icon Description Transition
AI Simple Applies the following to an asset:

  • Automatic movement along the X axis and changes its direction after it collides with another object or approaches the end of a platform.
  • Character detection that allows the asset to detect a character then move towards the characters location to attack it.
None
AI Advanced Applies the following to an asset:

  • Automatic movement along the X axis and changes its direction after it collides with another object or approaches the end of a platform.
  • Attack frequency that makes the asset automatically attack periodically.
None
Idle Plays a looping animation when the asset is created or spawned in the game Initial Event – Select the Brainevent you want to activate when the asset is created or spawns in the game.
Run Allows the player to press the A and D keyboard buttons to make the asset move left or right while playing an animation and sound. The asset will always face the movement direction and flips when the movement direction changes. Idle Event – Select a Brainevent that contains an Idle State Brainbox or a Brainevent you want to activate after the player releases the run control.
Jump Allows the player to press the X keyboard button to launch the asset up in the Y direction while playing an animation and sound.

Requires the asset’s physics to be Dynamic.
Fall Event – Select a Brainevent that contains a Fall State Brainbox or a Brainevent you want to activate when the character begins to fall.
Fall Plays an animation and sound when the asset begins to fall in the Y direction.

Requires the asset’s physics to be Dynamic.
None – This Brainevent stays active until a different one activates.
Land Plays an animation and sound when the asset lands on a surface.

Requires the asset’s physics to be Dynamic. Requires the surface asset’s physics to be any type of physics.
Event on End – Select a Brainevent that you want to activate after the animation ends.
Attack Allows the player to press the Z keyboard button, or another specified button to make the asset play an animation and create a hitbox that applies damage to other assets with health. Event on End – Select a Brainevent that you want to activate after the animation ends.
Damage Applies health to an asset and allows it to and take damage from other assets. Also plays an animation and sound when the asset takes damage.

Event on End – Select a Brainevent that you want to activate after the animation ends.

Death Event – Select a Brainevent that contains the Death State Brainbox or a Brainevent you want to activate when the Character’s health reaches 0.


Death Plays an animation and sound to signify the death or defeat of the asset. None – This Brainevent stays active until a different one activates.

To view the nodes associated with a State Brainbox, double-click an asset in the asset panel.
Below is an example of the Run State Brainbox and the Idle State Brainbox.

Linking JavaScript Files – API Reference

By |

Linking JavaScript Files

The Buildbox JavaScript panel allows you to link a custom node script to a JavaScript file on your computer, allowing you to use an external text editor to update and change your custom node script. Whether you update the file in the Buildbox JavaScript panel or external editor, it will be updated in both locations

To access the JavaScript panel, on an asset’s node map, double-click a node or click its edit icon.

To link a file to the JavaScript panel, click Link File at the bottom-right of the JavaScript panel, and depending on whether you need to export the file from or import it to Buildbox, choose one of the following procedures below.

Export to File & Link
  1. Select Export File & Link. The Save As window appears.
  2. Select the location where you want to save the file.
  3. Name the file and click Save.

A JavaScript file with the custom node script is now created locally on your computer and is linked to your custom node inside Buildbox.

Import from File & Link
  1. Select Import from File & Link.
  2. On your computer, navigate to the JavaScript file that contains your custom node script.
  3. Click Open.

The script from your JavaScript file appears in the Buildbox JavaScript panel and is linked to your local file.

To avoid breaking the link to your JavaScript file, avoid moving or renaming the JavaScript file on your computer, or deleting the linked node in Buildbox,

After you link a JavaScript file to a node, click the icon at the bottom right of the JavaScript panel to view the following options:

Option Description
Open Externally Opens the linked JavaScript file using your default script editor.
Show in Folder Opens the folder that contains the linked JavaScript file.
Export to File & Link Creates and saves a JavaScript file that contains your custom node script locally on your computer and links the file to the Buildbox JavaScript panel.
Import from File & Link Imports and creates a link to a JavaScript file from your computer to the Buildbox JavaScript panel.
Unlink Unlinks the JavaScript file from the Buildbox JavaScript panel. The updates will no longer be synchronized.

Did you find this page useful?

Please give it a rating:

Please provide some feedback!

This is very helpful to us.

Tell us how we can improve this post?

Haptic Feedback Node – Buildbox 3 Manual

By |

Haptic Feedback Node

This action node activates a low or high vibration level on a mobile device.

This node contains two inputs that control different levels of the device vibration:

  • Low—activates a quick and light vibration.
  • High—activates a longer and more intense vibration.

If needed, type a custom name for this node in the name attribute.

Signal Threshold Node – Buildbox 3 Manual

By |

Signal Threshold Node

This action node activates any connected node inputs after this node activates the amount of times specified by the Threshold amount.

After you add this node to an asset:

  1. Connect the In input to the desired node’s output.
  2. Connect the Out output to the desired node’s input.
  3. Select this node, and In the options panel, in the Threshold field, enter the amount of times you want the player to activate this node before activating the nodes connected to the Out output.

The following example requires players to press a keyboard button three times to change the asset’s color. Since the Threshold amount is set to 2, the player needs to press the keyboard button twice to fulfill that amount, and once more to activate the Set Color node.

Node Attributes

Option Description
Name Enter a custom name for this node, if needed.
Threshold Enter amount of times you want this node to activate before it can activate any connected nodes.
Single Event Select this checkbox to require the In input to activate by the Threshold amount once. After the Threshold amount has been fulfilled, the Out output will activate any connected nodes when In input activates.

If needed, you can also customize this node. For details, see Customizing Nodes.

Signal Invert Node – Buildbox 3 Manual

By |

Signal Invert Node

This action node inverts the signal received from a connected node. For example, if the In input receives a true signal, the Out output sends a false signal.

Each node output sends a true or false signal that node inputs receive. A true signal allows an input to enable a nodes action while a false signal disables that action. When this node’s In input receives a signal from a different node’s output, the Out output sends the opposite signal to any connected node inputs.

To change the name of the node, select it in the node map and in the Options panel, in the Name field, type a custom name, if needed.

The image below is an example a keyboard button that when pressed, stops the asset’s current movement.

If needed, you can also customize this node. For details, see Customizing Nodes.

Signal Node – Buildbox 3 Manual

By |

Signal Node

This action node sends a true or false signal through a connector to activate or deactivate any connected inputs on other nodes.

The Out output sends the signal when the asset is created or spawned in the game, much like the Object Start node.

To change the type of signal to send: in the options panel, select the Signal attribute field and choose one the following options:

  • True—activates connected inputs.
  • False—deactivate connected inputs.
This node can be used for organizing the node map by minimizing the amount of connections to the Start node.

The following is an example of a Signal node connected to a Move node. A True signal will make the asset move, while a False signal will not.

If needed, you can also customize this node. For details, see Customizing Nodes.

Velocity Drag Node – Buildbox 3 Manual

By |

Velocity Drag Node

This movement node applies physics resistance to a dynamic asset’s movement and rotation.

Before you add this node to an asset, you need to set it’s physics to Dynamic.

Node Attributes

Option Description
Name Type a custom name for this node, if needed.
Positional Drag Enter a decimal value between 0 and 1 in each axis field to apply resistance to an asset’s movement when affected by gravity or colliding with other objects. A value of 1 completely prevents the asset from moving with physics.
Rotational Drag Enter a decimal value between 0 and 1 in each axis field to apply resistance to an asset’s rotation when affected by gravity or colliding with other objects. A value of 1 completely prevents the asset from rotating with physics.