
Asset Attributes
There are two sets of attributes that you can edit for an asset:
- Object attributes, which appear when you select a character or an object in the Asset panel in a World.
- Entity attributes, which are position, rotation, and scale attributes, which appear when you select a character or any object in the Scene Editor or the Outliner.
Object Attributes
To view these attributes in the Options panel, select a character or an object in the World Asset panel.
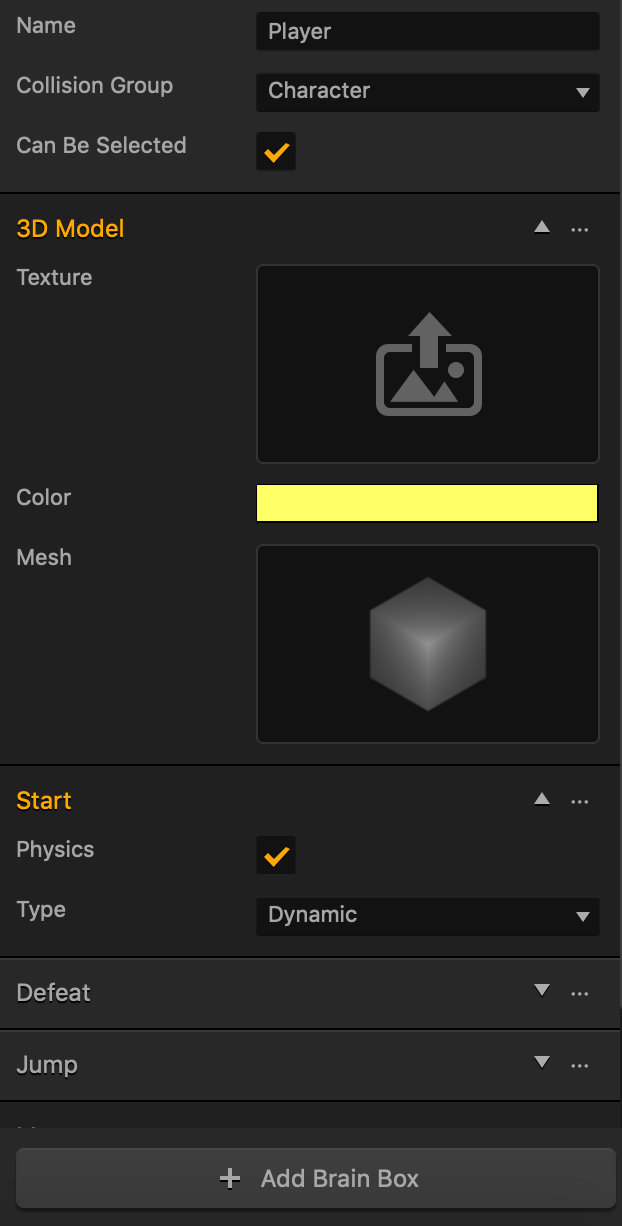
The attributes below are always present.

| Option | Description |
| Name | Change the name of the asset, if needed, for example, Enemy Cone, to indicate the collision group.
Don’t leave this field blank, as you won’t be able to tell what object it is if you hide it in the Outliner.
|
| Collision Group | Specify how this asset should be treated when this asset collides into another one during the game (see also If Collide node):
|
| Can Be Selected | This checkbox appears only for character assets. For details, see Creating Characters.
Select this checkbox if you want to allow the player to select the character during a game session. |
| Physics | Select this checkbox to add a collision shape to the selected asset and define its movement and other aspects of its physics. |
| Type | Select the type of physics to define the motion of the selected asset and its collision shape in particular:
|
Additional sets of attributes may appear depending on the type of the asset and behavior added to it, for example, as shown below.
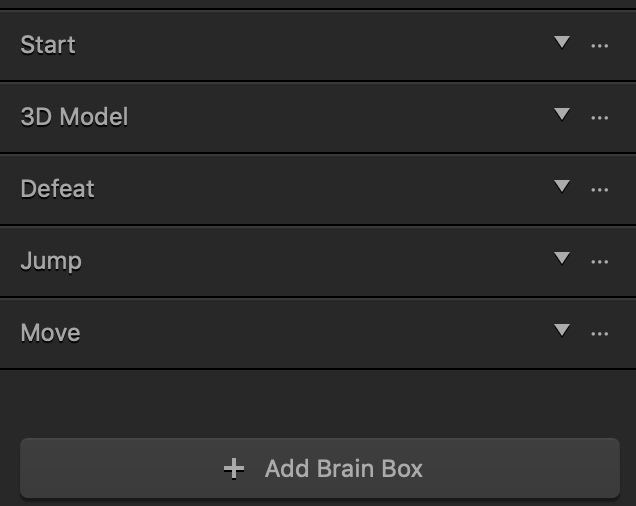
You can expand/collapse each section. The attributes inside correspond to the respective Asset nodes.
If you delete a set, the corresponding asset nodes will be removed from the asset’s Node Map.
To add the attributes, you can do either of the following:
- Add the nodes directly on the Node Map of the asset.
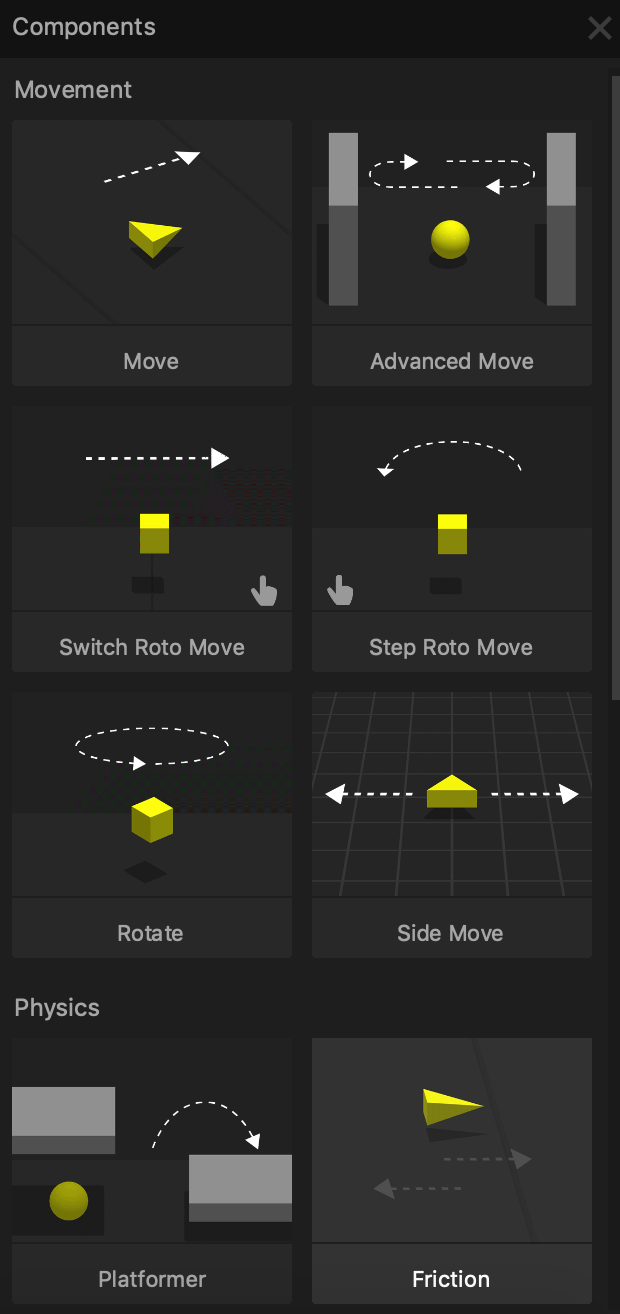
- Use the Add Brain Box button at the bottom of the panel and select the desired movement or behavior from the list.
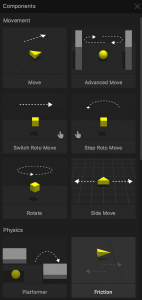
When you add a Brain Box, a group of corresponding nodes with predefined functionality appears on the asset’s Node Map, for example: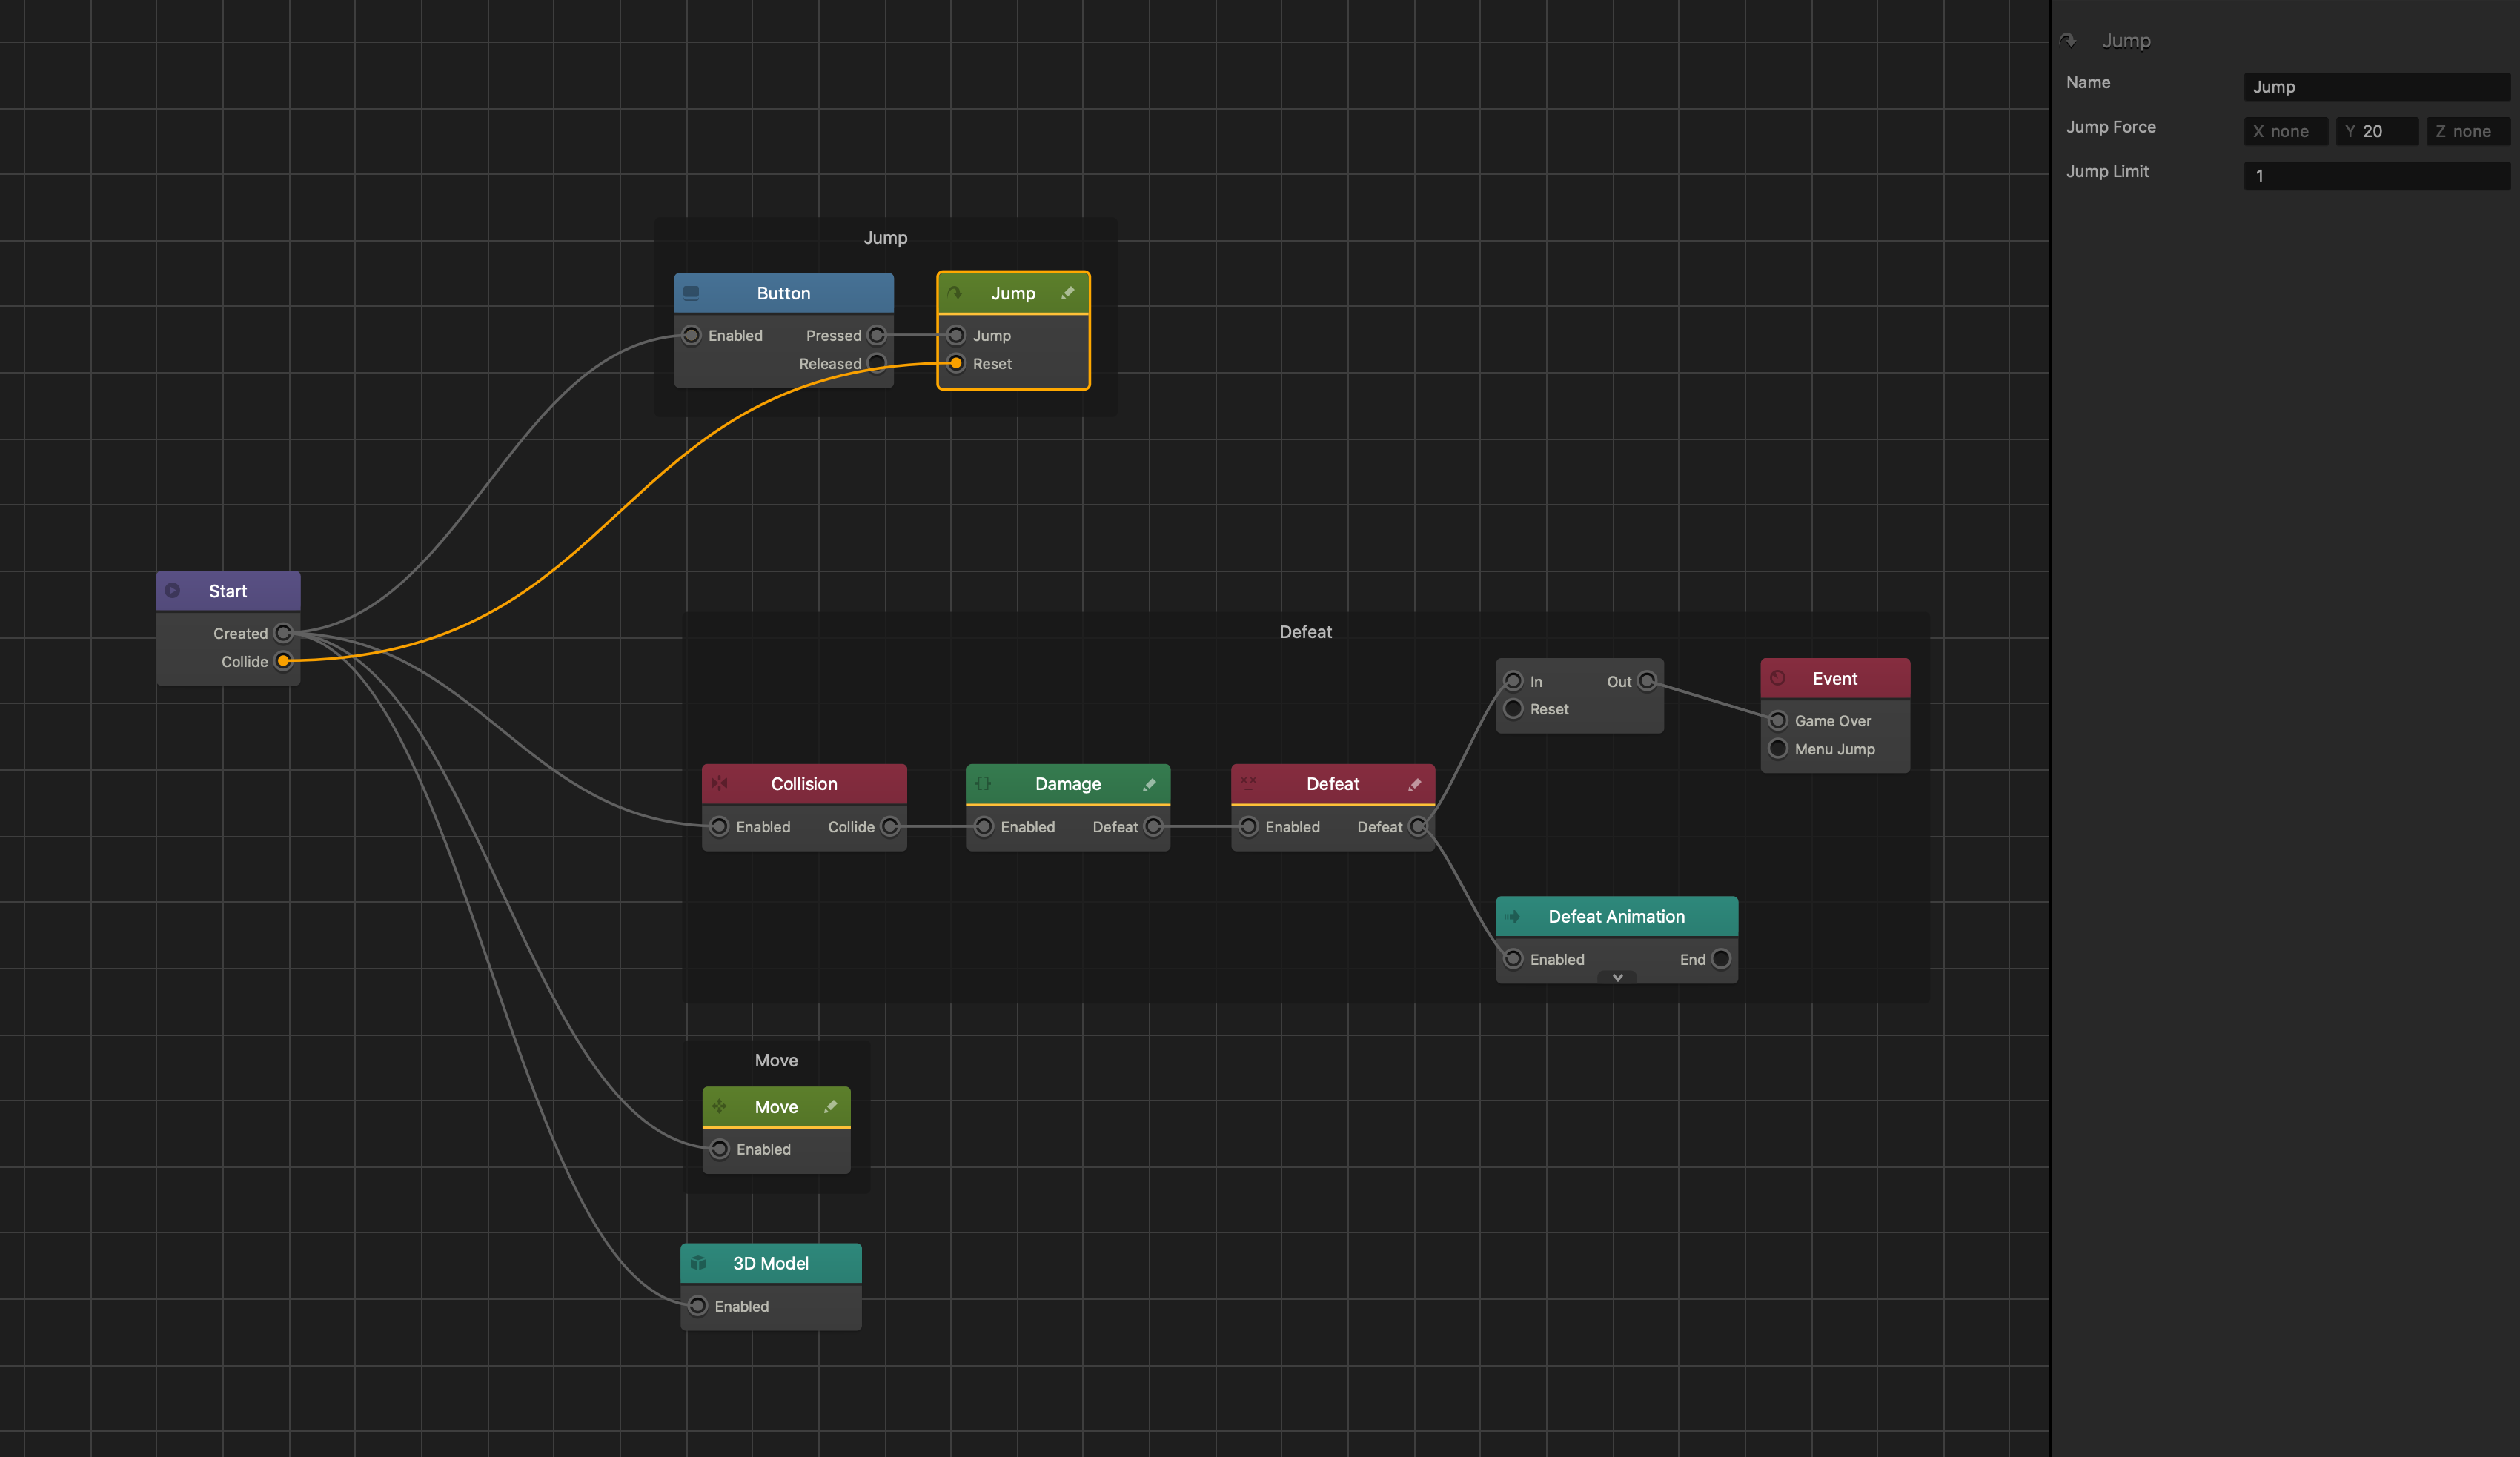
For more information about Brainboxes, see Brainboxes.
Below are the 3D model node attributes. For the rest of the node attributes, see the respective Asset nodes.
| Option | Description |
| Texture | Drag an image file you want to use to add texture to the asset.
To edit the image, mouse over the field, click the Edit icon that appears, and make the necessary updates in the Sprite Editor. Click Save when done. |
| Color | Click this field, select the desired color from the several options provided in the Colors window, and click OK.
If you have added texture to the asset, this color will be applied under the texture. |
| Mesh | Mouse over the field, click the Edit icon that appears, and select the appropriate shape for the asset in the Mesh Manager. Click Save when done.
You may also add a new basic shape from the Asset Library to begin with.
|
Entity Attributes
To view these attributes in the Options panel, select a character or any object in the Scene Editor.
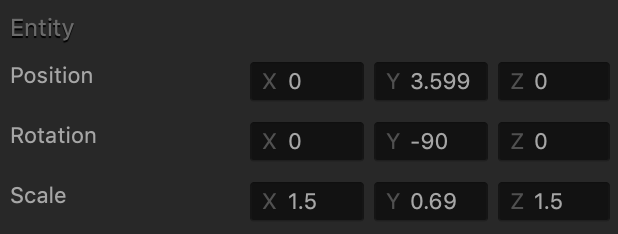
| Option | Description |
| Position | Enter the appropriate numeric values for each axis to define the location of the asset. Alternatively, drag the arrow axis handles to the desired location in the Scene Editor. If needed, for details, see Tools. |
| Rotation | Enter the appropriate numeric values for each axis to define the angle of the asset. Alternatively, click the Rotation Tool  button and drag the circle axis handles to set the desired angle for the asset in the Scene Editor. If needed, for details, see Tools. button and drag the circle axis handles to set the desired angle for the asset in the Scene Editor. If needed, for details, see Tools. |
| Scale | Enter the appropriate numeric values for each axis to define the size of the asset. Alternatively, click the Scale Tool  button and drag the cube axis handles to set the desired size for the asset in the Scene Editor. If needed, for details, see Tools. button and drag the cube axis handles to set the desired size for the asset in the Scene Editor. If needed, for details, see Tools. |


