Change Background Colors or Images in Scenes
Depending on your design, you can add a background to all scenes in a World or to individual scenes. You can use simple color backgrounds or images.
Adding background images
To add an image background to an individual scene or all scenes:
- On the Mind Map, double-click the World node where you want to change the background.
- In the Scene Selector at the bottom of the World workspace, click the scene where you want to change the background.
- Drag an image from your computer and hover it over the Scene Editor.
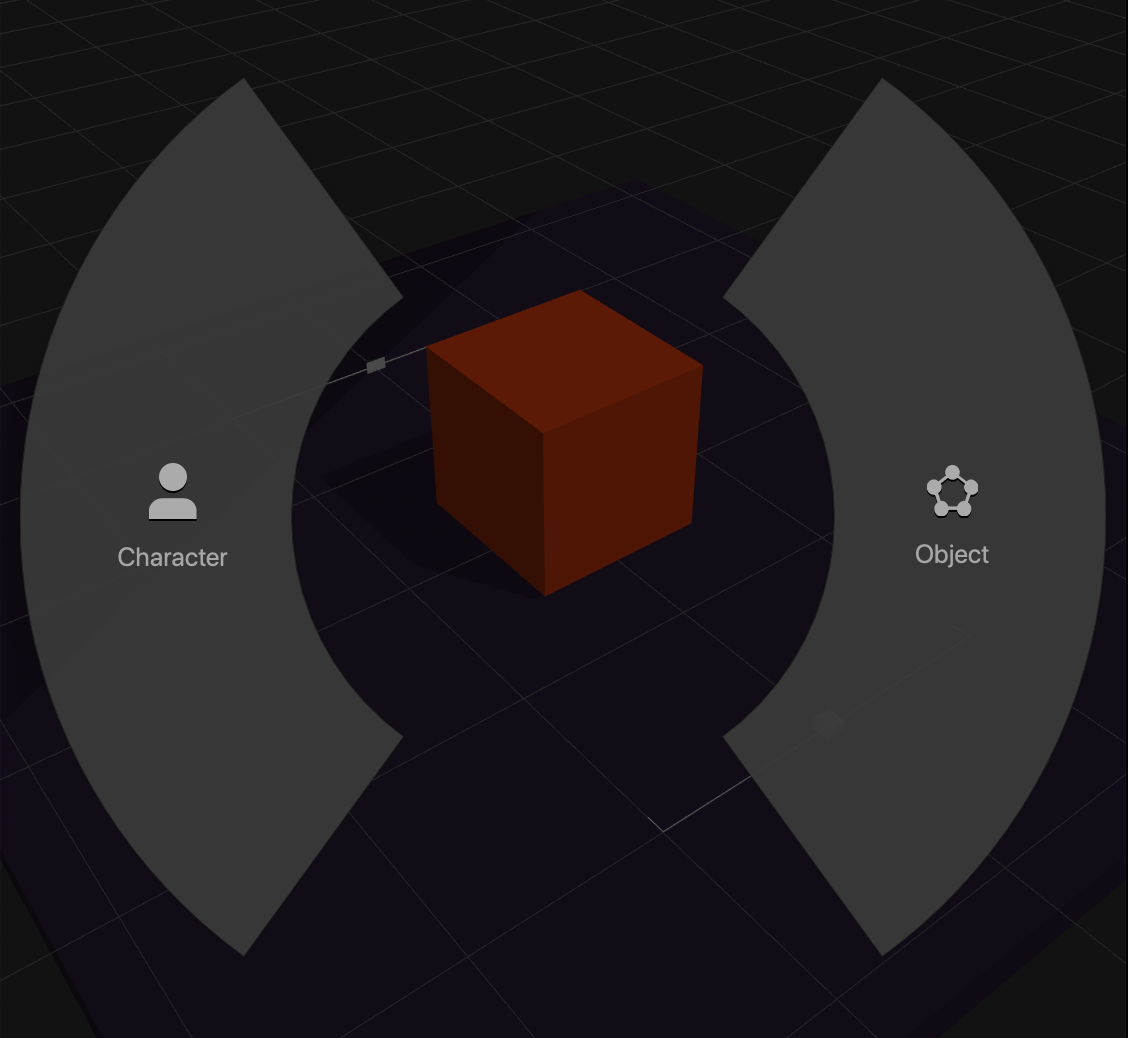
A Drop Wheel appears with two sections for you to assign a category for the image.

- In the Drop Wheel, drag the image over the Object section on the right.
- On the Scene Editor toolbar, click the Camera button
 to get the camera view.
 - On the Scene Editor toolbar, select the Move Tool
 and position the image in front of the camera to the desired location.
 - Select the Scale Tool
 and resize the image so that if fills all or most of the screen.
If needed, for details on using the tools, see Tools. - To attach the background image to the camera so that it remains in place in all scenes, in the Outliner, find the name of your image and drag it over the Camera.
The image now appears in the Camera drop-down list in the Outliner hierarchy. - To preview the background, select Run > Preview on the Buildbox menu bar.