
Scene Editor Tools
The following tools are located on the Scene Editor toolbar on the left. For the buttons on the right, see Scene Editor Toolbar Buttons.

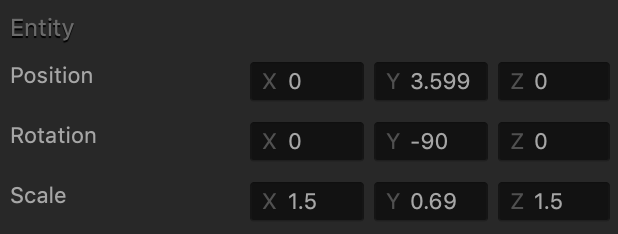
The axis handles of Move, Rotation, and Scale tools correspond to the following attributes in the Options panel, with the green handle representing the X axis, red handle representing the Y axis, and the blue handle representing the Z axis.
Depending on whether the Collision Shape Editor  button is selected on the Scene Editor toolbar, you may use these tools to manipulate either the assets themselves or their collision shapes. The examples and instructions in the table below refer to objects but they also apply to their collision shapes.
| Tool | Icon | Description | Selection Example |
| Select Tool | 
(`) |
Select multiple objects in the Scene Editor. Just click the tool button and draw a bounding box over the objects on the grid that you want to select.
You can also hold the Shift key and click each object you want to select. The selected objects get highlighted, with the axis handles displayed in the center of the selected group. Note that the handle shape depends on whether the Move, Rotate, or Scale Tool is currently selected. To see how this tool can be used, watch the Select Tool video. |
 |
| Move Tool | 
(1) |
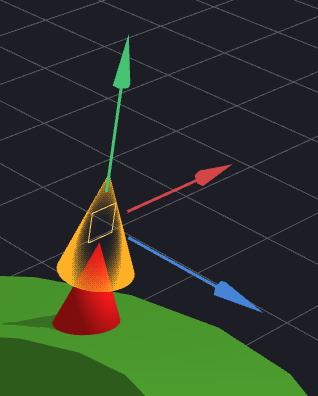
Change the position of the selected object in the scene.
Select the object, then click an arrow axis handles and drag the selected object in the desired direction along the selected axis. For example, to move the camera up, drag the green arrow. To move the object to an entirely new position, click the square where the arrows converge and drag the object. Alternatively, enter the appropriate numeric values in the Position fields in the Options panel on the right. To see how this tool can be used, watch the Move Tool video. |
 |
| Rotate Tool | 
(2) |
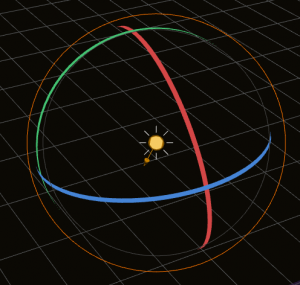
Rotate the selected object around a 3D axis.
Select the object, then click a circle axis handle and drag it in the desired direction to rotate the object. For example, to change the direction of light, drag the red handle to the left and note how the light reflection and shadows dropped on the objects in the scene change accordingly. Alternatively, enter the appropriate numeric values in the Rotation fields in the Options panel on the right. To see how this tool can be used, watch the Rotate Tool video. |
 |
| Scale Tool | 
(3) |
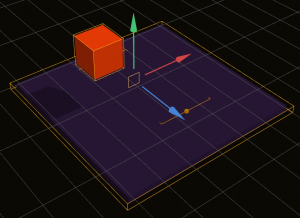
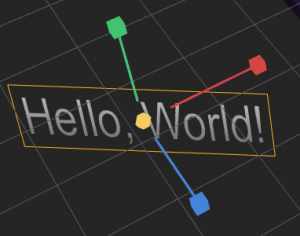
Reduce or increase the size of the selected object in proportional dimensions.
Select the object, then click an axis handle and drag the selected object in the desired direction along the selected axis. For example, to make the text label wider, drag it along the red axis. Alternatively, enter the appropriate numeric values in the Scale fields in the Options panel on the right. To change all three dimensions at once, click the circle where the handles converge and drag it to the desired scale. To see how this tool can be used, watch the Scale Tool video. |
 |
| Multitool | 
(4) |
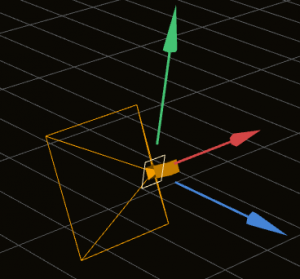
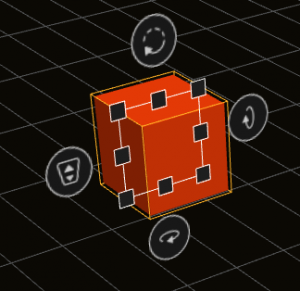
Position, rotate, and scale the selected object at the same time.
Select the object, then do any of the following:
Alternatively, enter the appropriate numeric values in the Position, Rotation, or Scale fields in the Options panel on the right. To see how this tool can be used, watch the Multitool video. |
 |


