In this chapter, we’re going to take a closer look at world settings and how they affect your game. We’ll show you how to customize and edit your world settings to make your levels interesting. You’ll learn how to play around with various properties to adjust the gravity, time warp, bounce settings and more within your game.
We’ll also further explain the different character gameplay settings, which more specifically define the behavior of your character in that world.
Lastly, we are going to get into building more levels for GLTCH. We’ll learn the art of layering and how to test out your levels in the debug mode.
Let’s start by talking about world settings and character settings. The great thing about using the creator in chapter two to get us started in this manual is that creator set us up with all the world and character settings done and ready to go for us.
We could literally release this game and never touch a single world or character setting. It’s that thorough but if we wanted to customize these settings, let’s talk about how we would do that.

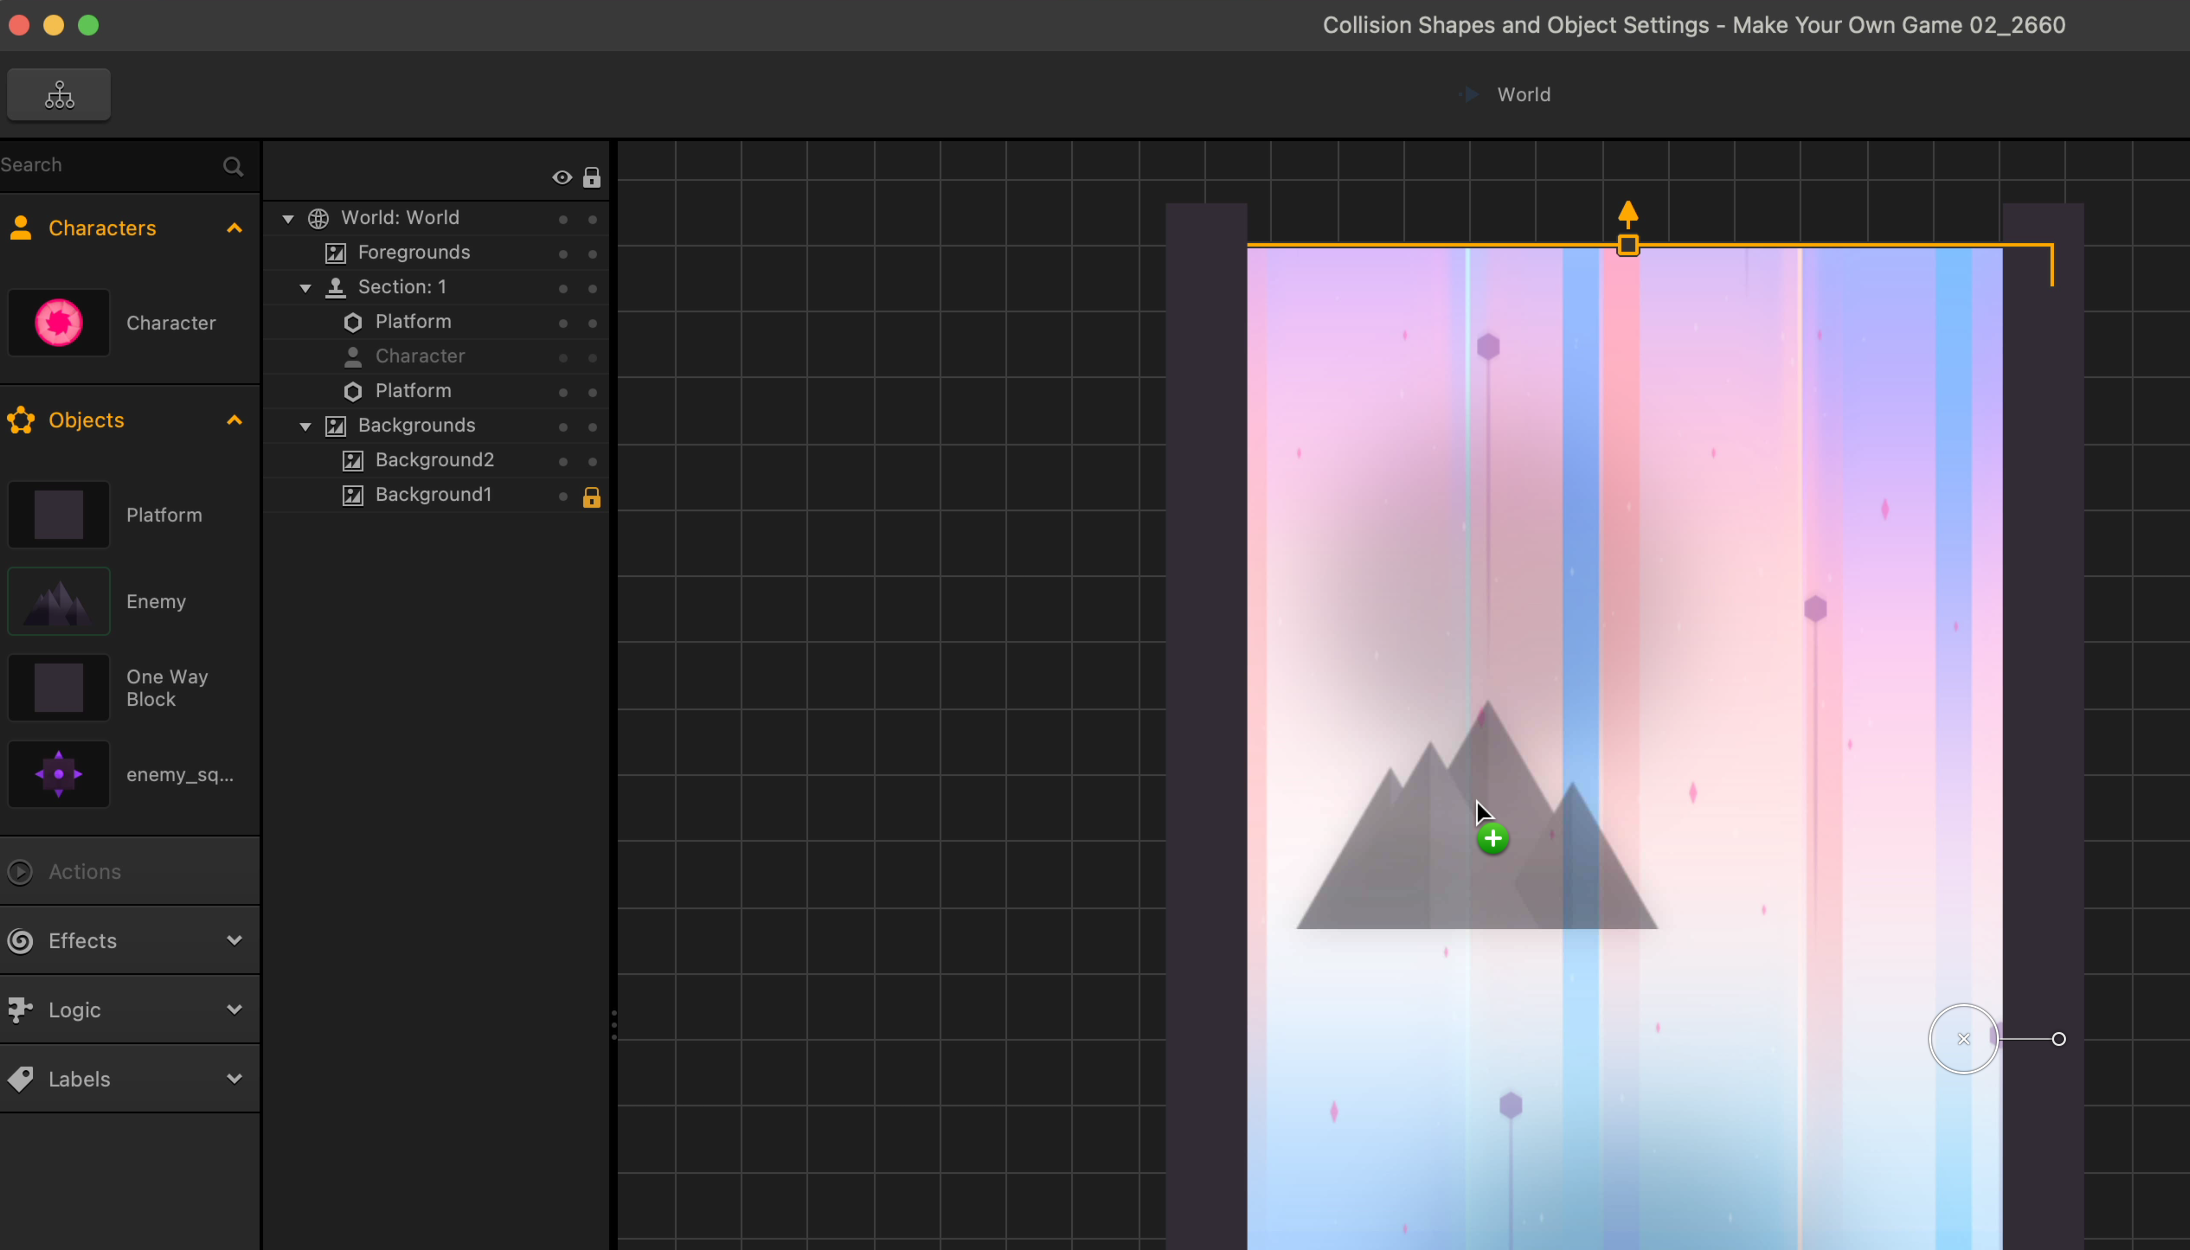
Let’s start by clicking the Mind Map button.
On the mind map you’ll see all the user interfaces and worlds that live in our game. The worlds are blue, while the user interfaces are green.
World Settings
Clicking on a world reveals the settings for that world in the options to the right. You can set different settings for different worlds. However, for GLTCH, you only have one world so let’s click on that and see how the settings work.

First, you’ll see the setting for the name of the world. It’s not exactly important for GLTCH, but imagine a game with multiple worlds.
It’s a good habit to name your worlds and user interfaces accordingly so as to avoid confusion when you start working on a more complicated game.
Naming your worlds as you create them would make it much easier to find what you are looking for in a game’s mind map.
Gravity Settings
We are now going to take a look at the gravity setting.
As explained in the previous chapter, the first box is the x-axis gravity, and the second is the y axis gravity.
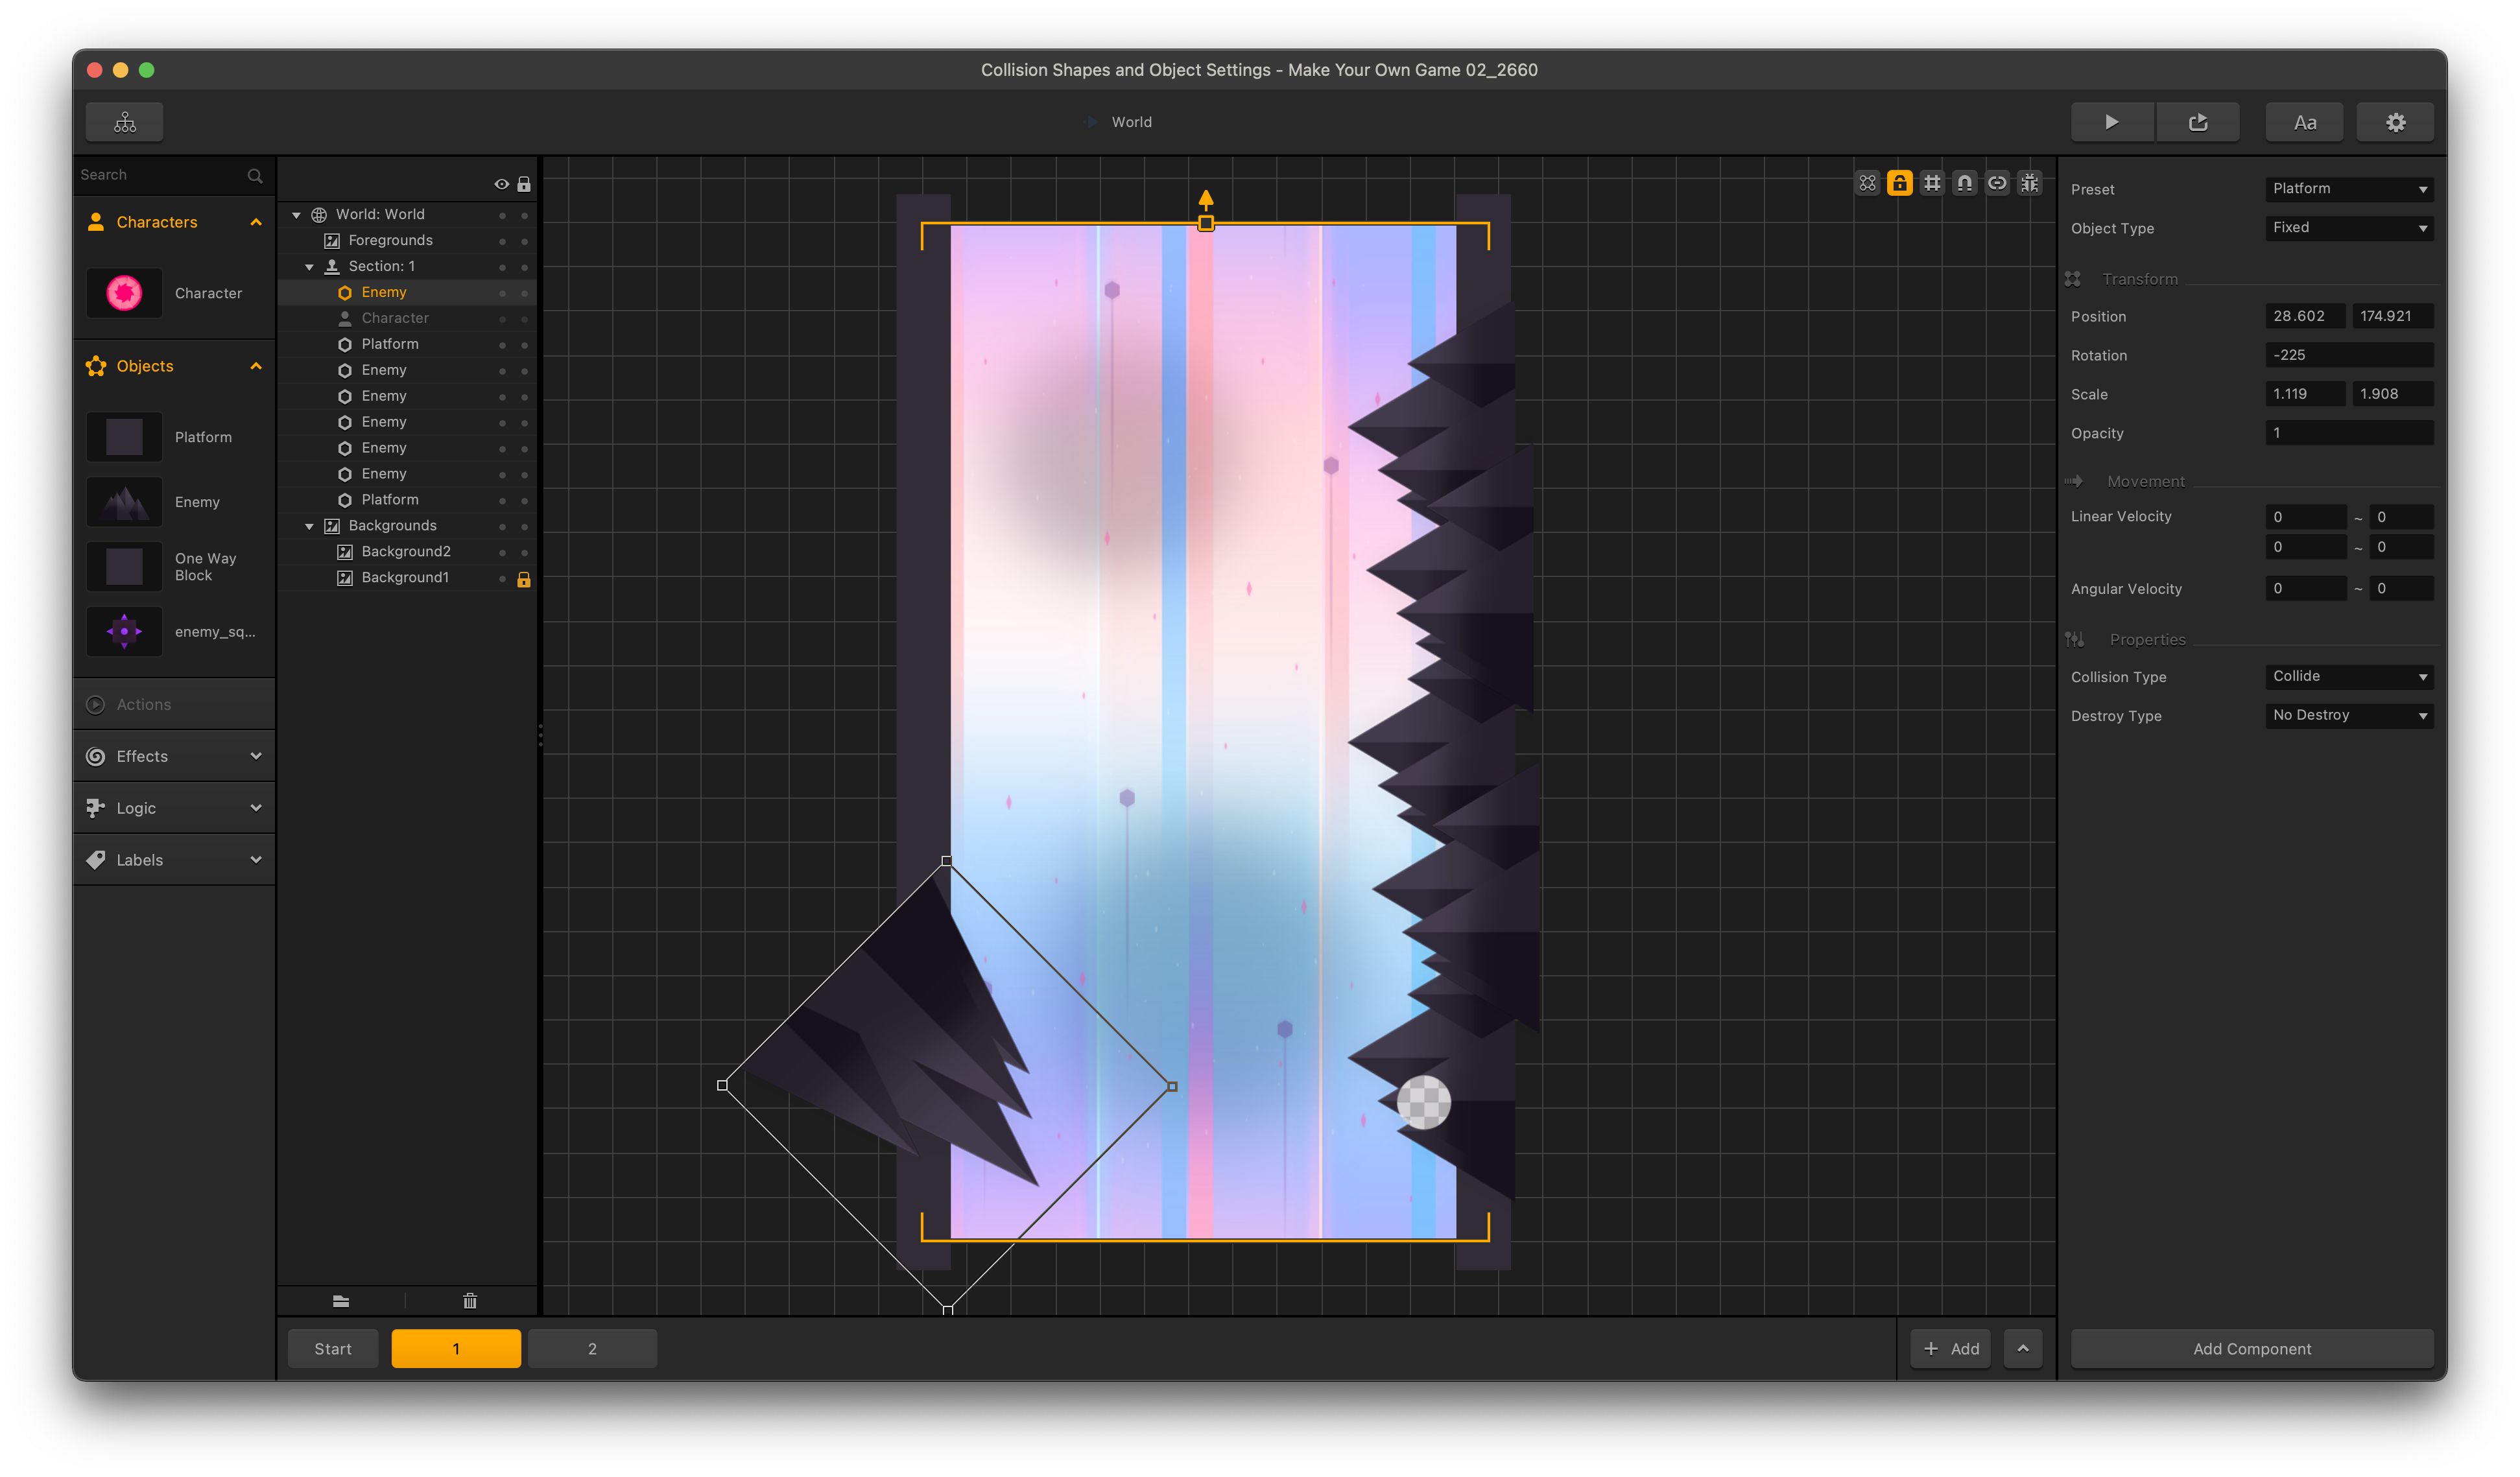
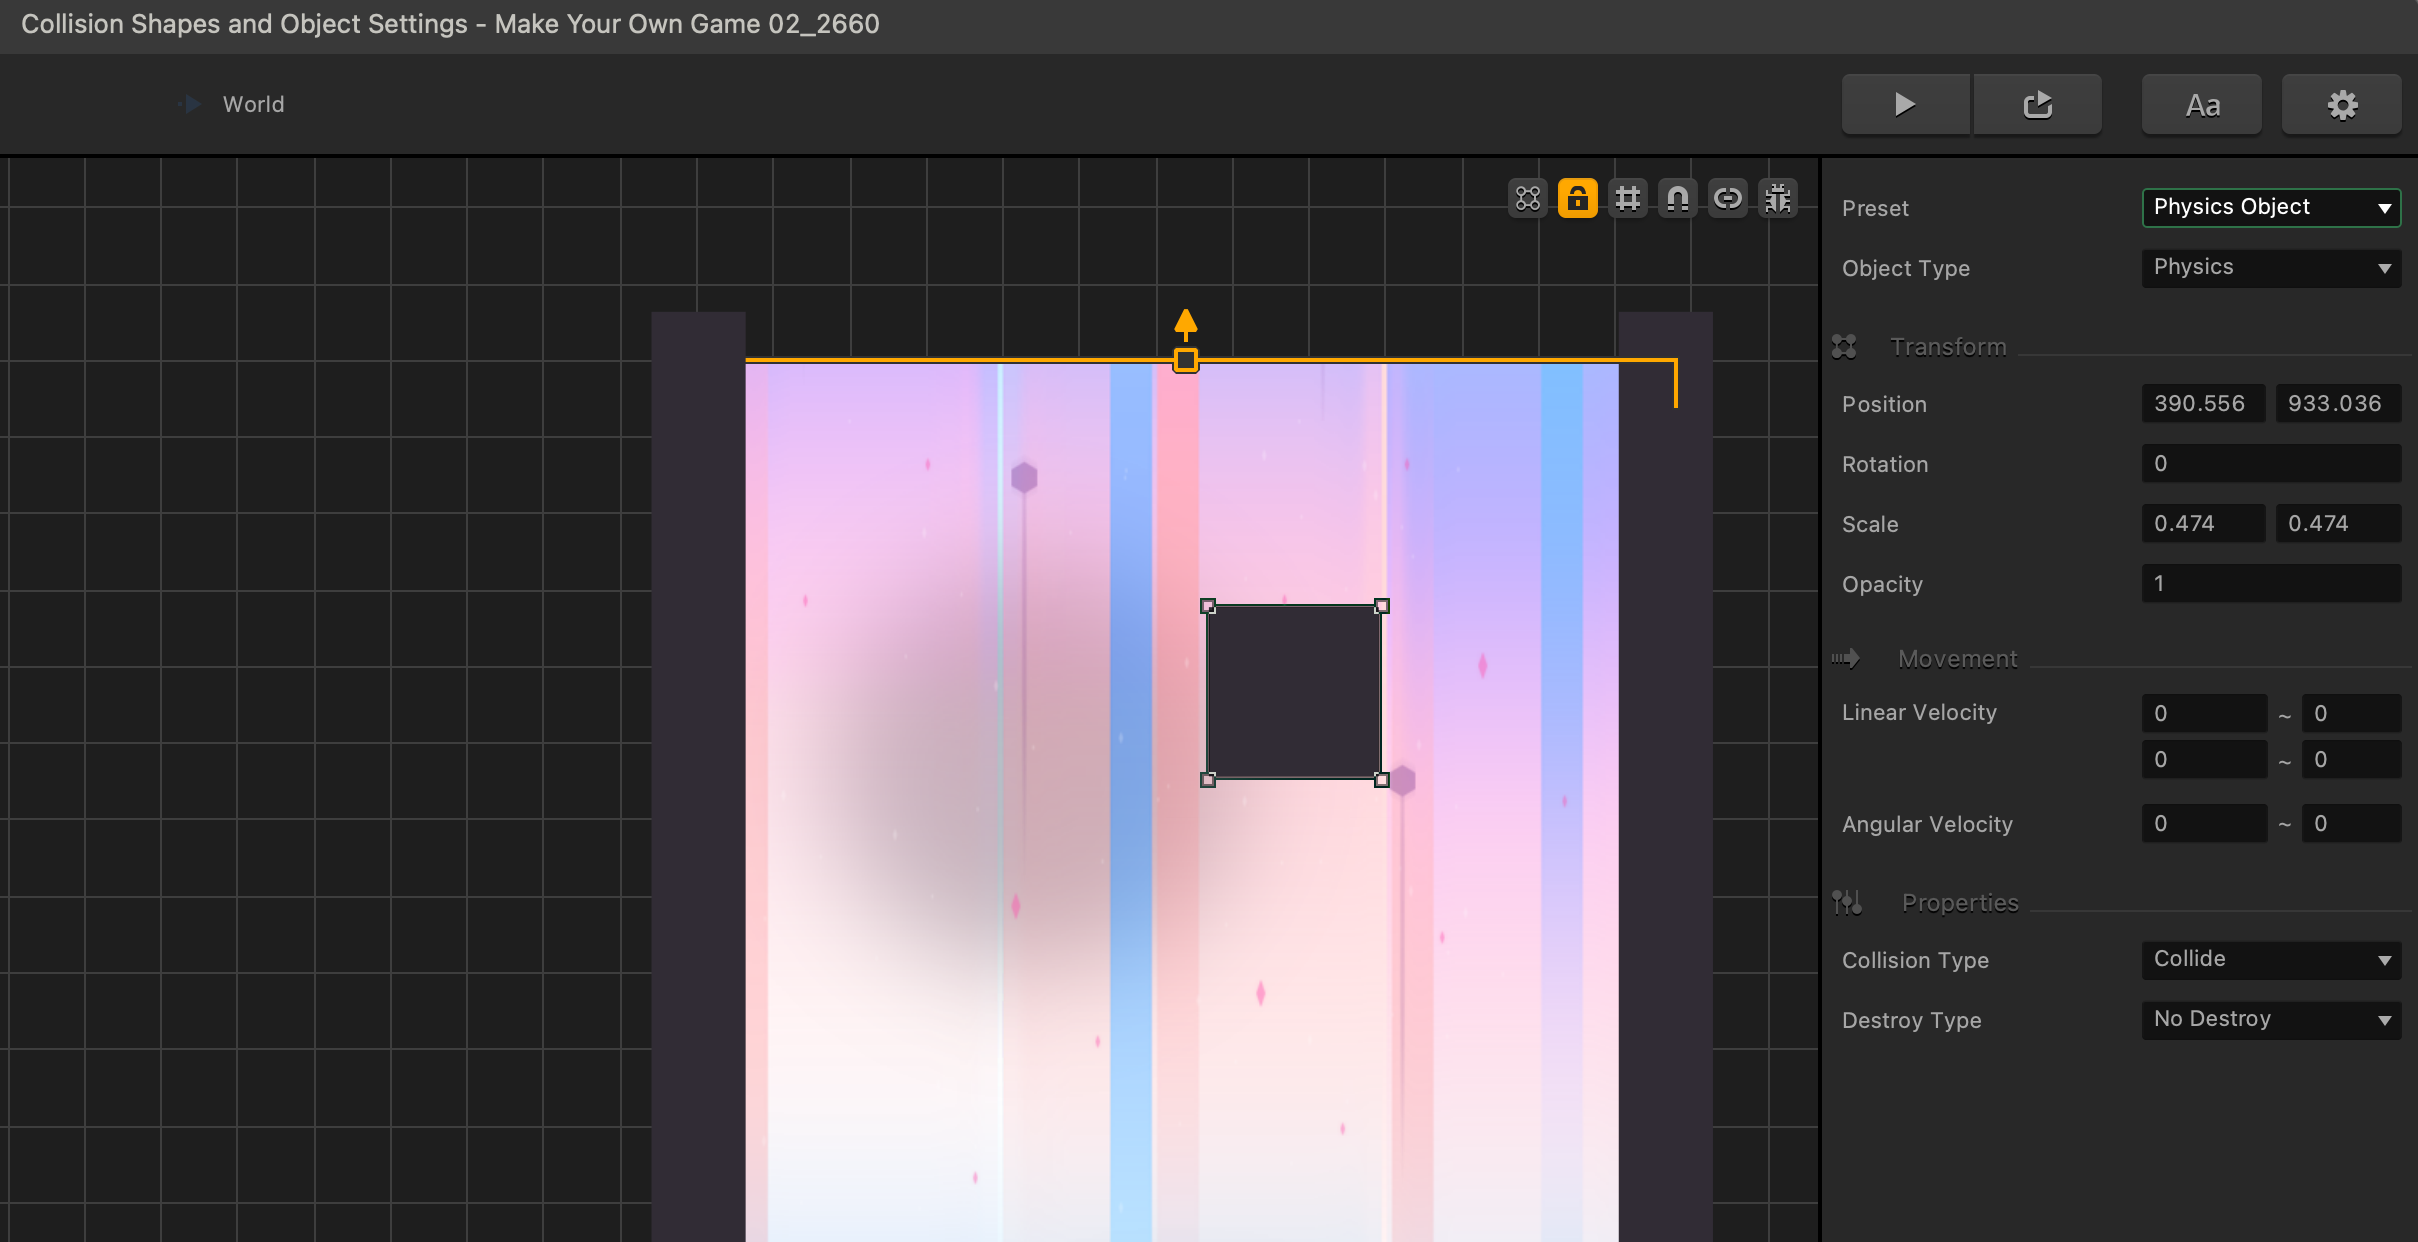
Gravity is the continuous force acting on every physics object as it does in the real world. We are going to Insert the platform object and set its object type to “physics”. The next step is to scale it to 0.5 by 0.5
It’s time to play with the gravity setting and see how this object reacts when you preview the game. Once you have done so, delete the object and set the gravity back to 0 as we won’t be needing gravity for a game like GLTCH.
Time warp is another important setting within our world. This determines the pace of the game. The higher the number, the faster everything in the game will go.
Right now, its default setting of 50 is a good pace for beginners but if we add, for example, 100, it will be too fast and might scare off a new user.
You can always play with this and perhaps think about a turbo mode for GLTCH.
The next setting in our world is called Friction. This refers to the friction between all objects. A high setting will make it hard for a character trying to push a physics object on a platform.
Continuing on we have Velocity Drag which places a force to slow anything that is moving. It directly opposes all movement unlike air-drag for character, though very similar. Imagine mud for movement.
The next setting is called Bounce and as its names says, it places a bounce force between all objects in the game.
Below Bounce, in the world’s panel, there is the Score Multiplier setting which is for distance-based scoring. Scoring is 1 point per pixel moved. A value here will increase that. For example, a value of 10 will mean 10 points per pixel.
There is also the Game Direction setting. This determines the movement of the game in clock-wise degrees, where 0 has the character moving left, -90 will be moving up, 90 will be moving down, and 180 will mean moving right.
Camera Smooth is up next in the world’s setting panel. This is an advance setting for how jittery the camera gets for certain game mechanics. Best to leave it as is for now.
The Object Deletion Threshold refers to how far off the screen do objects need to be before being deleted. This is for optimizing your game for mobile devices.
Lastly, for the world’s settings we have Movement which is a setting that makes our game scroll or stand still like a platformer.
Now that you have an understanding of our world’s settings, we recommend you to play around with all the world settings to learn more but just make sure you reset them back to their default settings afterwards.
Character Settings
In this section we are going to explain our character settings.
Although they are similar to the world’s settings, character settings would only apply to the character, whilst world’s settings apply to the whole game.
A good point to note is that we can have multiple characters with different settings.
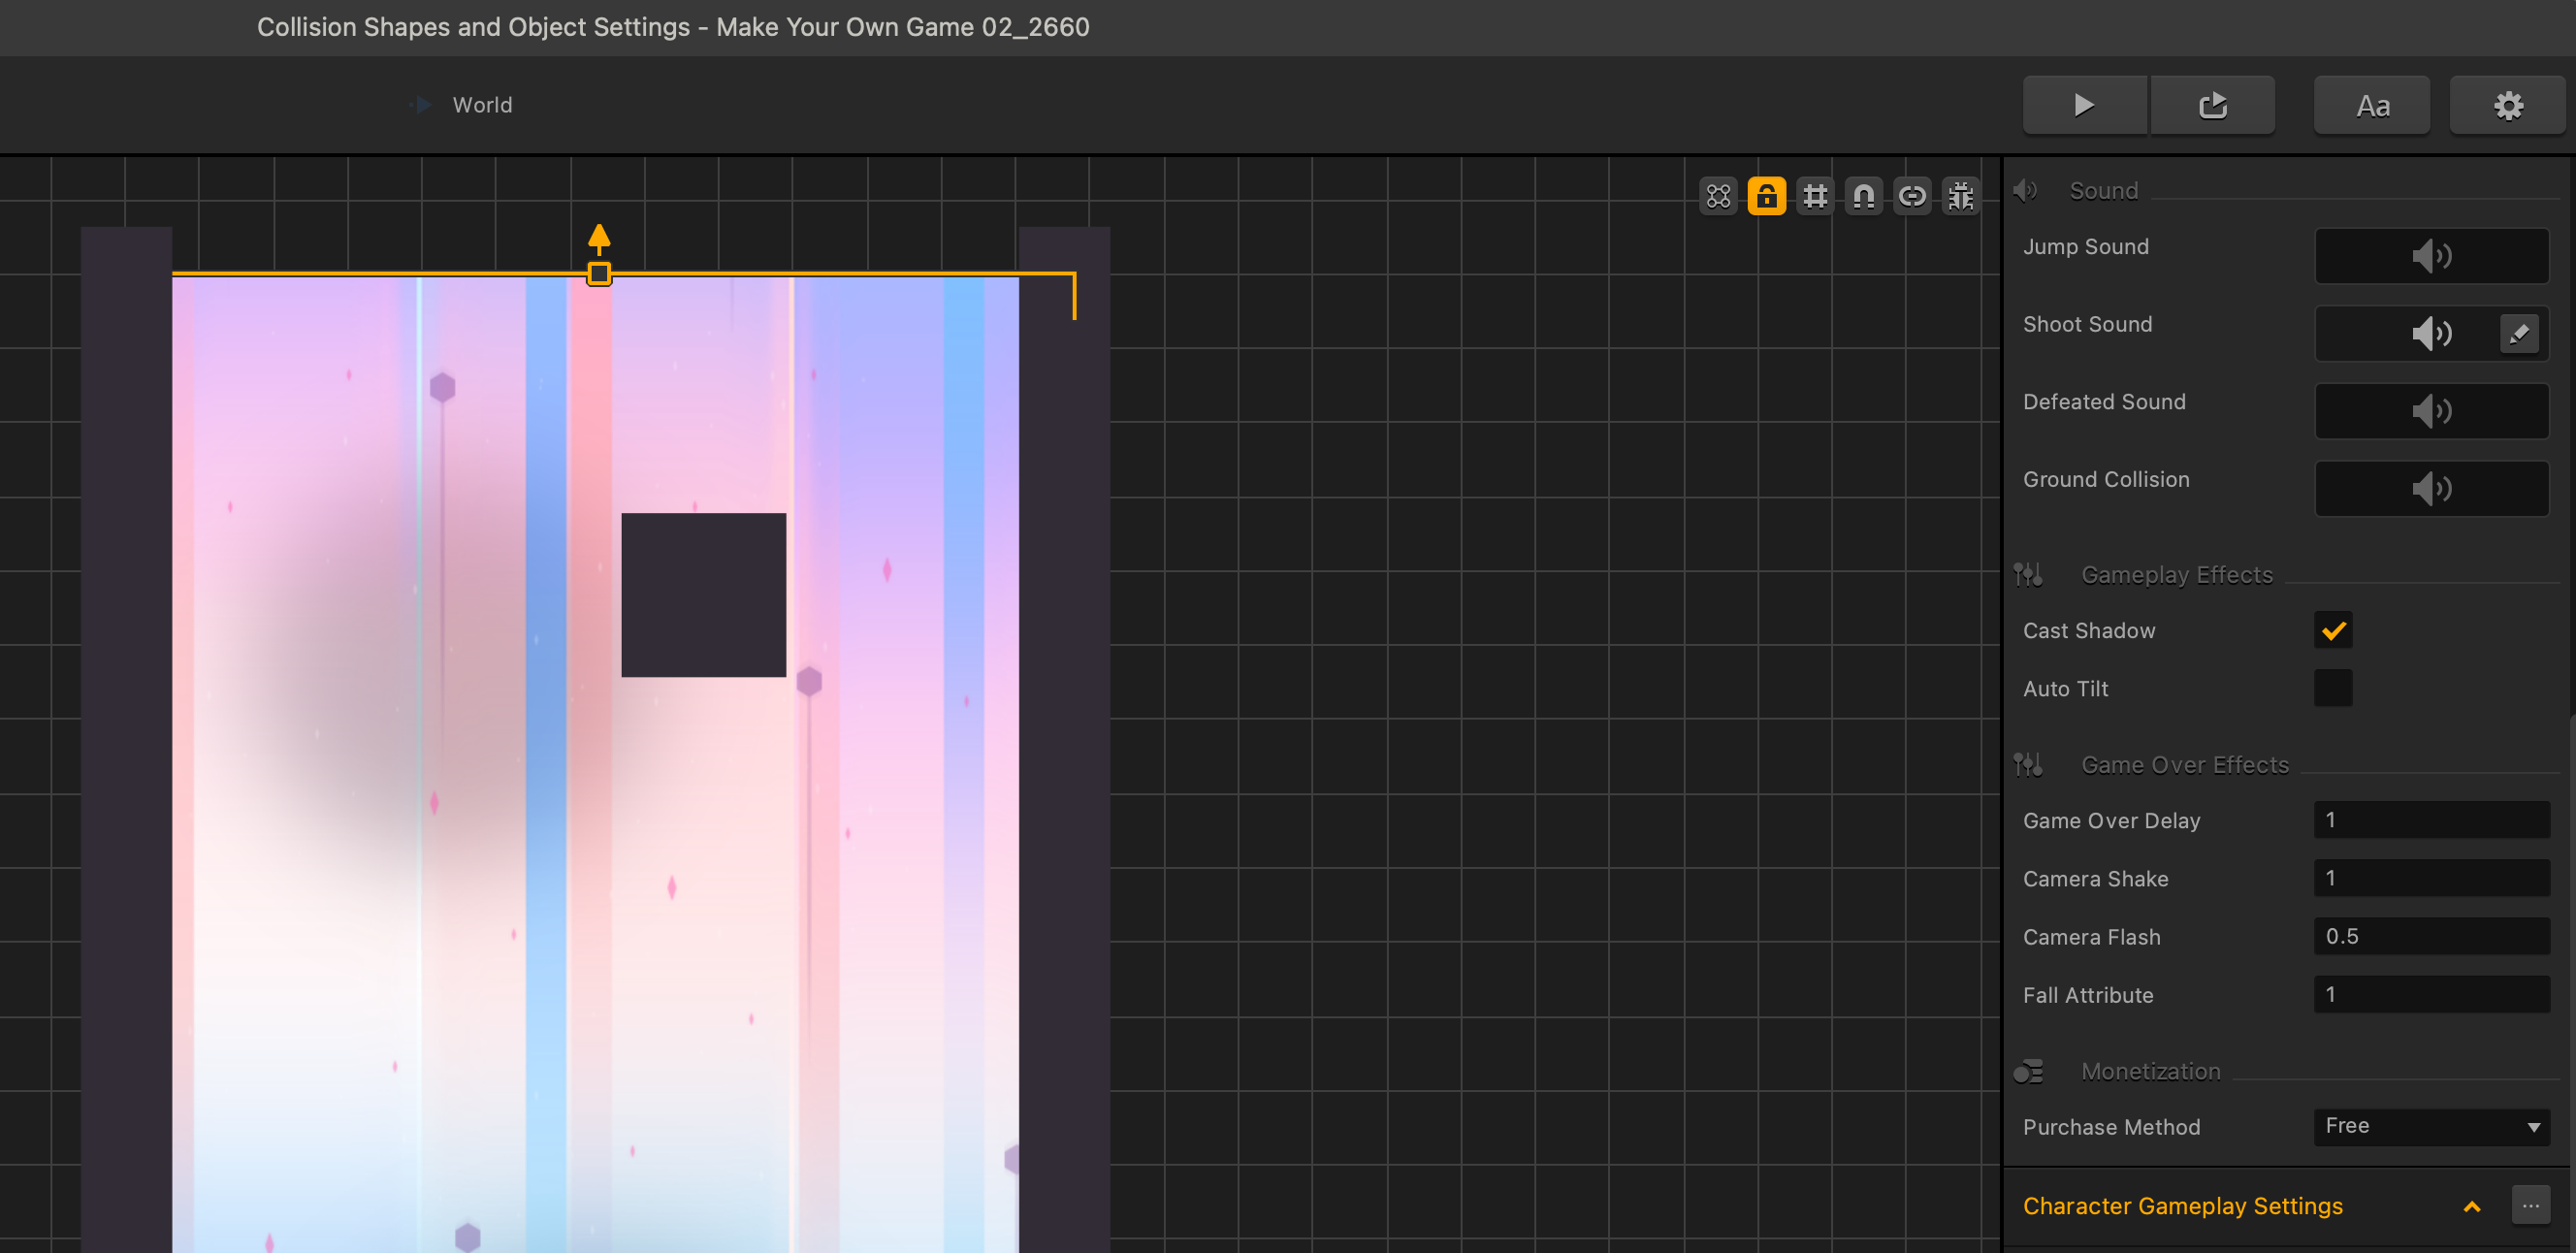
You’re already familiar with the animation settings as we have discussed that in the previous chapter. We have sound settings here which are drag and drop. Buildbox will accept mp3s, just drag an mp3 into those settings. There are settings for lighting and tilting your character when it moves. We have game over effects which we’re going to cover in another chapter. There are also options for how this character is available to the user.
Character Gameplay Settings
What we are going to explain next are the Character Gameplay Settings.
As you can see in the black box image, there are two boxes for the following settings: Max Speed, Bounce Force and Jump Force.
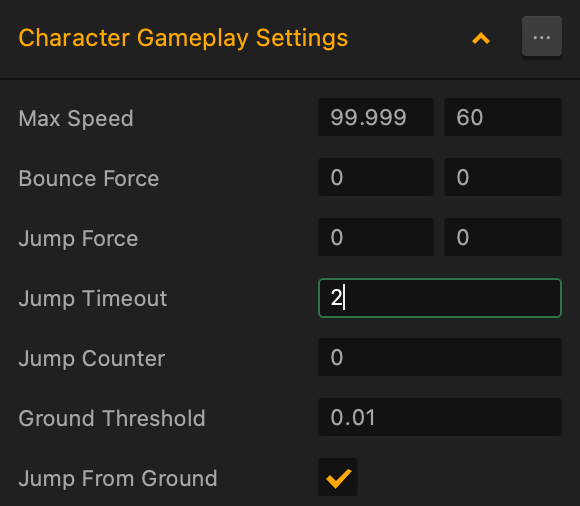
These boxes represent the X and Y movements.
- Max Speed, as its name says it, it’s the maximum speed allowed for a character’s movement.
- Bounce Force is just like the one for the World Settings but it applies only to the character instead. This will affect how much the character bounces off other objects.
- Jump Force represents how powerful we want the character’s jump to be.
- Jump Timeout allows us to vary the jump. A higher value allows the player to hold the tap longer for a bigger jump.
- Jump Counter is how many jumps can be executed before hitting the ground. If you want to have a double jump feature for the character, we put a 2 in here.
- Ground Threshold is a setting to detect when the player is on the ground. Unchecking “Jump From Ground” allows the player to jump in midair.
- Left lean force and right lean force will lean and rotate the character in that direction.
- Platform Friction is the force that brings the character to a stop on a platform. A lower number gives the character an icy slide effect on a platform.
- The Rotation Drag is just like the velocity drag, but it is mud for rotation. Meanwhile, Air Drag is similar, but it slows down character’s movement in the air.
- Direct Movement allows the character to move around the screen using directional controls.
- Forced Movement is a setting that moves the character with the game.
- Fixed Rotation means the character will never rotate no matter what happens.
- Image Direction means the character will point to the direction of movement.
Since we have covered the character’s gameplay, we hope you have a good sense of the settings that are needed to modify the gameplay.
What we want to do now is to add more scenes to play in for our game. To do so, please delete unnecessary objects from the scene by clicking on them and hitting delete. You can also do this by deleting them from the outliner.
Drag objects from the assets panel to the scene. Once they’re in the scene, don’t forget to change their settings to make them behave as you want them to.
You can also copy objects from one scene to another with [ctrl]+ C for PC or ⌘+C for Mac. You can paste them on the scene with [ctrl]+V for PC or [command]+V for Mac.
Adding Elements to the Game
In this section we are going to create a new enemy so that we can add variety to the game!
The first step is to search for the folder containing the images of this enemy. This is what it looks like:


Select all images in the “Ball Enemy Animation” Folder and drag them into Buildbox. Once the wheel shows up, hover on to the “Object” side of the wheel and then release.
Don’t forget to change its collision shape to circle and adjust accordingly. Using the lessons we learned in the previous chapter, change its preset to “Enemy” and give it movement in the scene.
Tip: You might want to revise and reread previous chapters at this point.
Your mission, should you choose to accept it, is to add ten more scenes to your game. Remember, selecting a scene and pressing the “D” key will duplicate the scene.
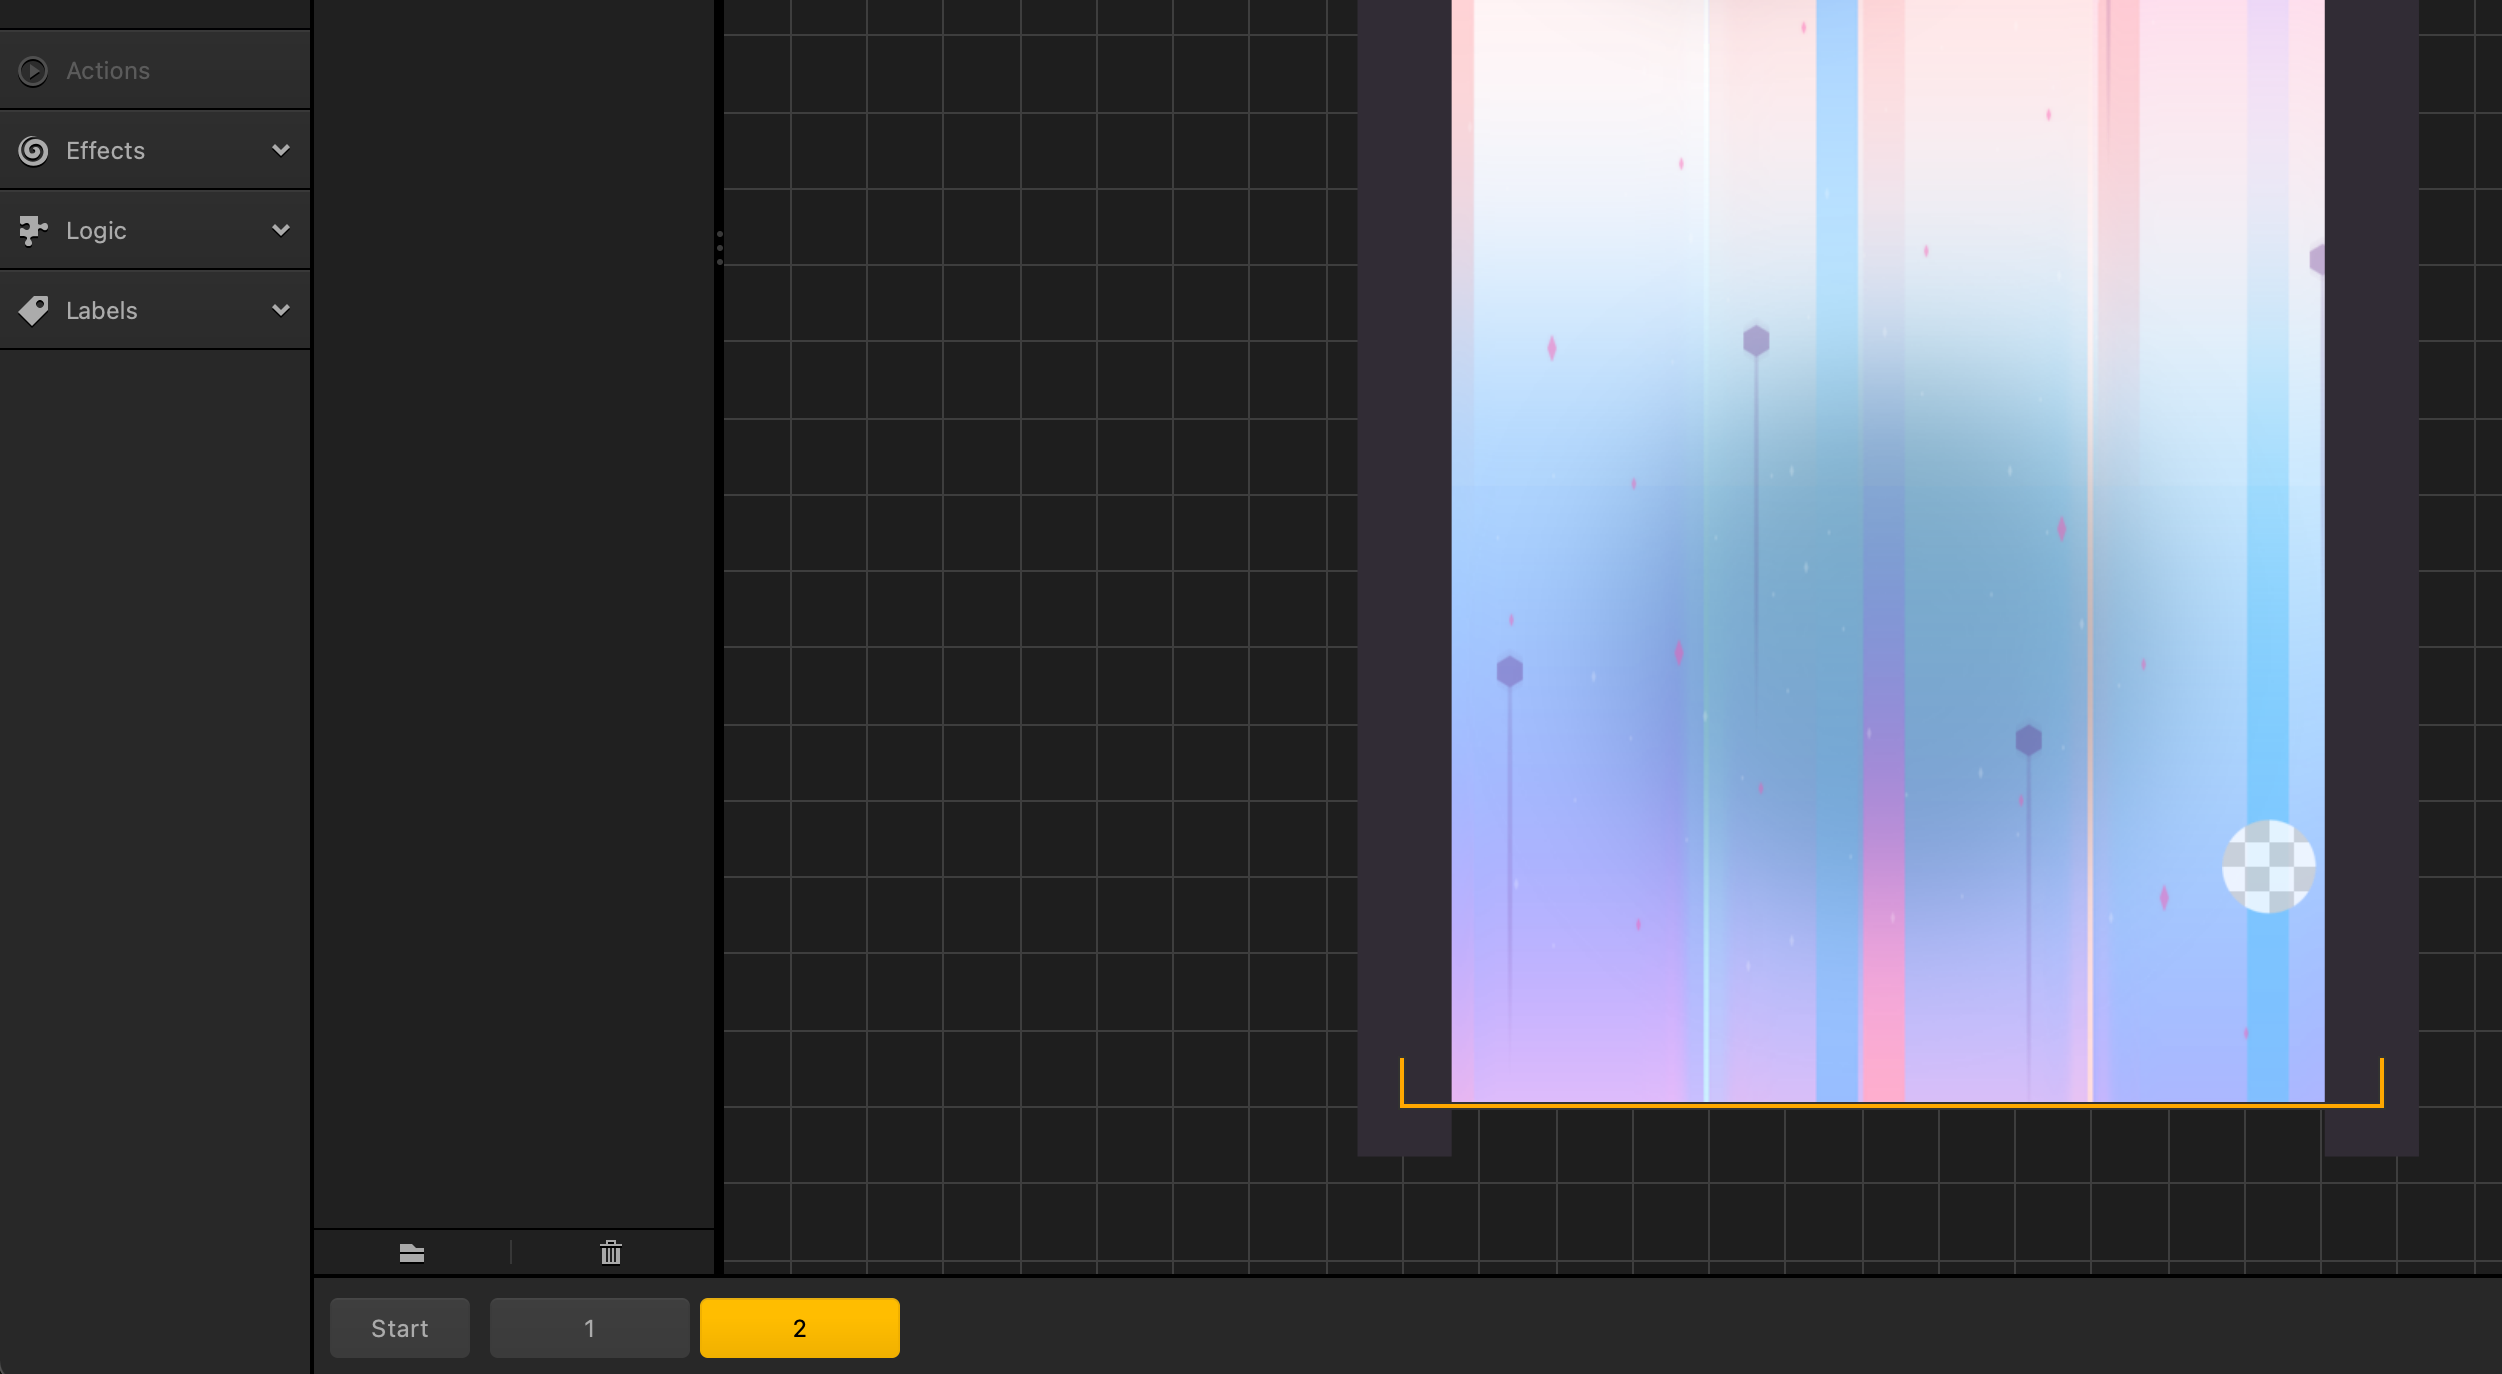
You can select a scene and press “S” to solo it, which means when you preview the game only that scene plays. You can also press “M” to mute the scene so that it doesn’t appear when you play the game. These are great for testing.
One of the fun things about playing games is the difference in the levels. We want to encourage you to make all your levels unique. This way, players won’t feel like they’re just repeating the same levels again and again.
Because the scenes are randomized, remember to test the levels out so that any scene works when followed by any other scene.
Speaking of randomizing, sometimes enemy movements have to be more specific. Too much randomization can make your game unplayable.
Lastly, always ask yourself while making a level if your game is too hard or too easy. Most popular games got the right balance between the two.