
So far, we used creator to build a playable skeleton of a wall jump game, we dropped in a ton of graphics to customize it including our menus.
Here in chapter two, we will work on the foundation of level design and discuss editing the collision shapes for our new graphics. We will bring a new enemy into our game and bring it to life by going into great detail on the object settings and the object components.
First, let’s talk about Collision Shapes.
A collision shape is the shape of an object as “seen” by the collision/physics engine. Collision Shapes are what Buildbox uses to decide when objects interact.
For example my character looks like it hits the wall and has stopped because the collision shape of my character has collided with the collision shape of the wall, and so without collision shapes the graphic for my character would just fly off the screen and it would be no fun.
Just because you have a circle for an image of an object, doesn’t mean that Buildbox automatically realizes that the object is supposed to be circular. We have to determine the collision shape for Buildbox to recognize it. Same goes for other shapes.
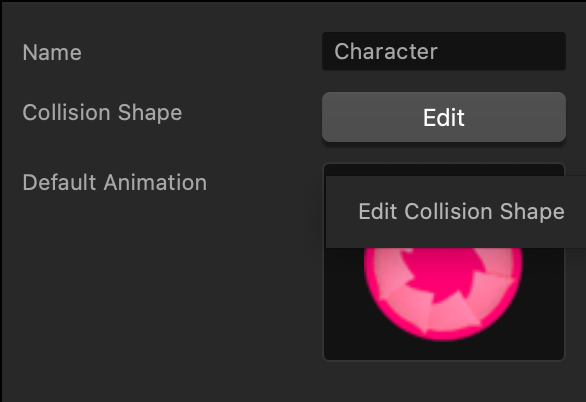
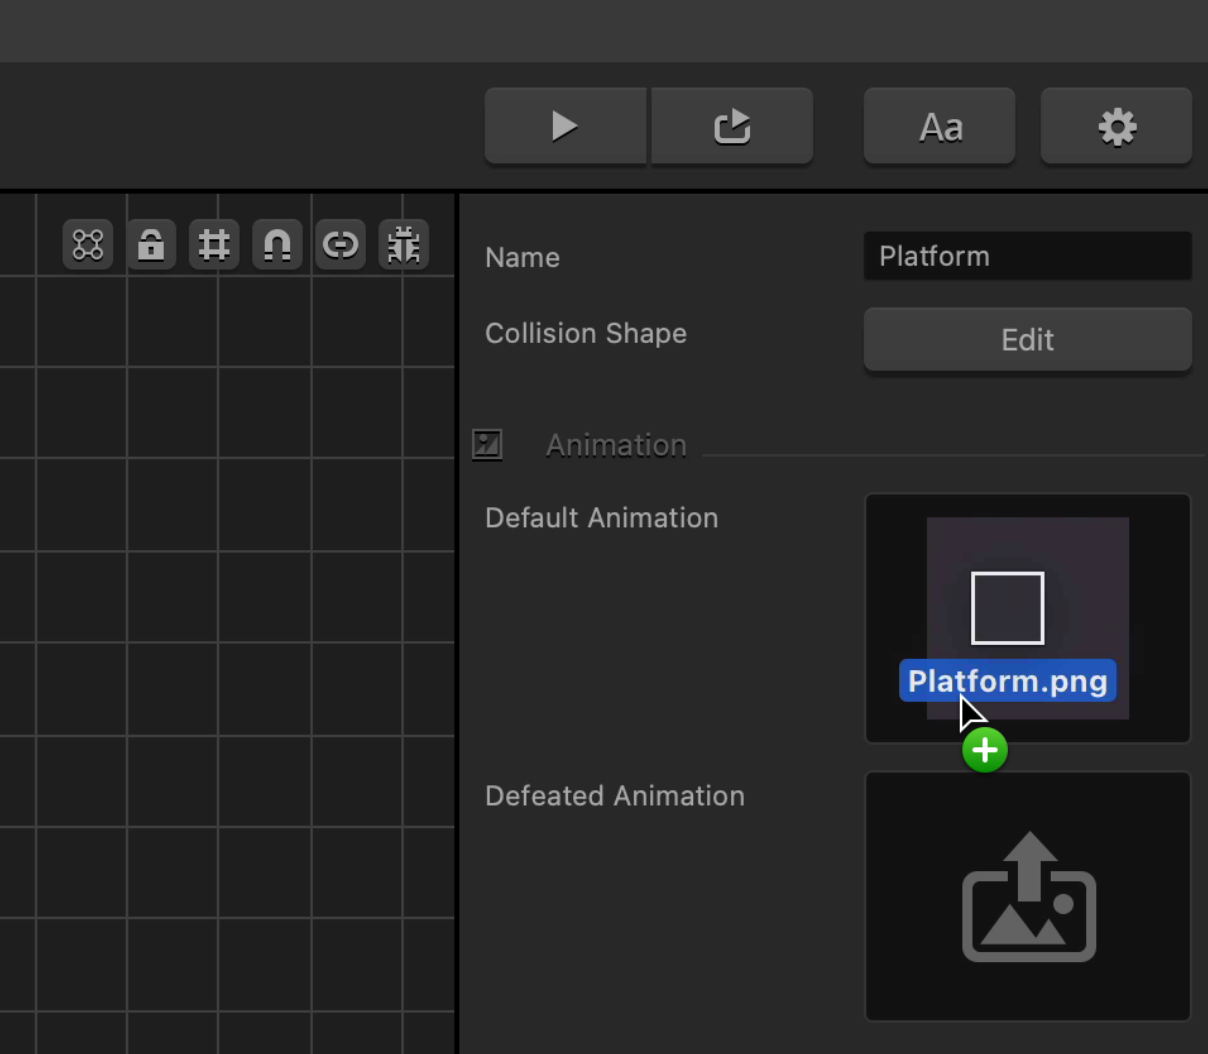
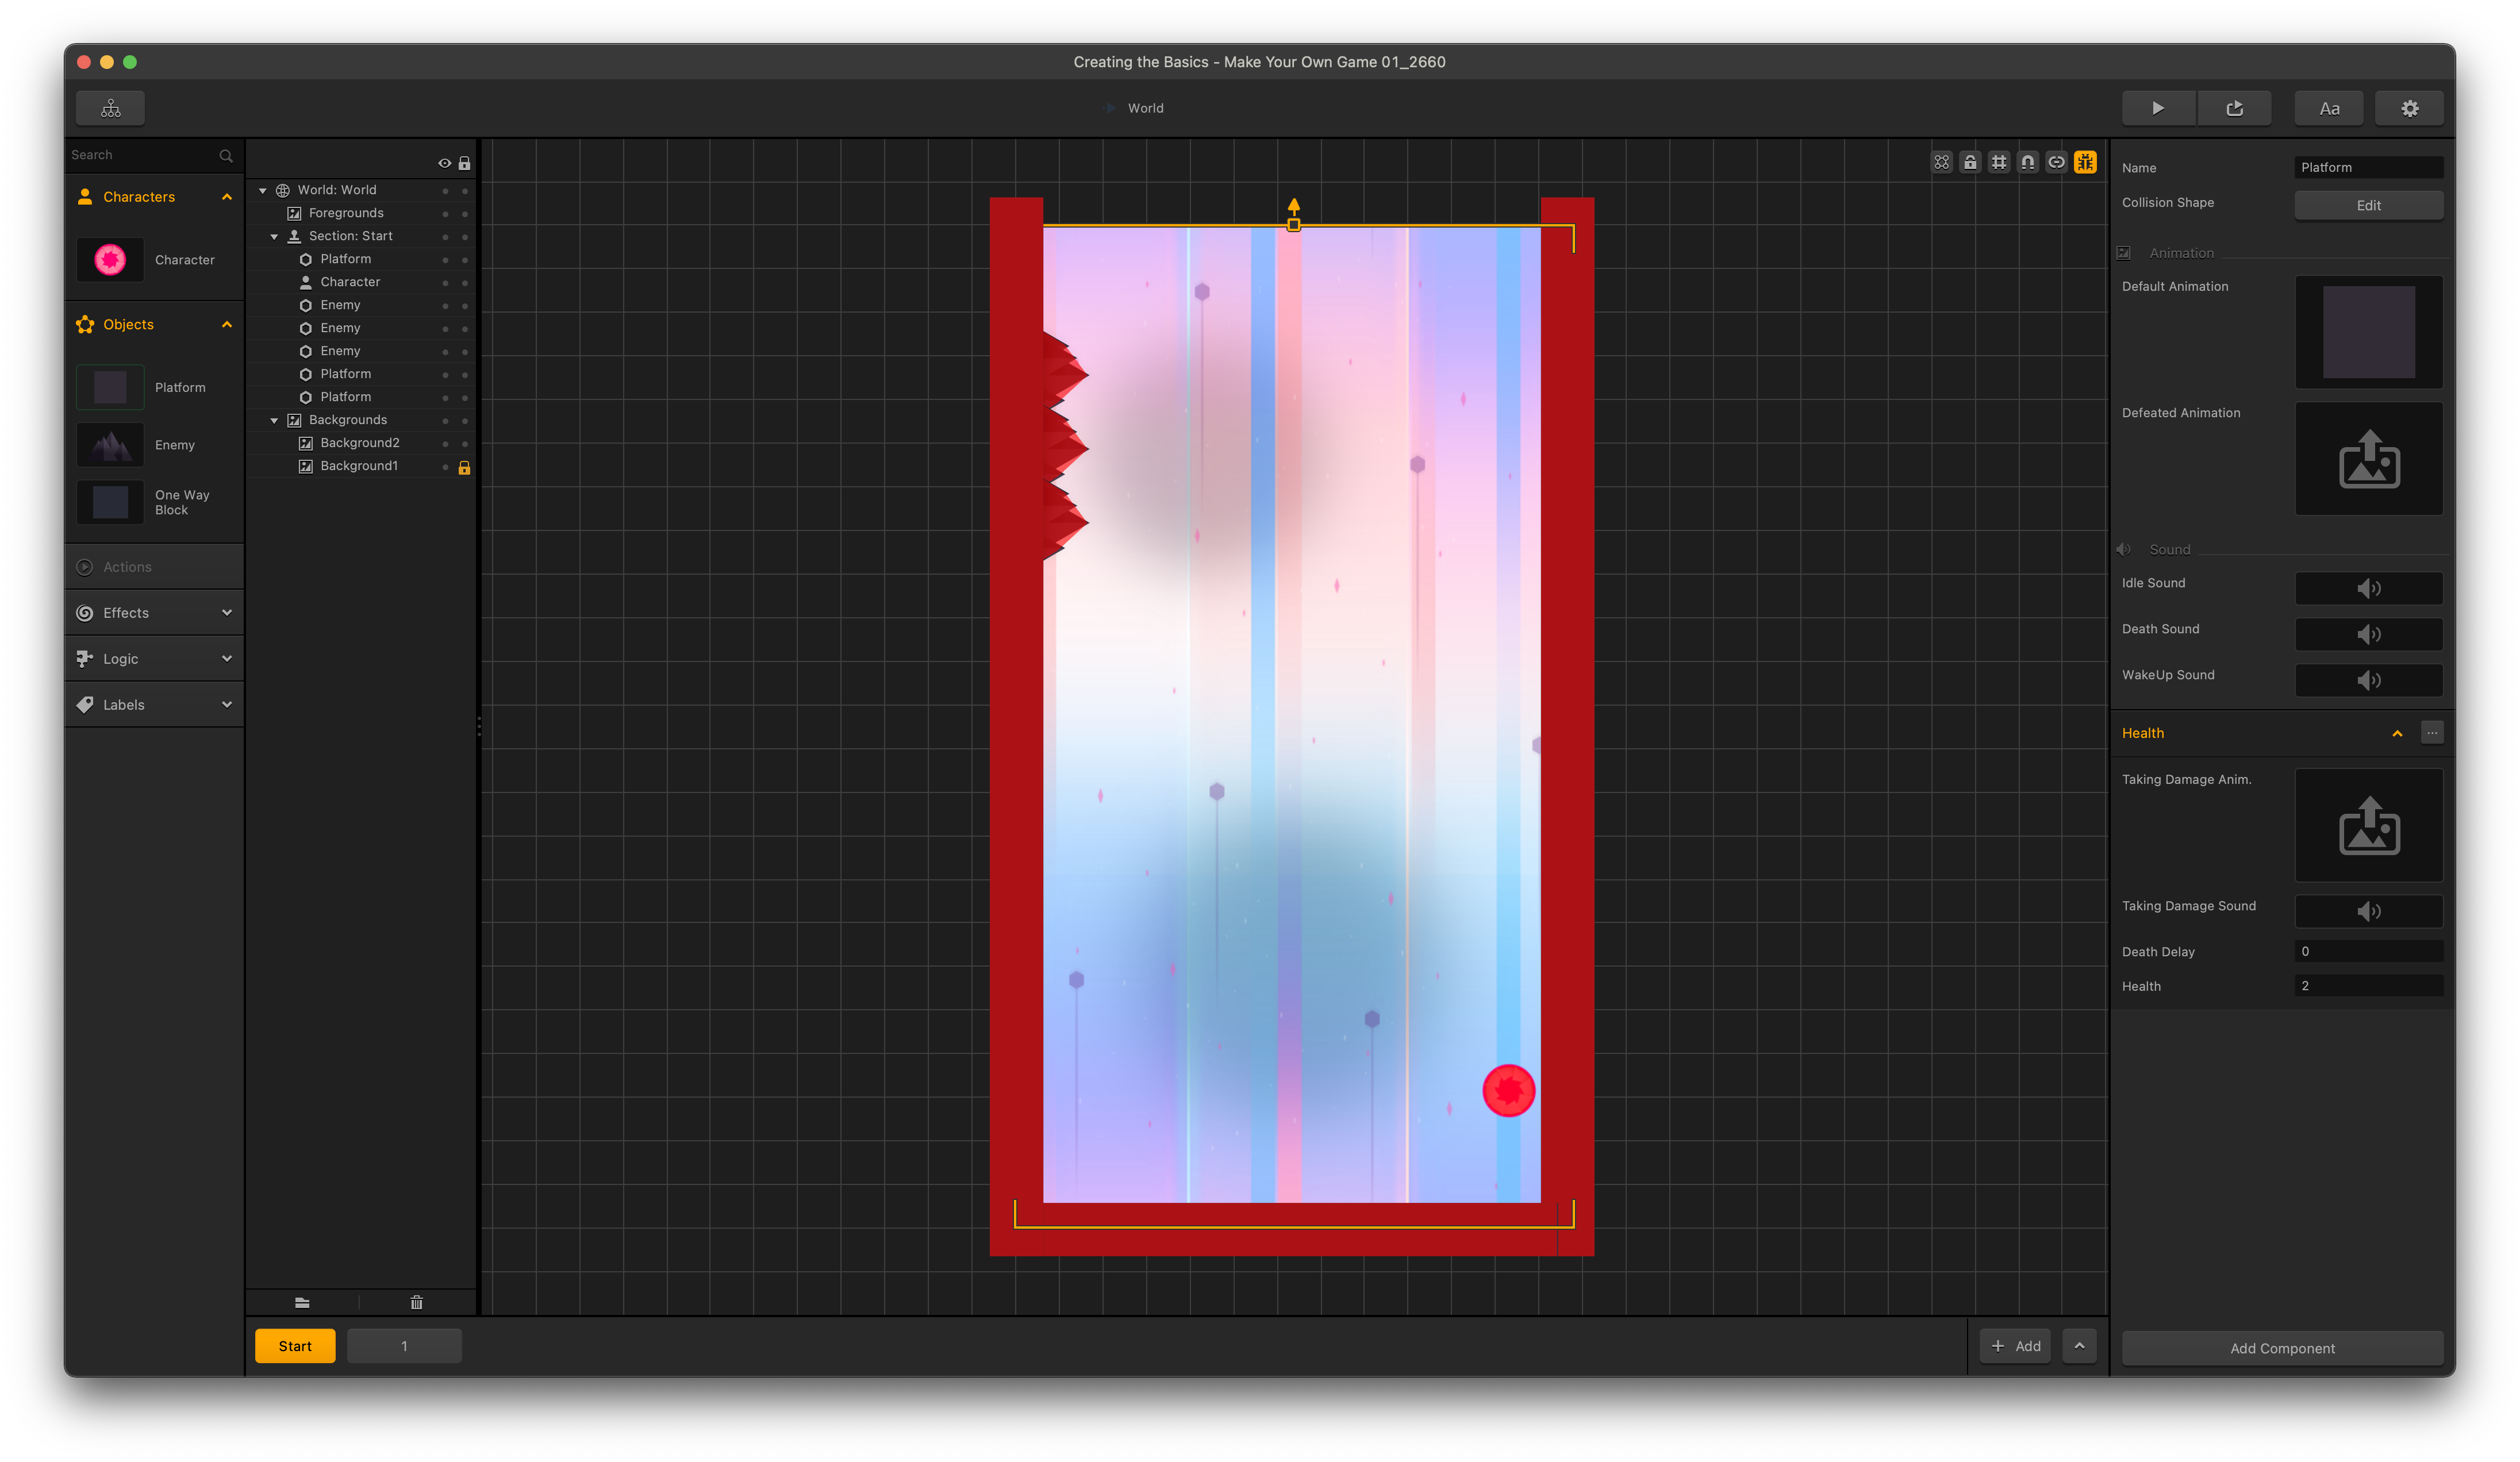
We are going to start building our character and to do so, you will need to select the character located in the assets panel to the far left. You will see the global options appear in the options panel to the far right directly above the default animation.
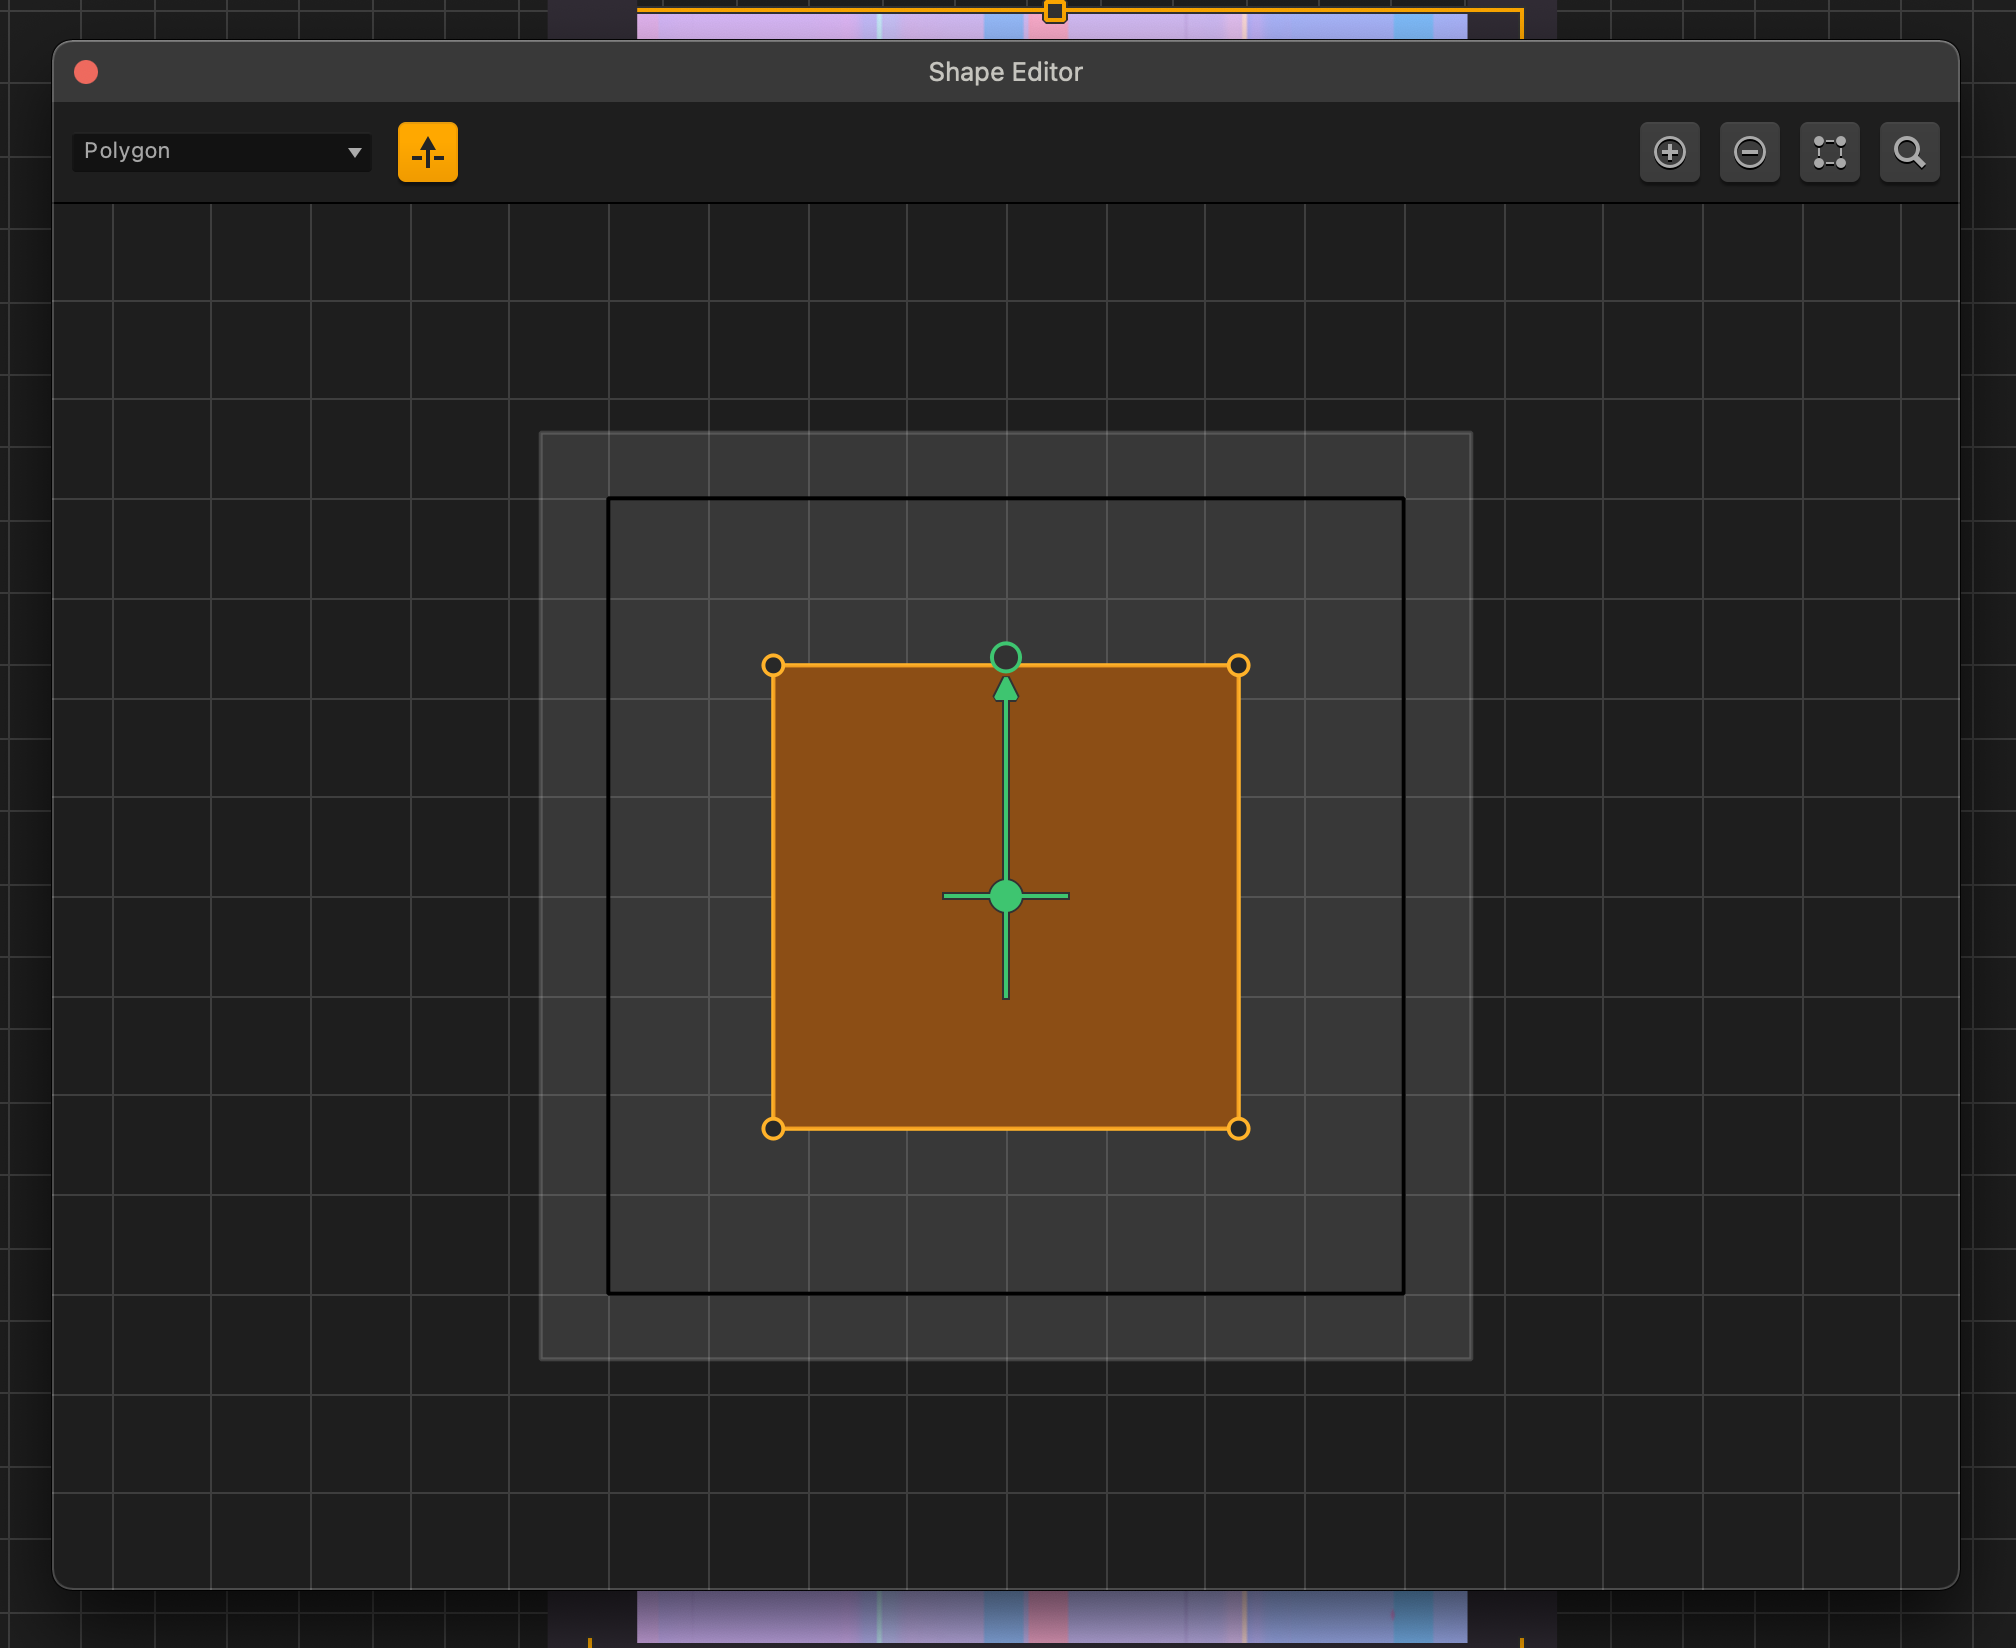
Directly above the default animation of any object and character there is the button for editing the collision shape. You will need to Click on that button to open the collision shape editor.
We are now going to make our object nice and big in the editor, so we can get as precise as possible. Simply resize the window to increase its size. Similar to any editor in Buildbox, the mouse scroll button will zoom us in and out. Holding the spacebar down while we click and drag will move the editor around.
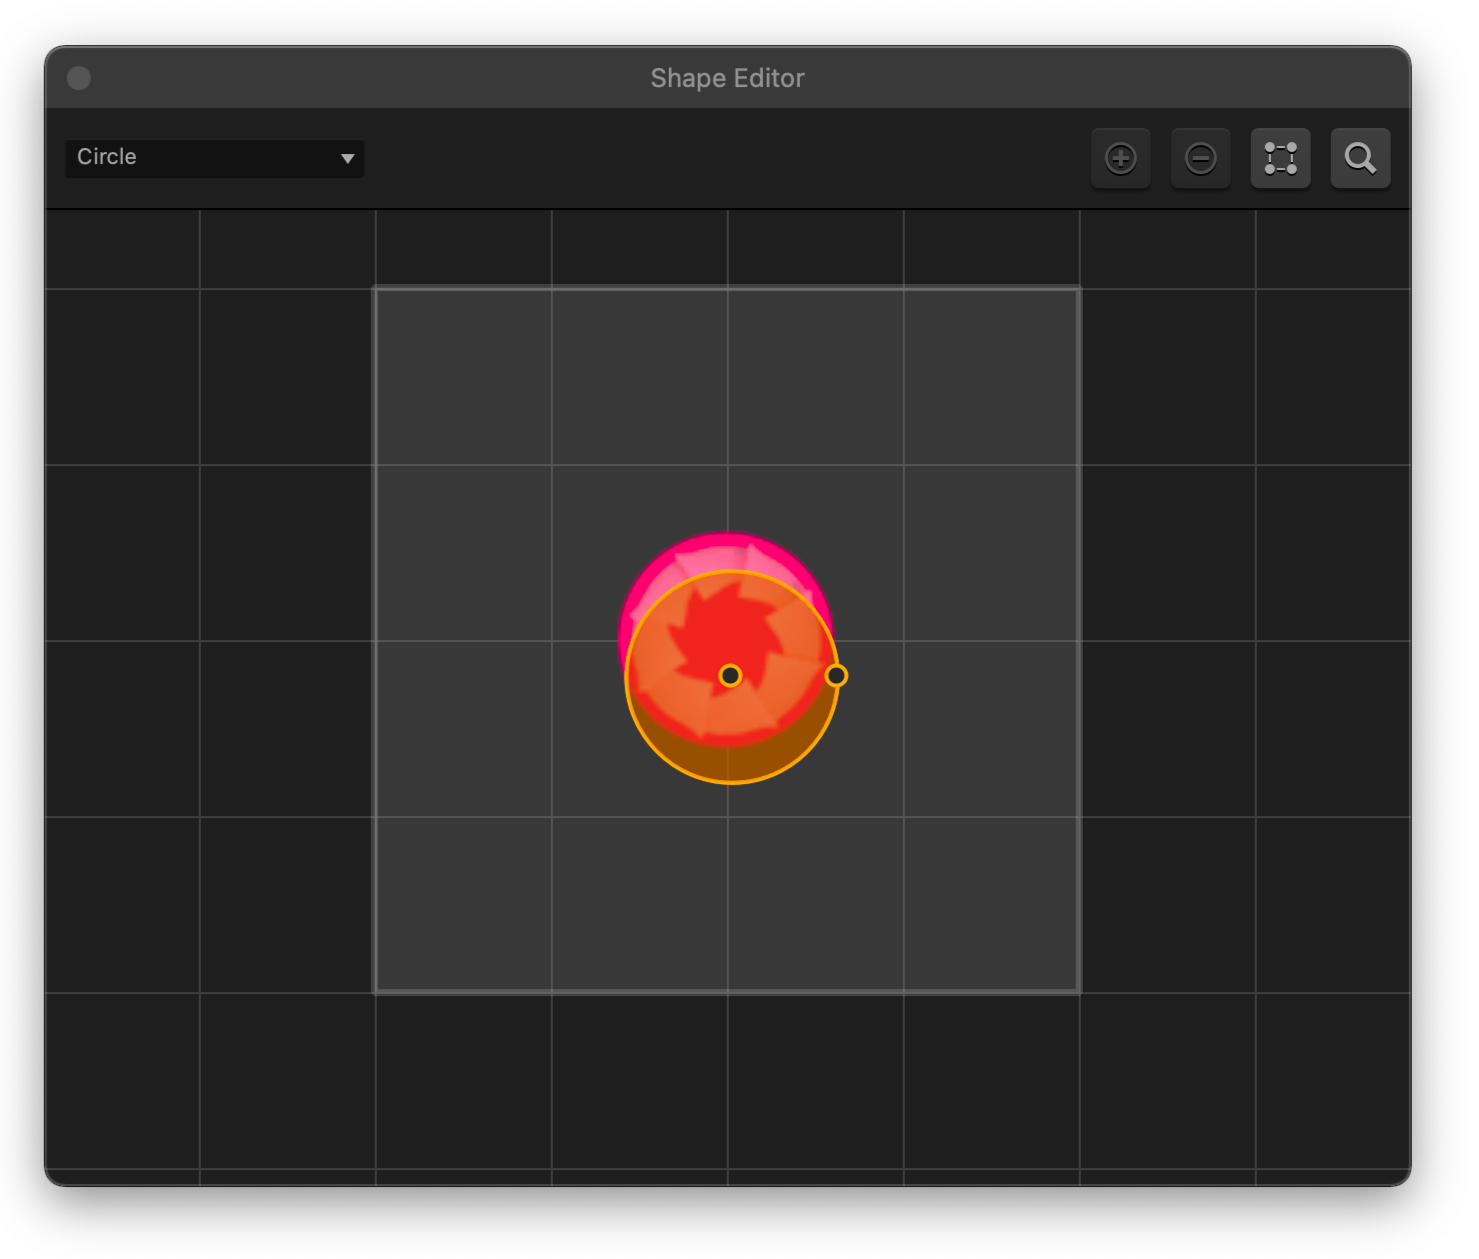
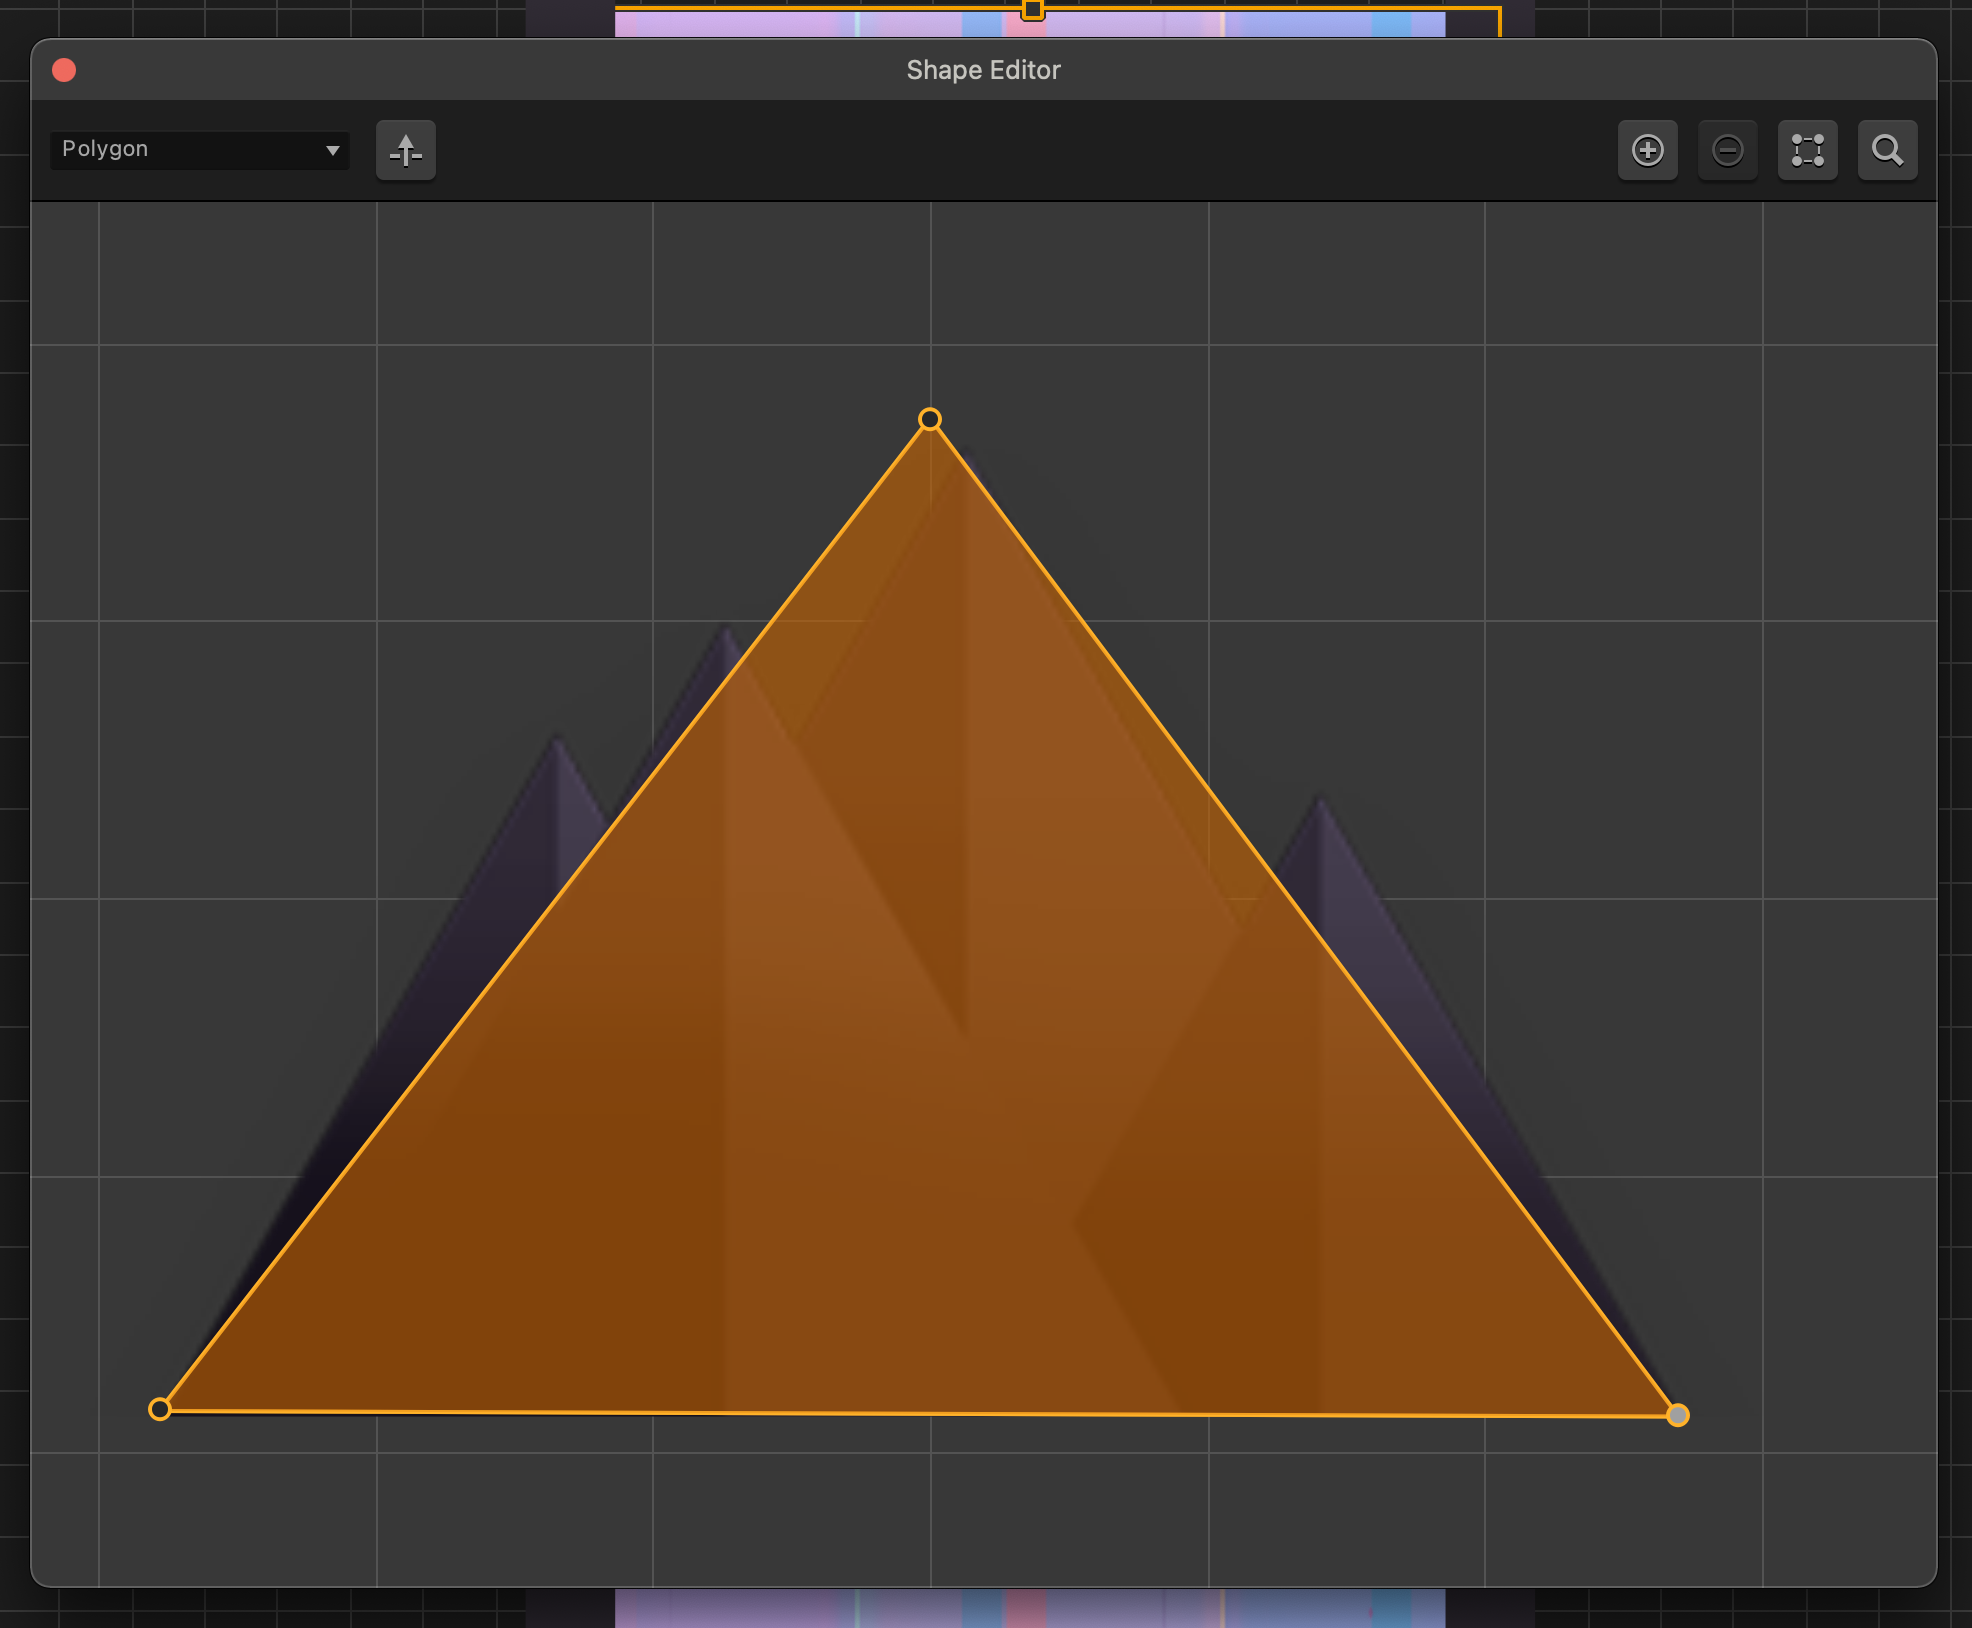
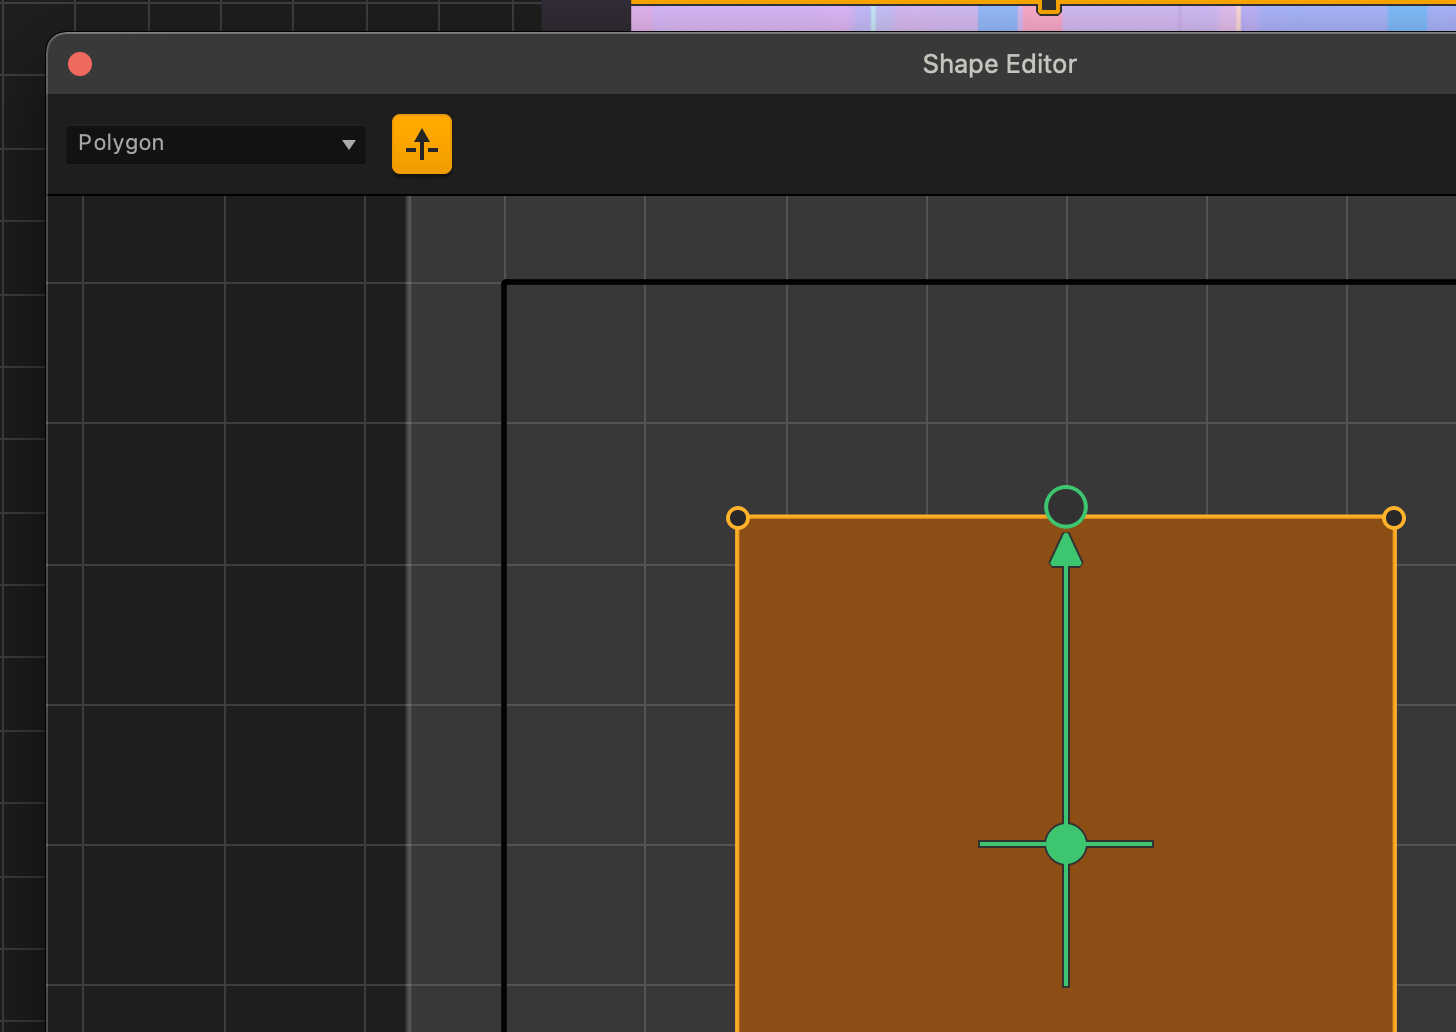
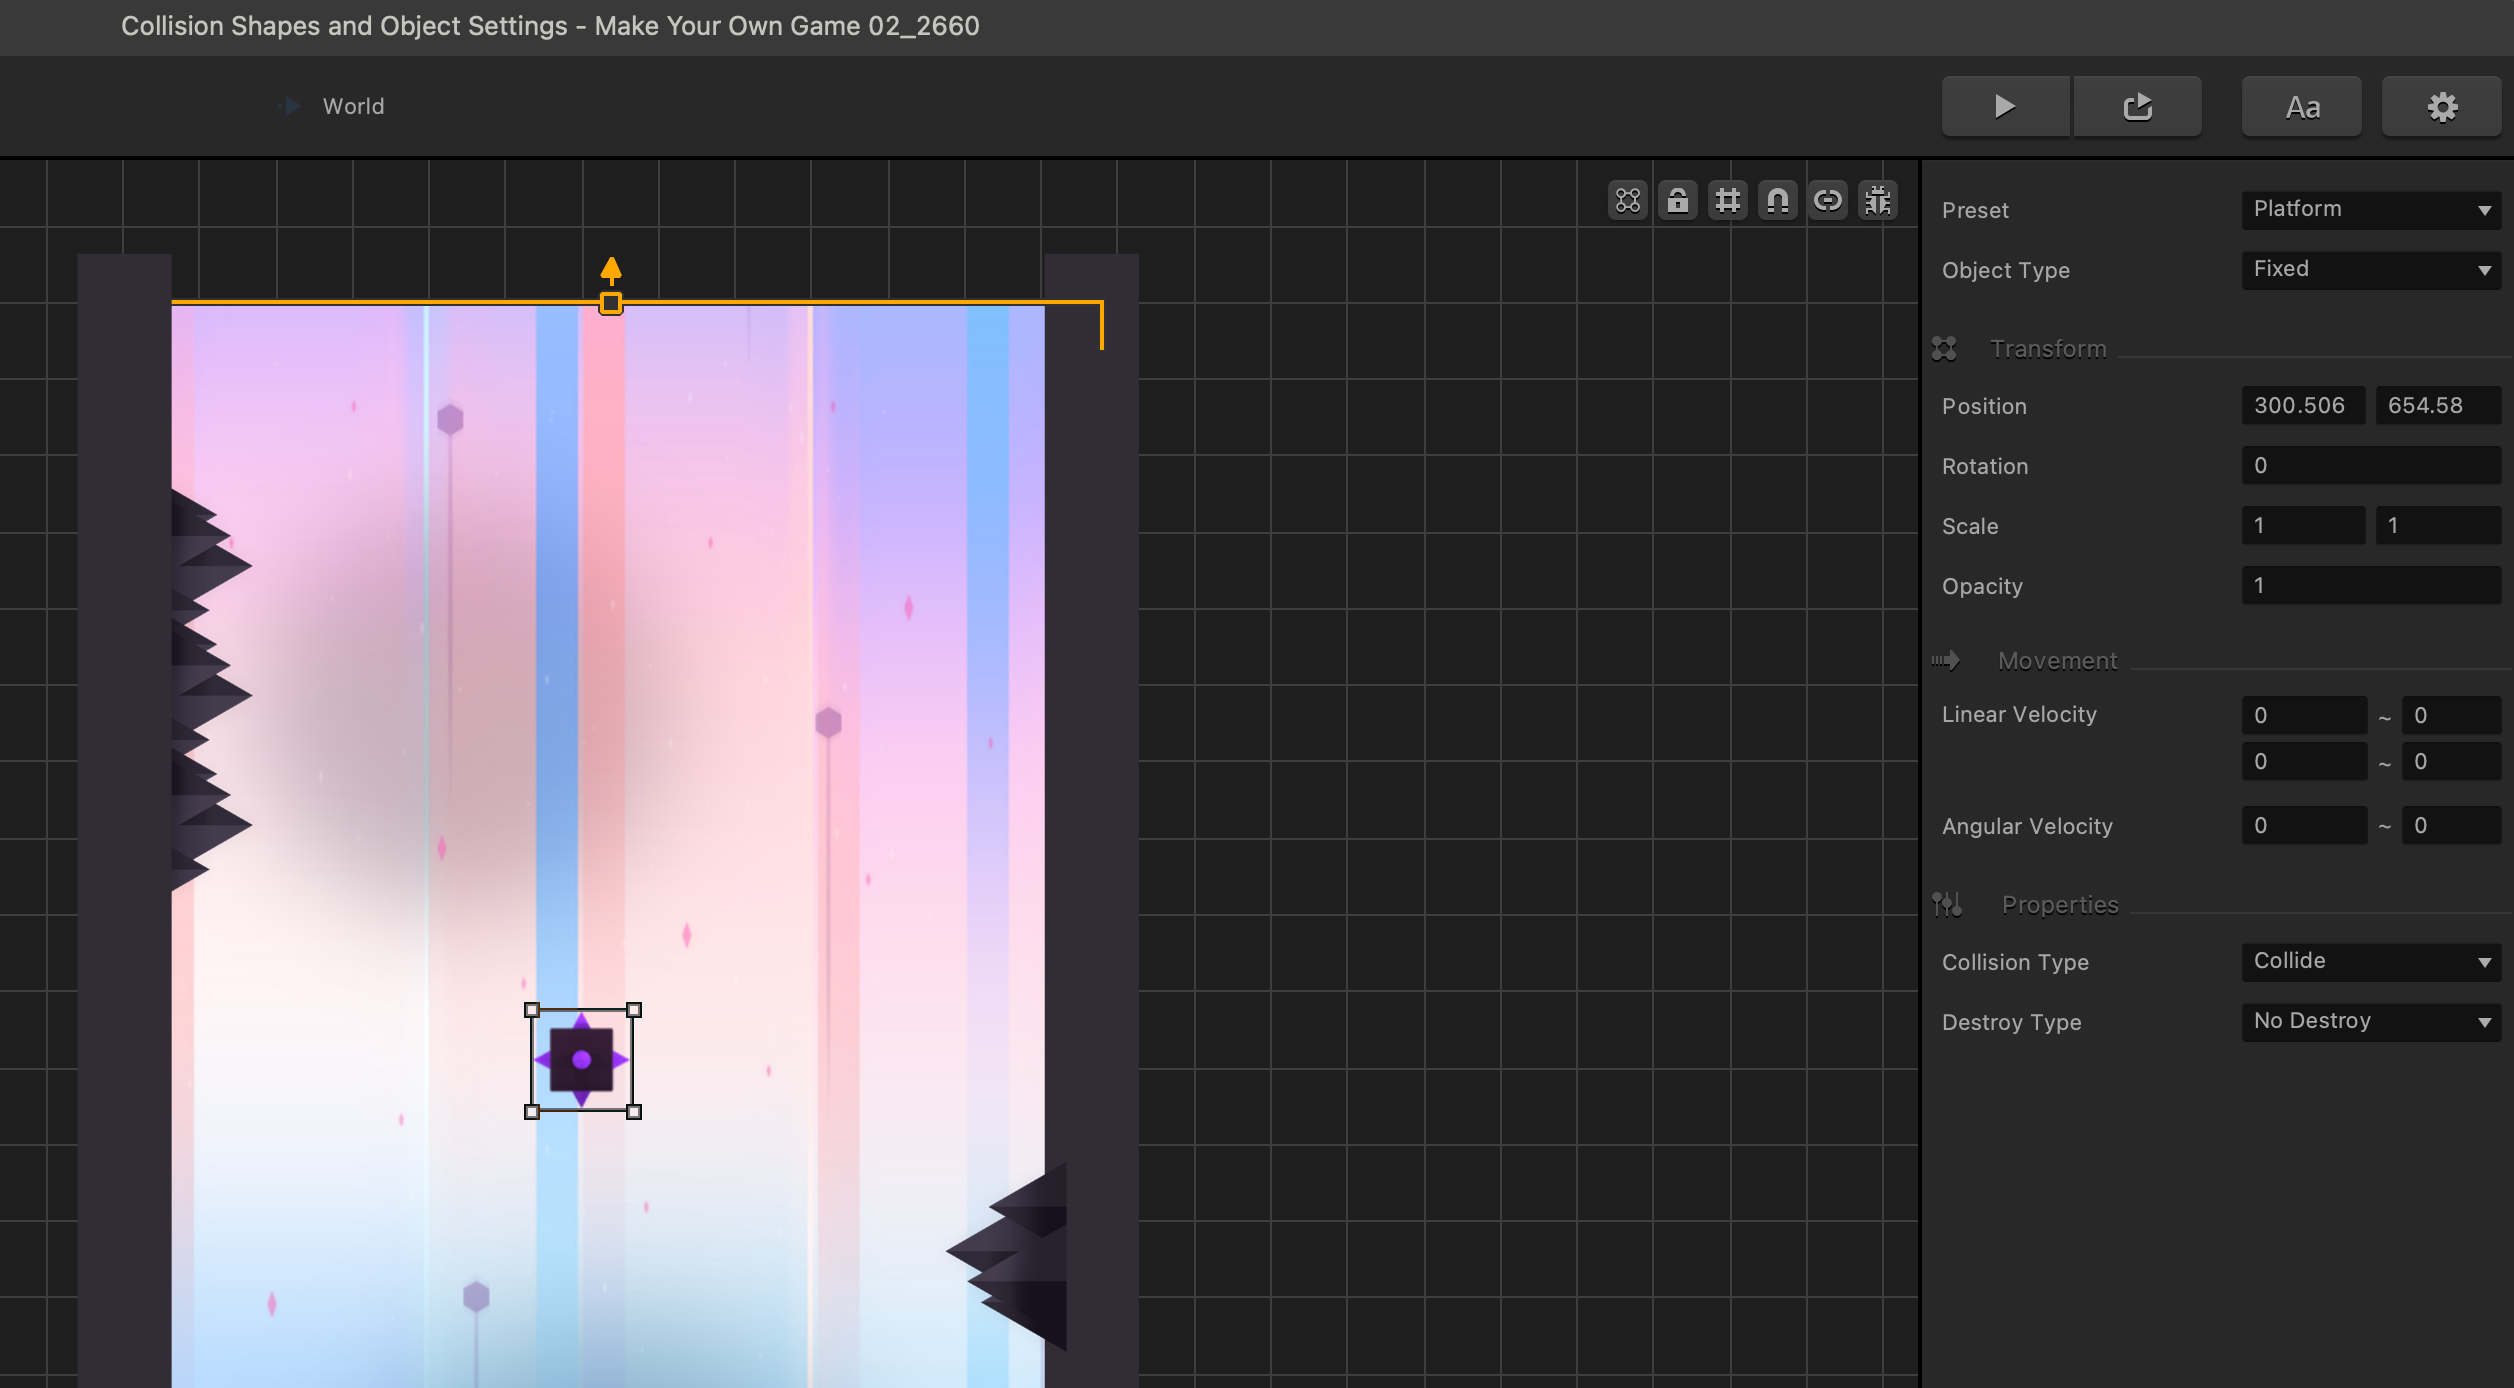
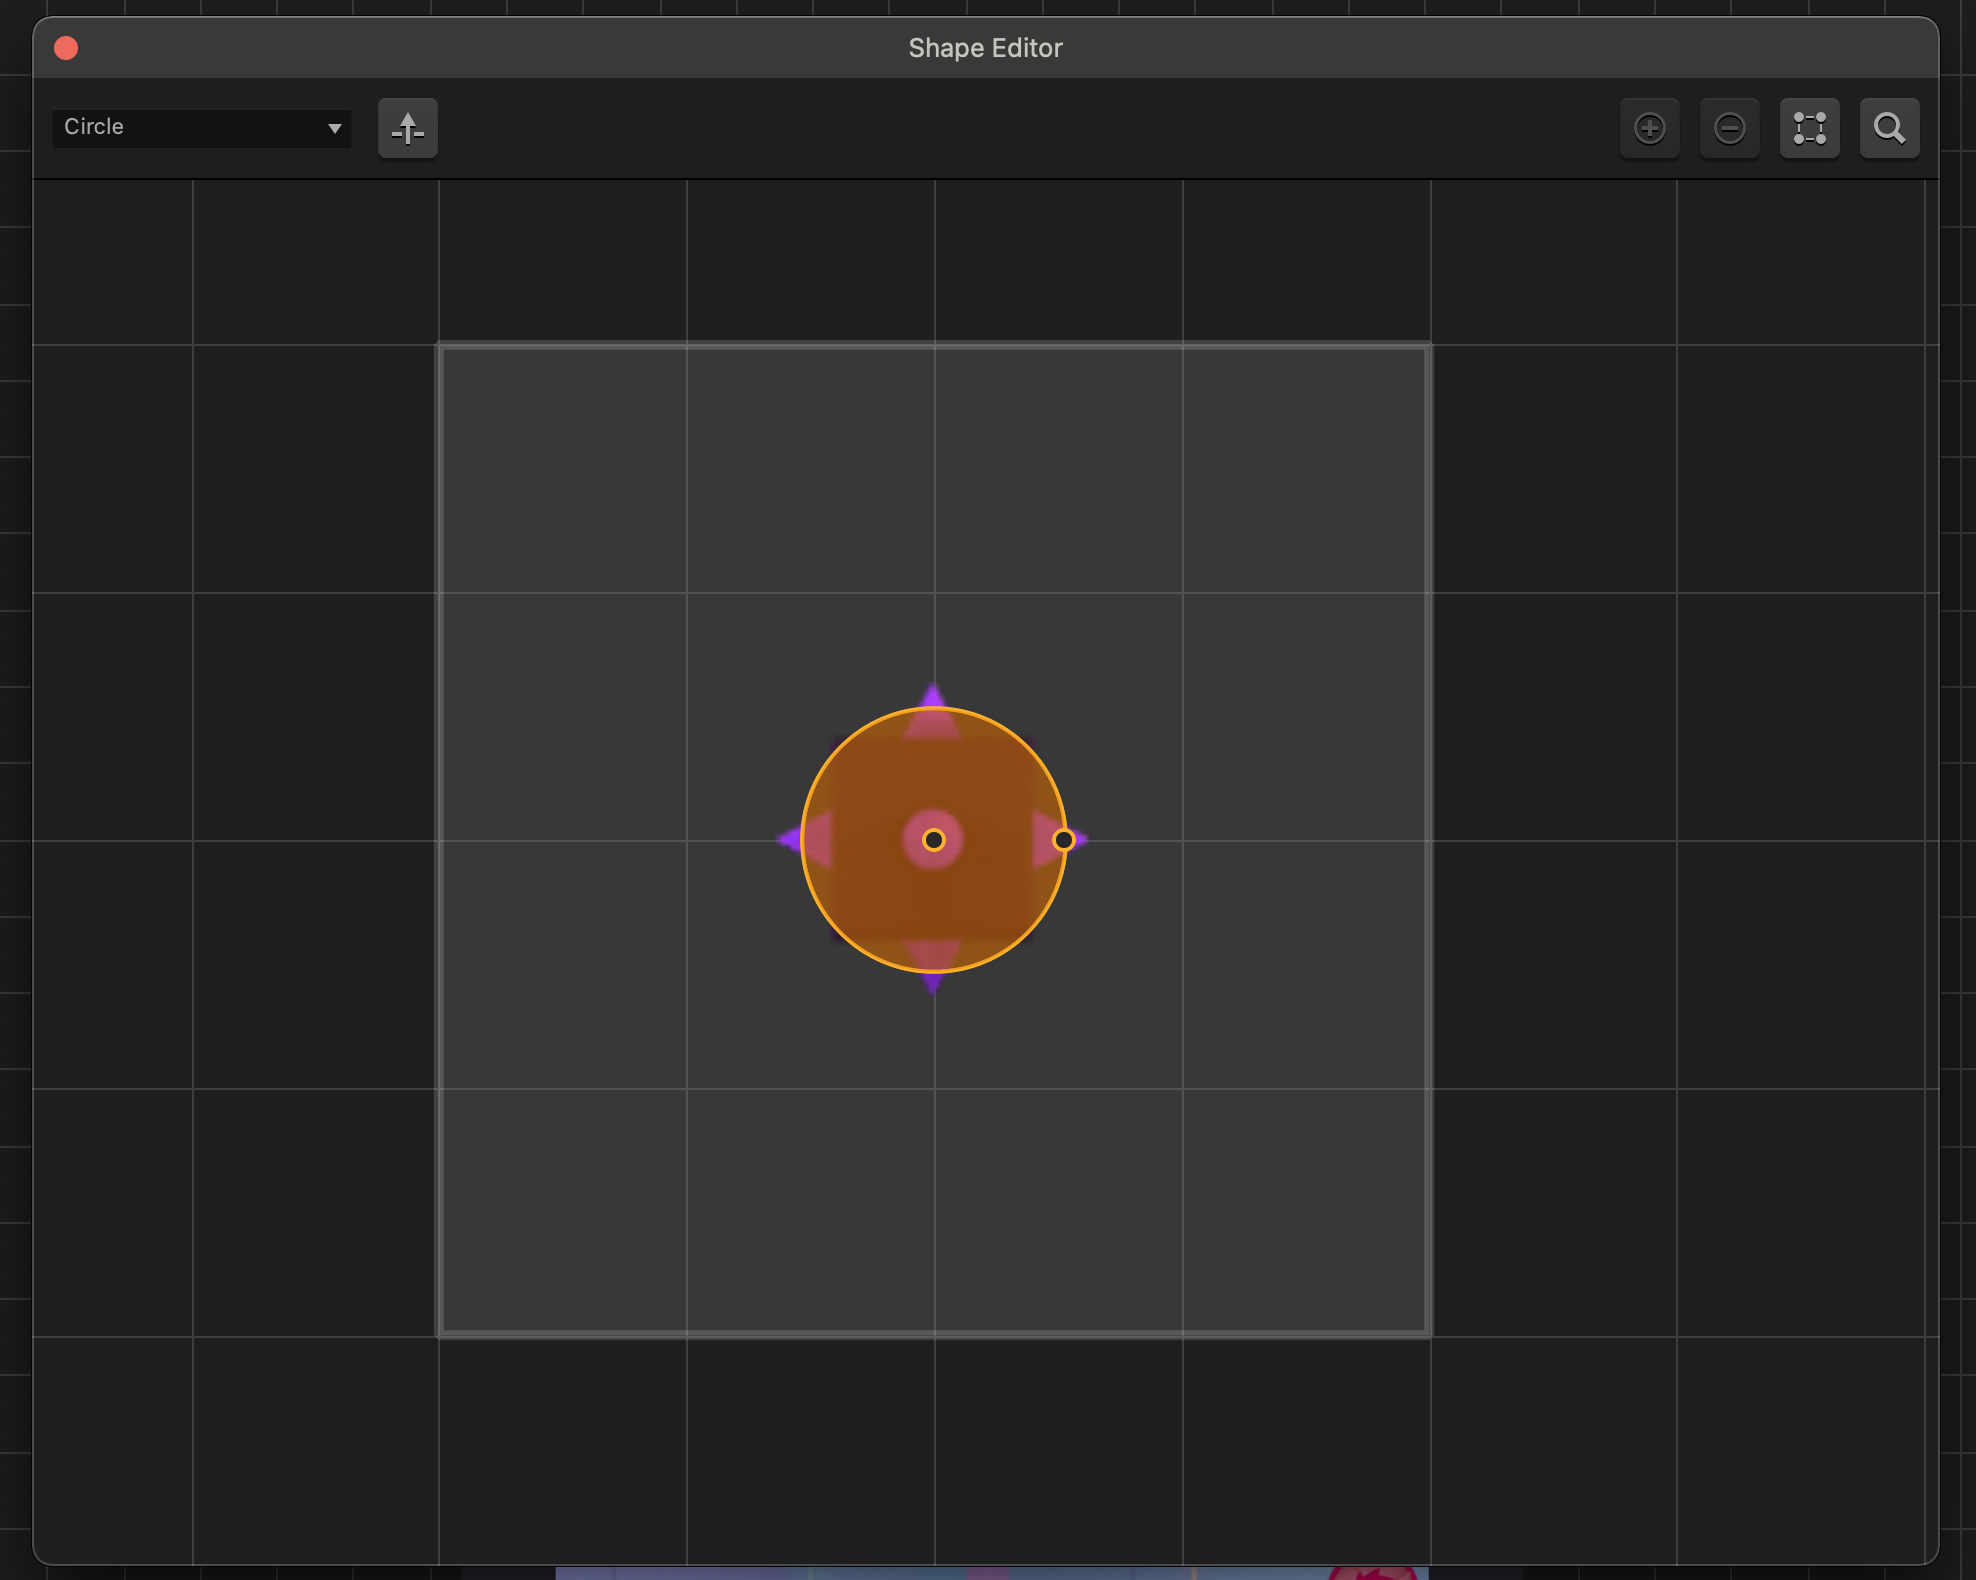
You’ll notice almost immediately that our collision shape is off. Our collision shape is the orange shape. It is what Buildbox uses to determine if it hits something. What we want is for the collision shape to match the graphic.

We clearly have the right shape already because our character is circular and we replaced it with a circular graphic. Simply drag it from the middle (the collision shape) and put it in shape, so that it is centered. You can move the side dot to resize the collision shape of the circle.
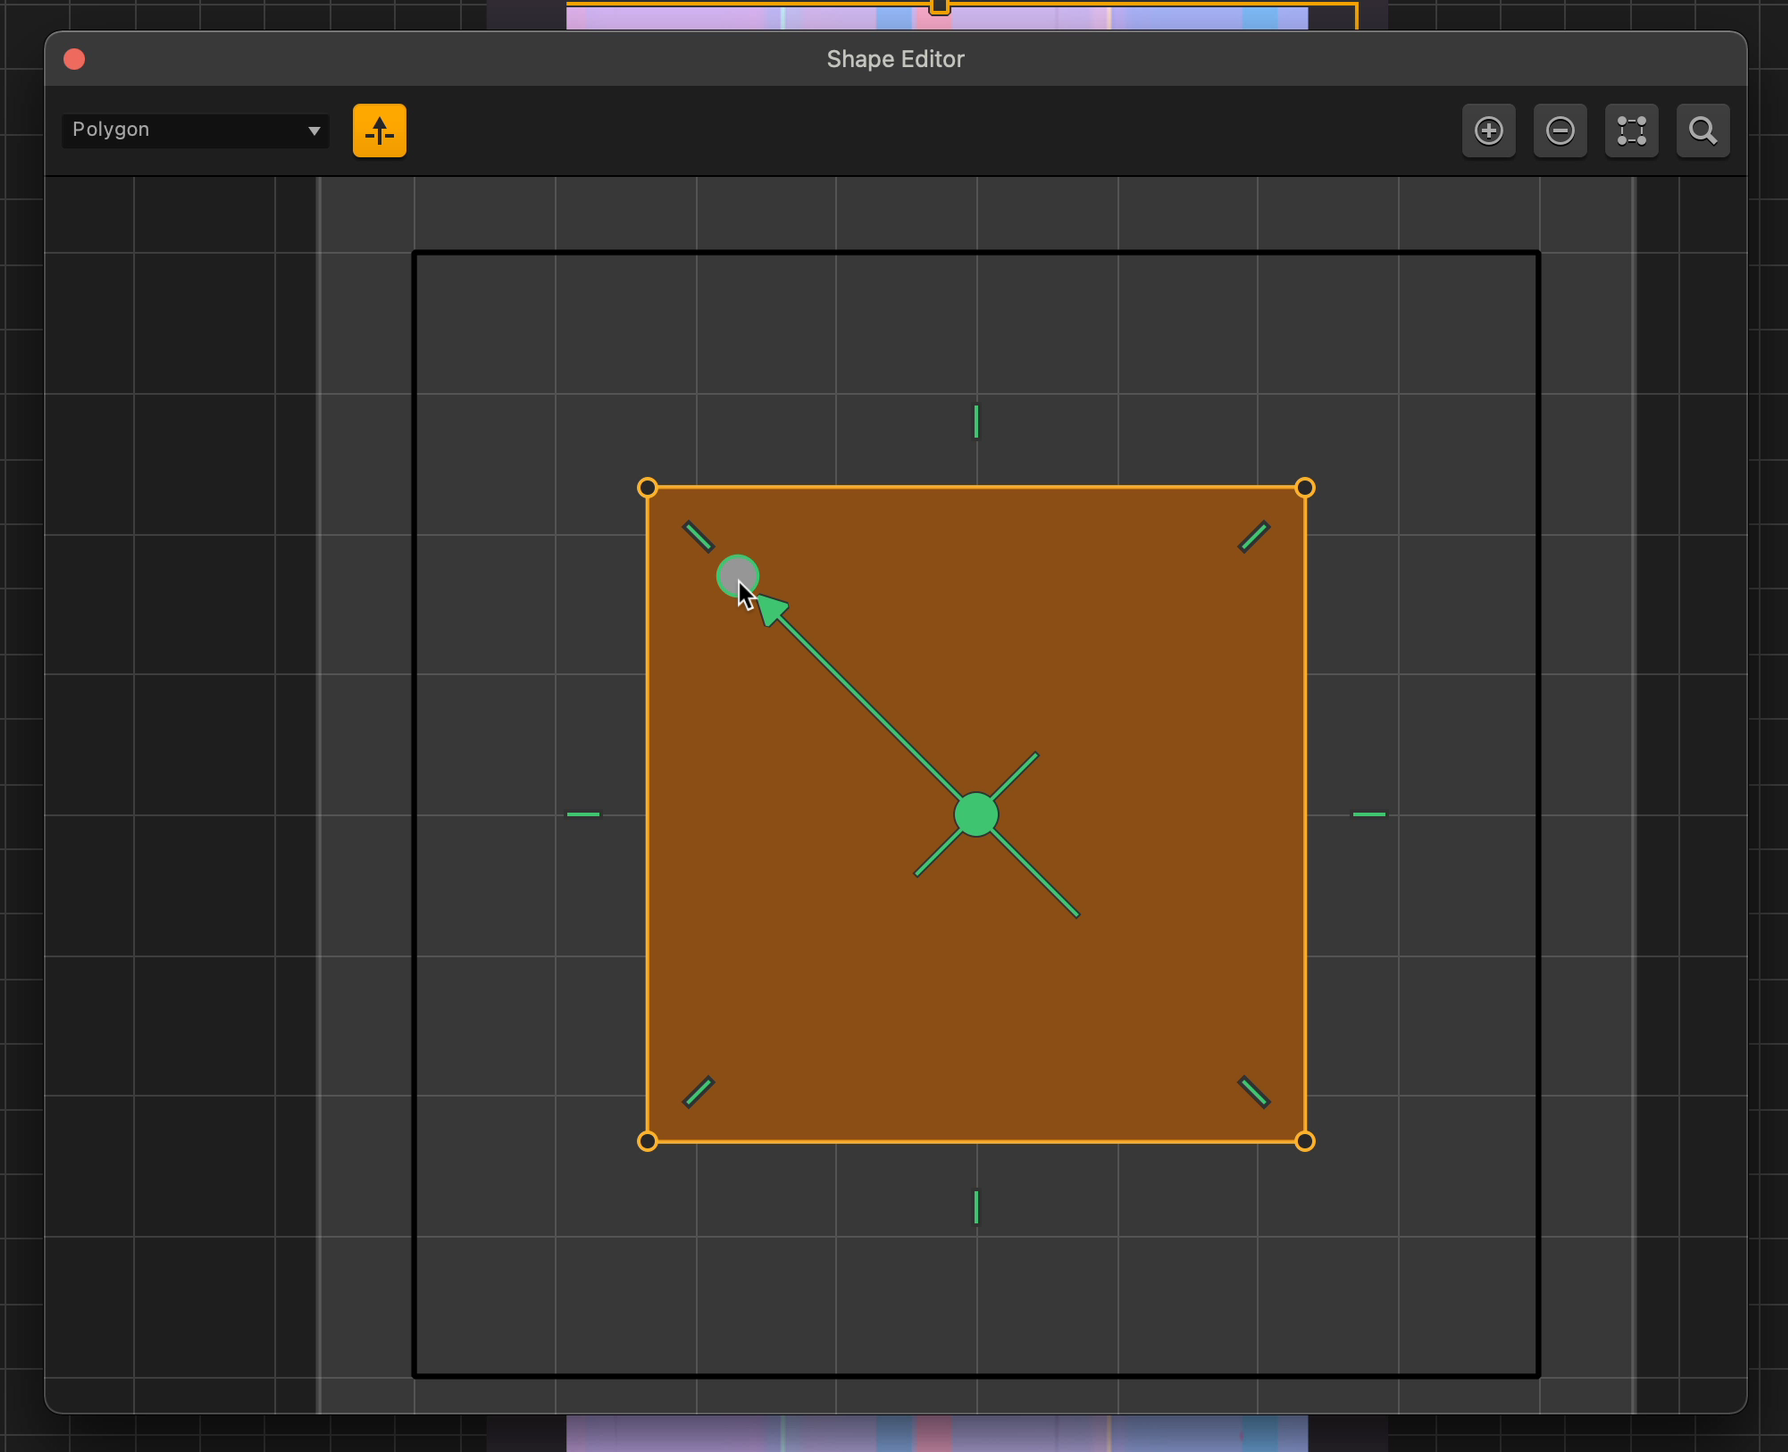
If the collision shape isn’t the same as that of our character, for example, if the collision shape is square, we can edit it using some of the options in the upper left of the editor.
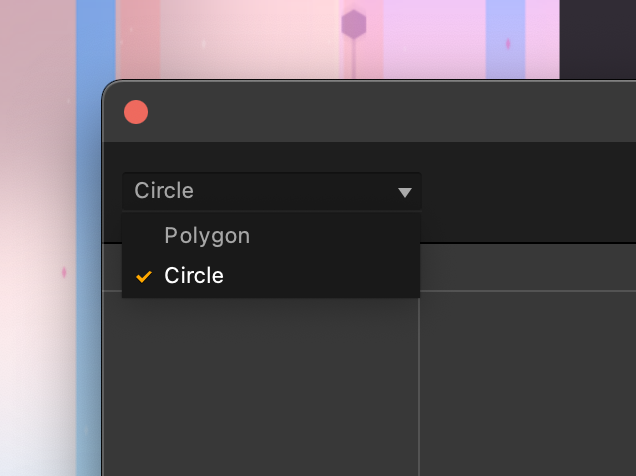
We can choose between a polygon shape and the circular shape we have now. We can move the points around to get a more precise fit. We can add points. We can subtract points, and we can reset the image if we mess things up. When you are done editing collision points for an object, simply close the window.
Now let’s edit the collision points for the enemies: the spikes.
Drag the points so it reaches the end points of the shape.
Remember to add a little leeway. The enemies don’t have to have an exactly precise collision shape unlike that of the character.
Whenever we create collision shapes for enemies, we want to make sure they are just a bit forgiving. This way we don’t run the risk of the user feeling cheated when they get killed, then deciding the game is unfair.
Also, when you give the user leeway with collision shapes they experience excitement when they have close calls. That moment when they think – “I can’t believe I just lived through that”, they experience a lift in their excitement level making your game more fun, and putting the achievement on the player.
It transfers the greatness onto them. So, leave a little leeway when designing your collision shapes and you will increase your fun factor for your game.
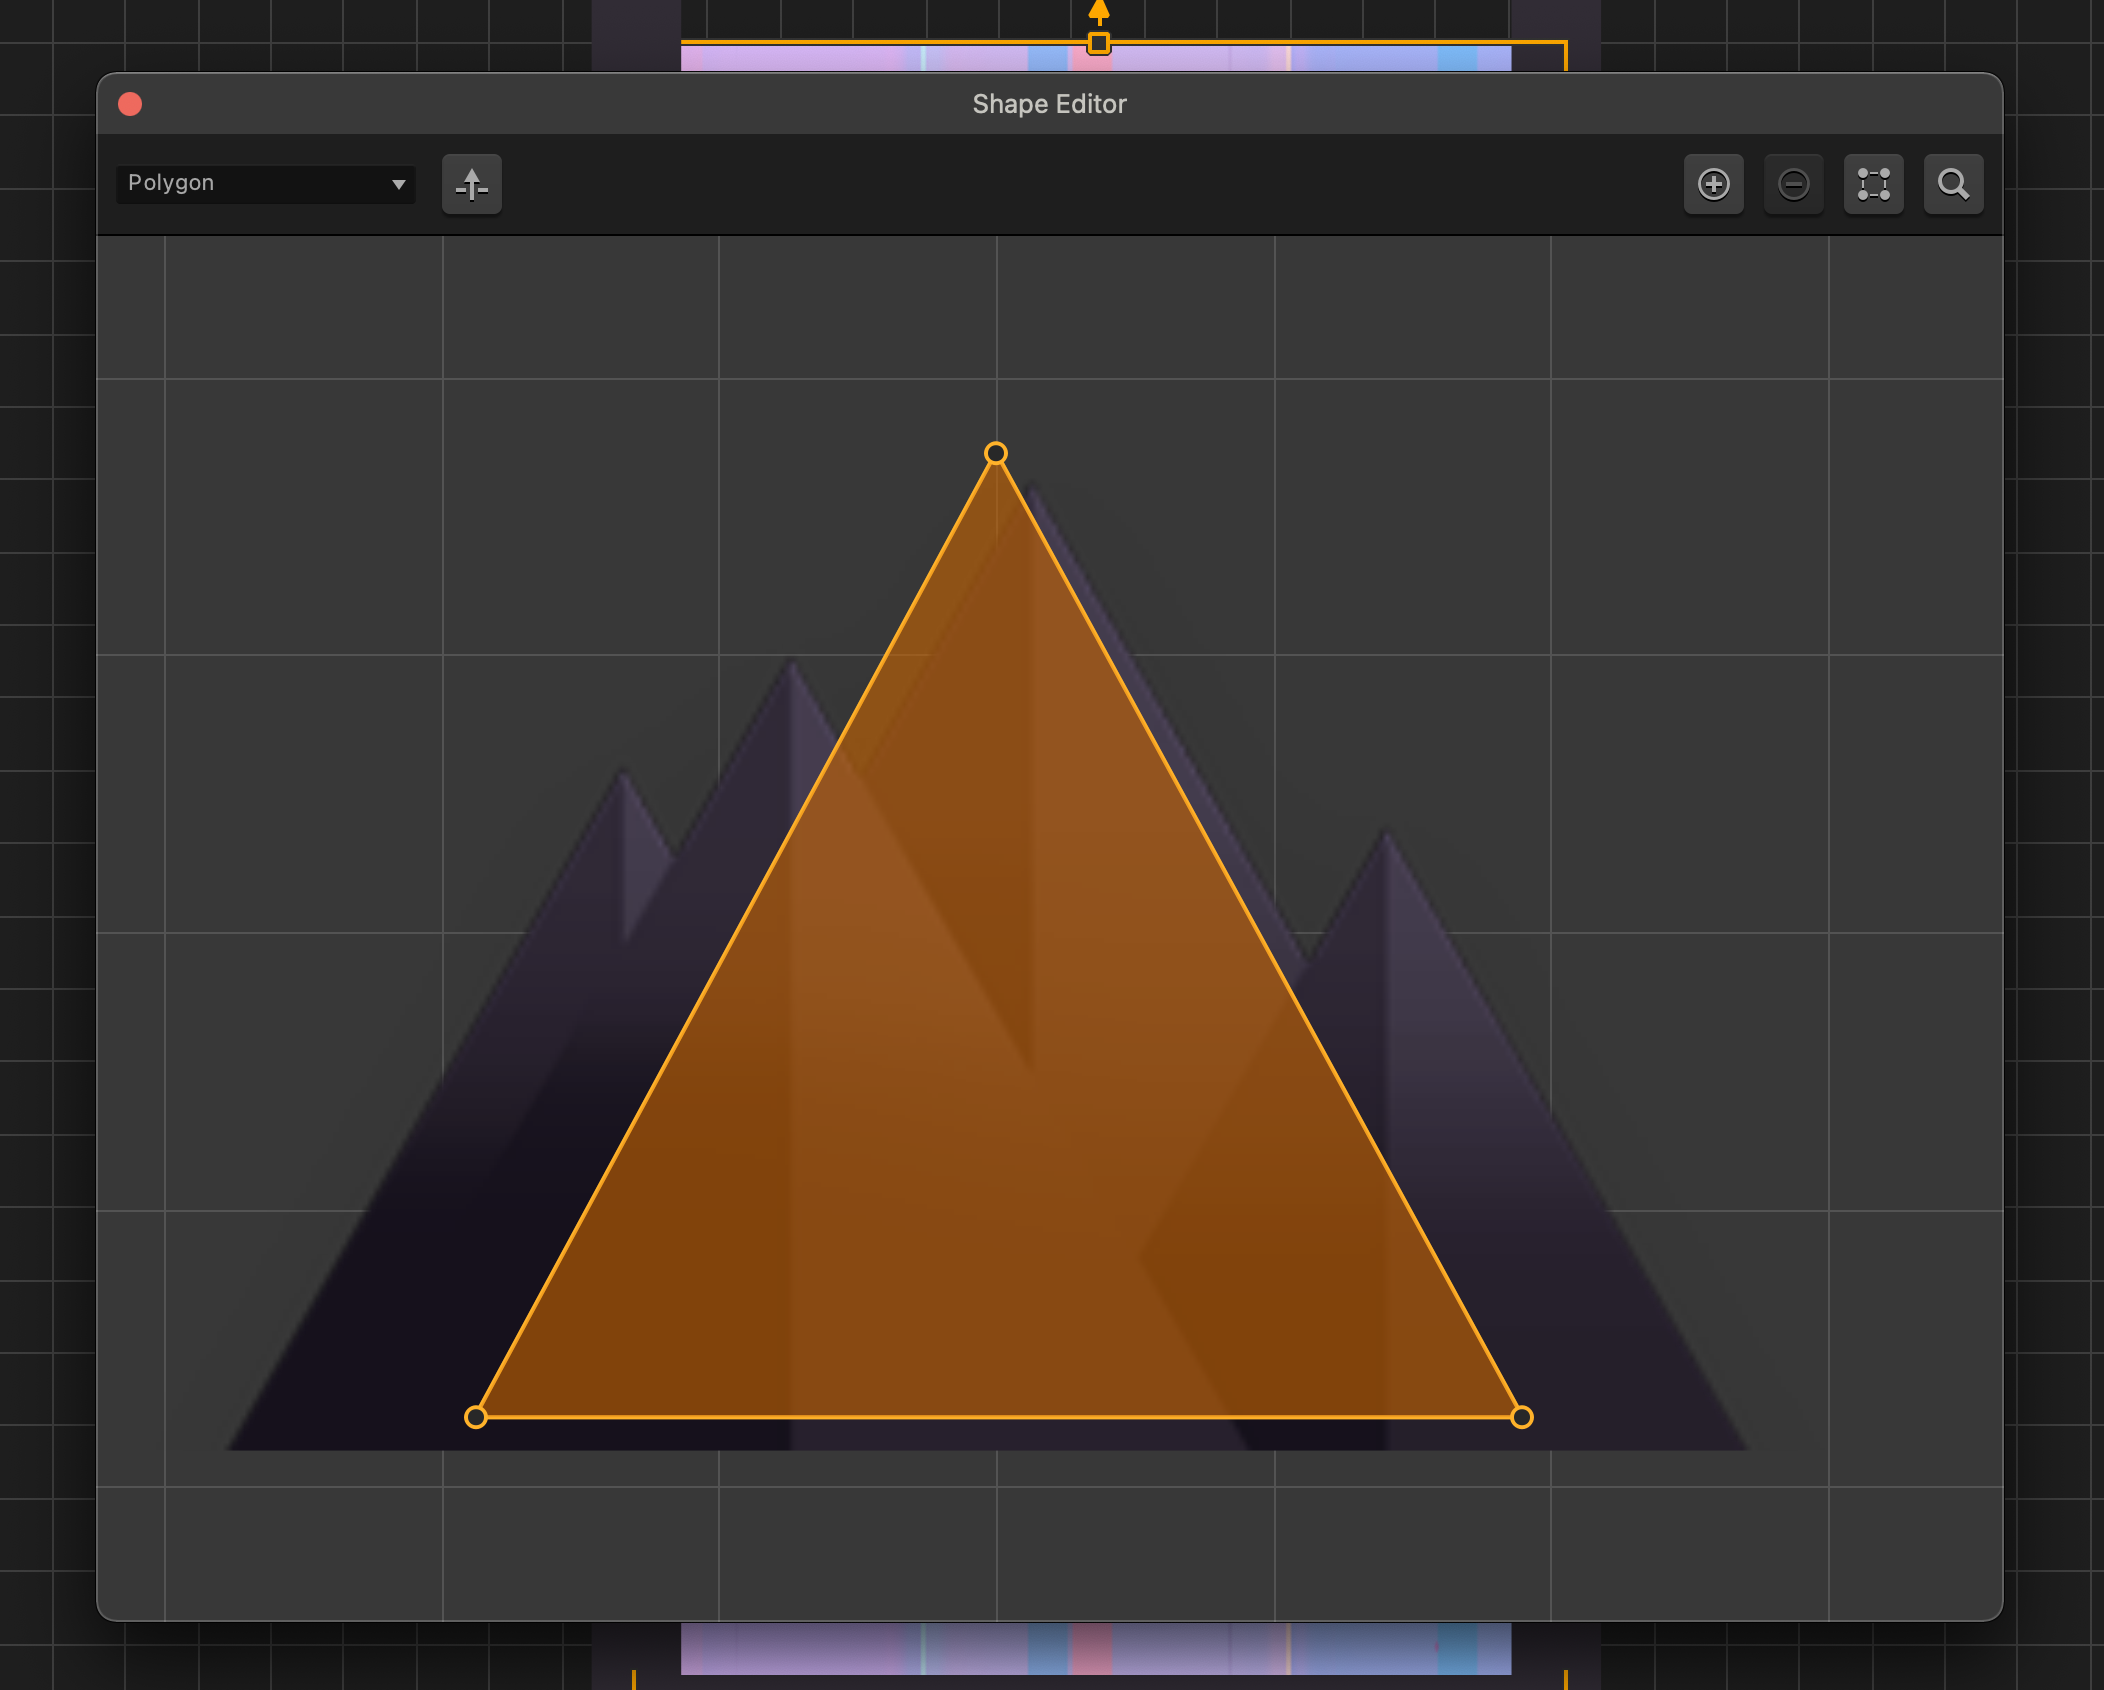
Since the enemy isn’t a perfect triangle, click the plus sign in the upper right part of the collision shape editor window to add a collision point.
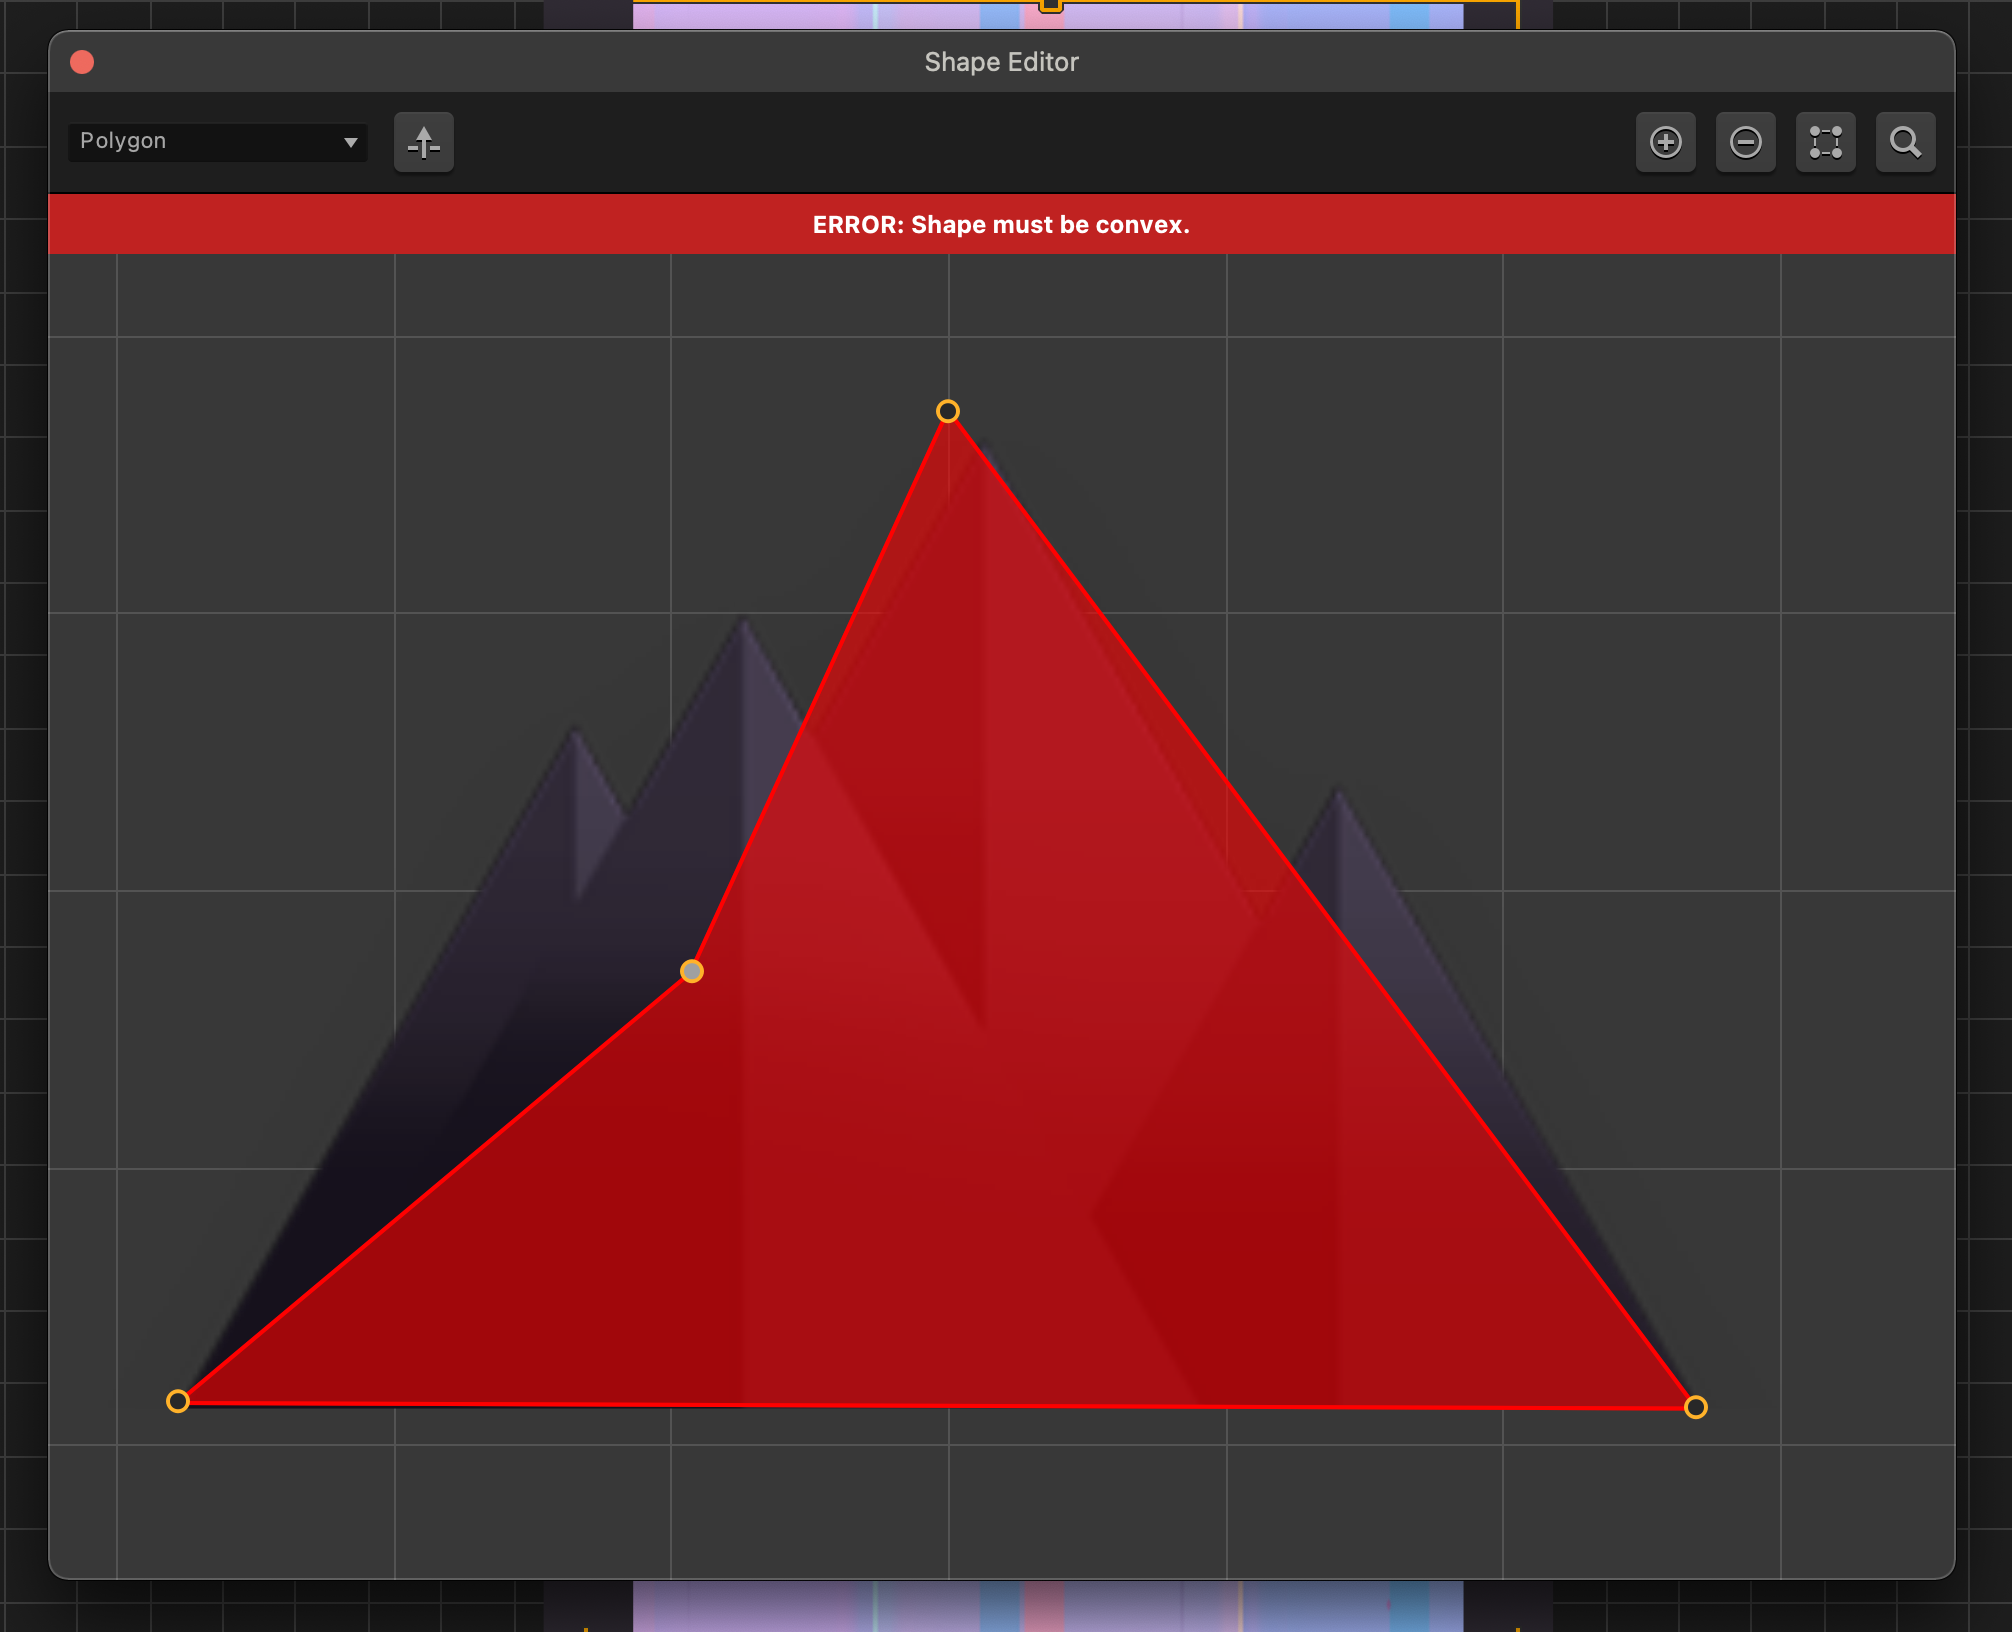
Note that our collision shapes must be convex. We can’t create concave shapes because it greatly increases the processing power required to run our game. Trust Buildbox with this one.
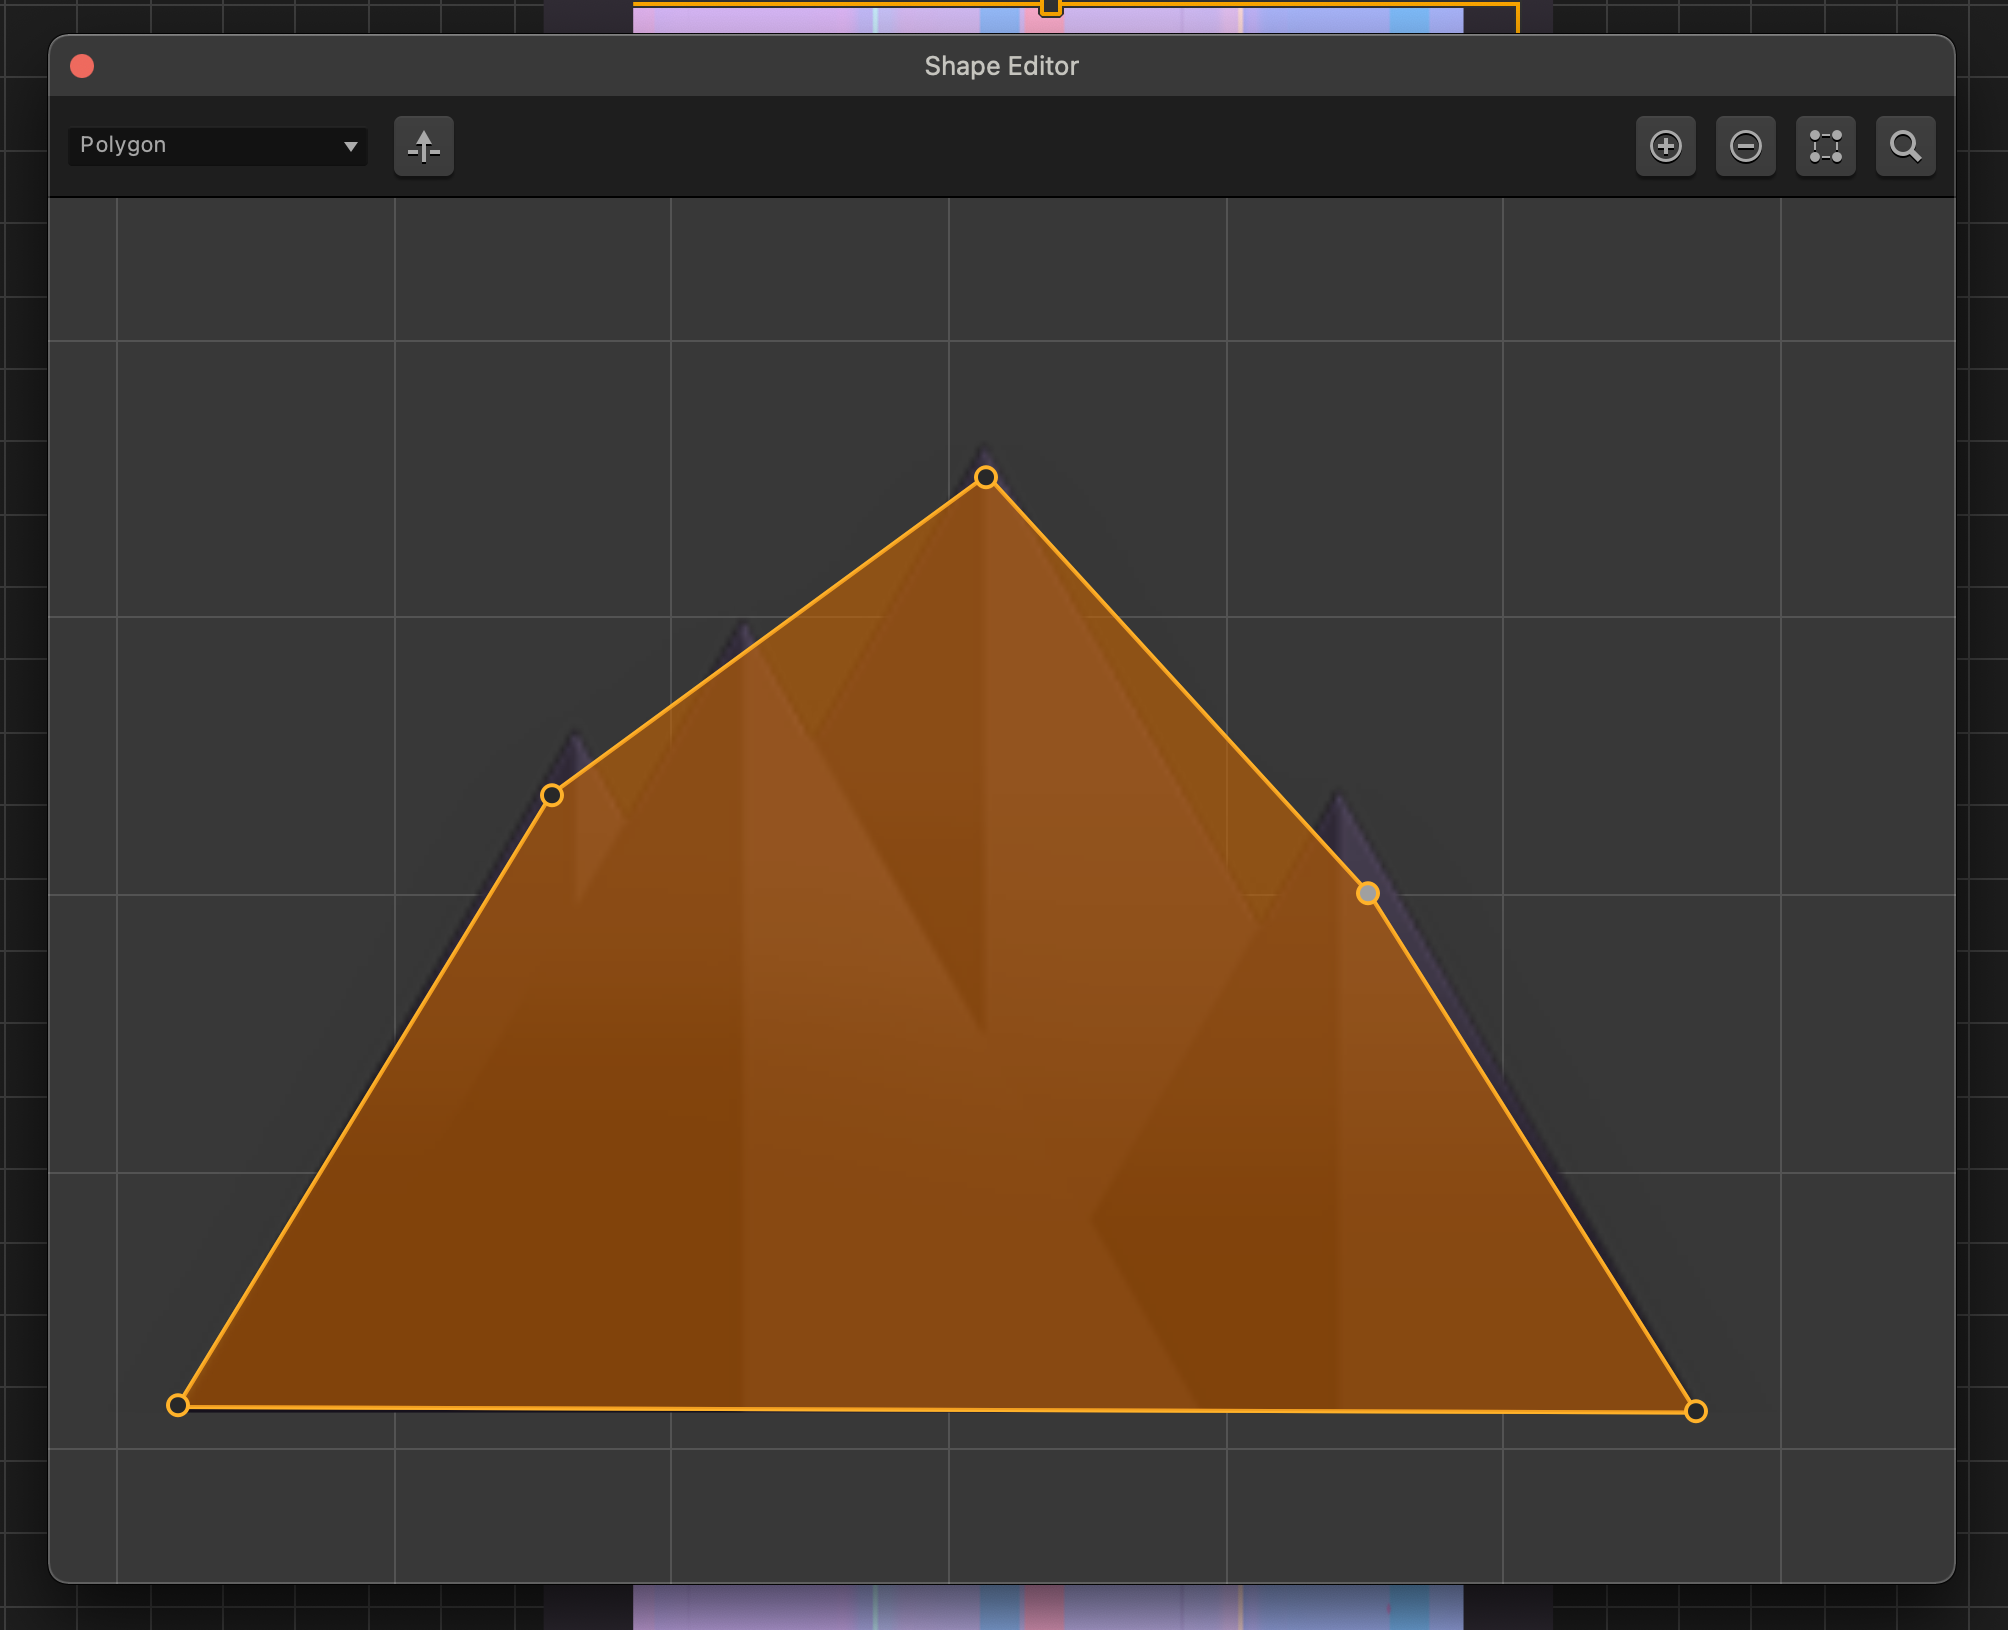
Let’s work around that and create the shape shown in the image instead. It will have the same effect as it would have if the collision shape was the exact shape of the spike image. Remember to give a little leeway:
Now let’s open the One Way Block object. First, replace the graphics with the same one we used for the walls:
Next, make it so we can move through this object, but not go back through the other way. Let’s open the collision shape editor.
Notice how the collision shape is off? To immediately get a precise collision shape for a square object, simply click the reset button.
The reset button gives you precise collision shapes for any object that is a perfect square.
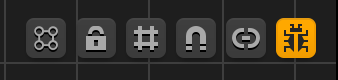
Notice the big green arrow? This denotes pass-through properties for an object. It can be turned on or off with the button on the upper left side of the window.
We can move the arrow in any direction. Wherever that arrow is pointed, that is the direction in which the character can pass through. Any other direction, and the character will hit the block.
We can be creative with this and come up with clever game mechanics later on. Right now, just leave it as it is. We just wanted you to be aware of this functionality.
Moving on, we want to talk about the Debug Mode which allows you to see the collision shapes of all objects in the game.
Simply click on the debug button:
Once it’s highlighted, you’ll be able to see red shapes that represent the collision shapes of the objects on the screen.

Seeing collision shapes is an important aspect of level design. You’ll be able to turn on debug mode while previewing the game as well.
Simply click the debug mode button to activate it.
The next step is to make the square enemy for our game.
To do that, search for the folder containing the images of this enemy. Select all images and drag them into Buildbox. Once the wheel shows up, hover on to the “Object” side of the wheel and then release.
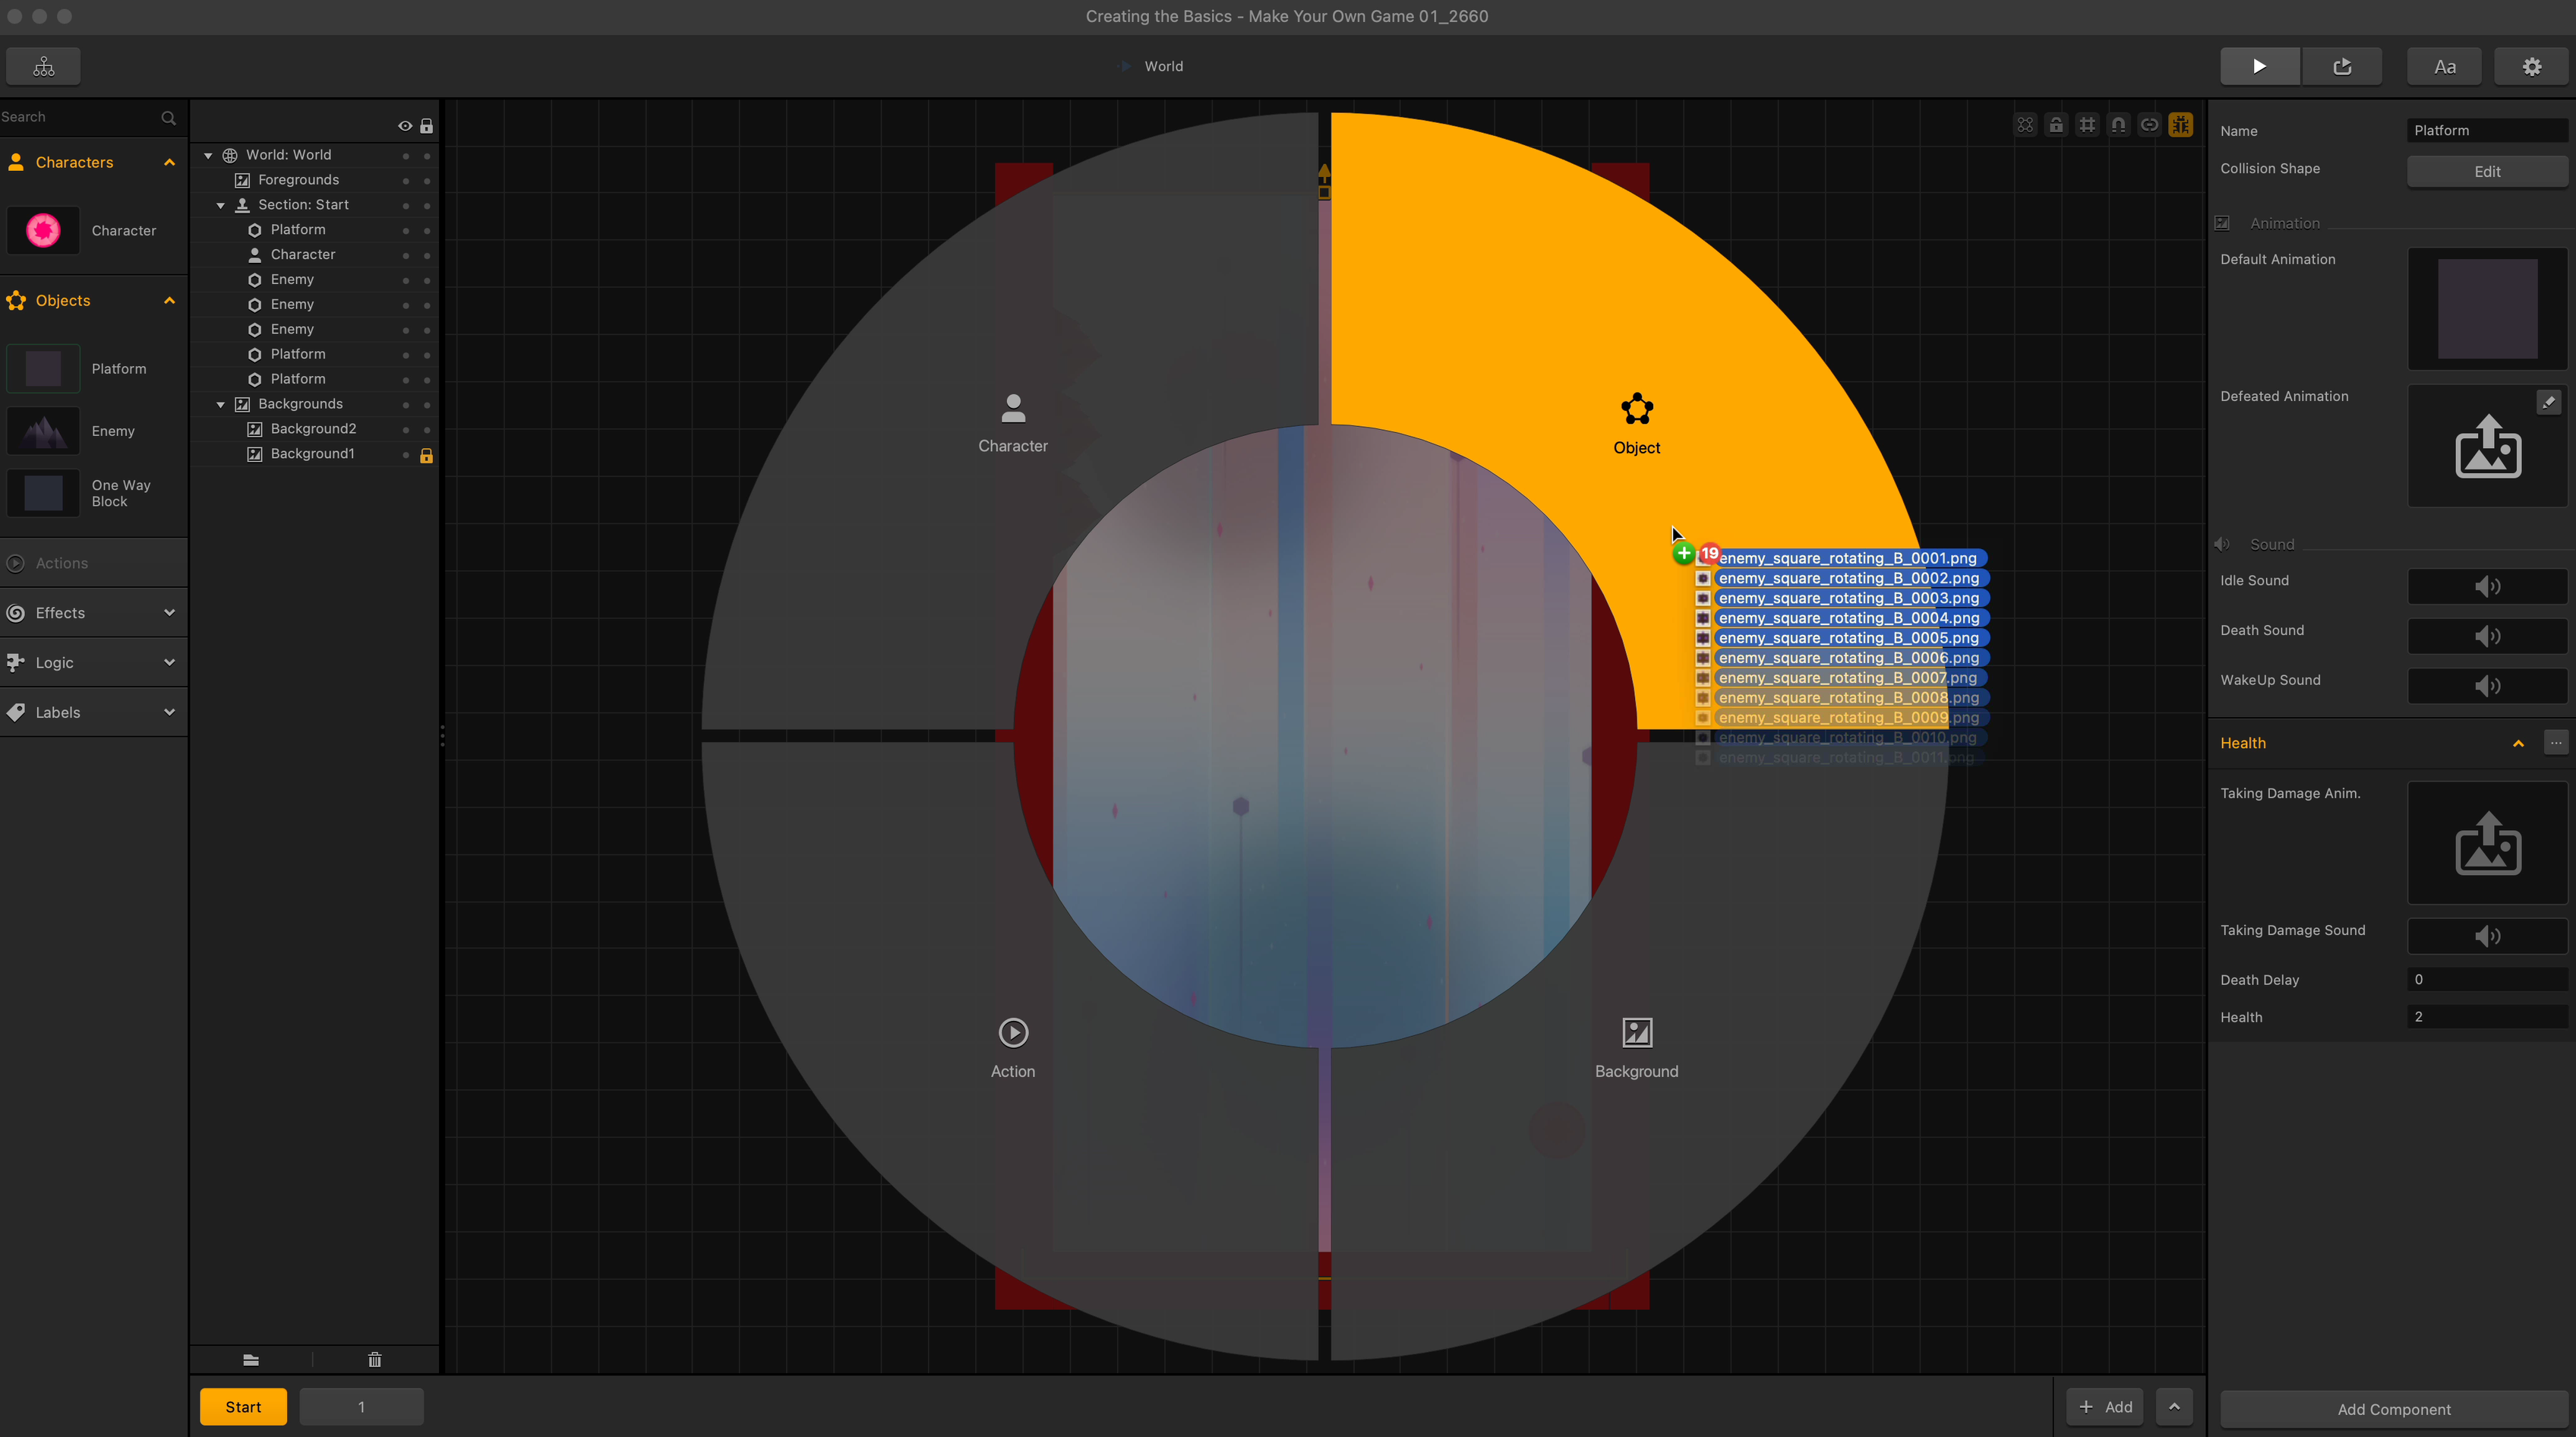
You’ll see that it is now an object with an animation sequence from the images we dragged in. Let’s move it to the center of Scene 1.
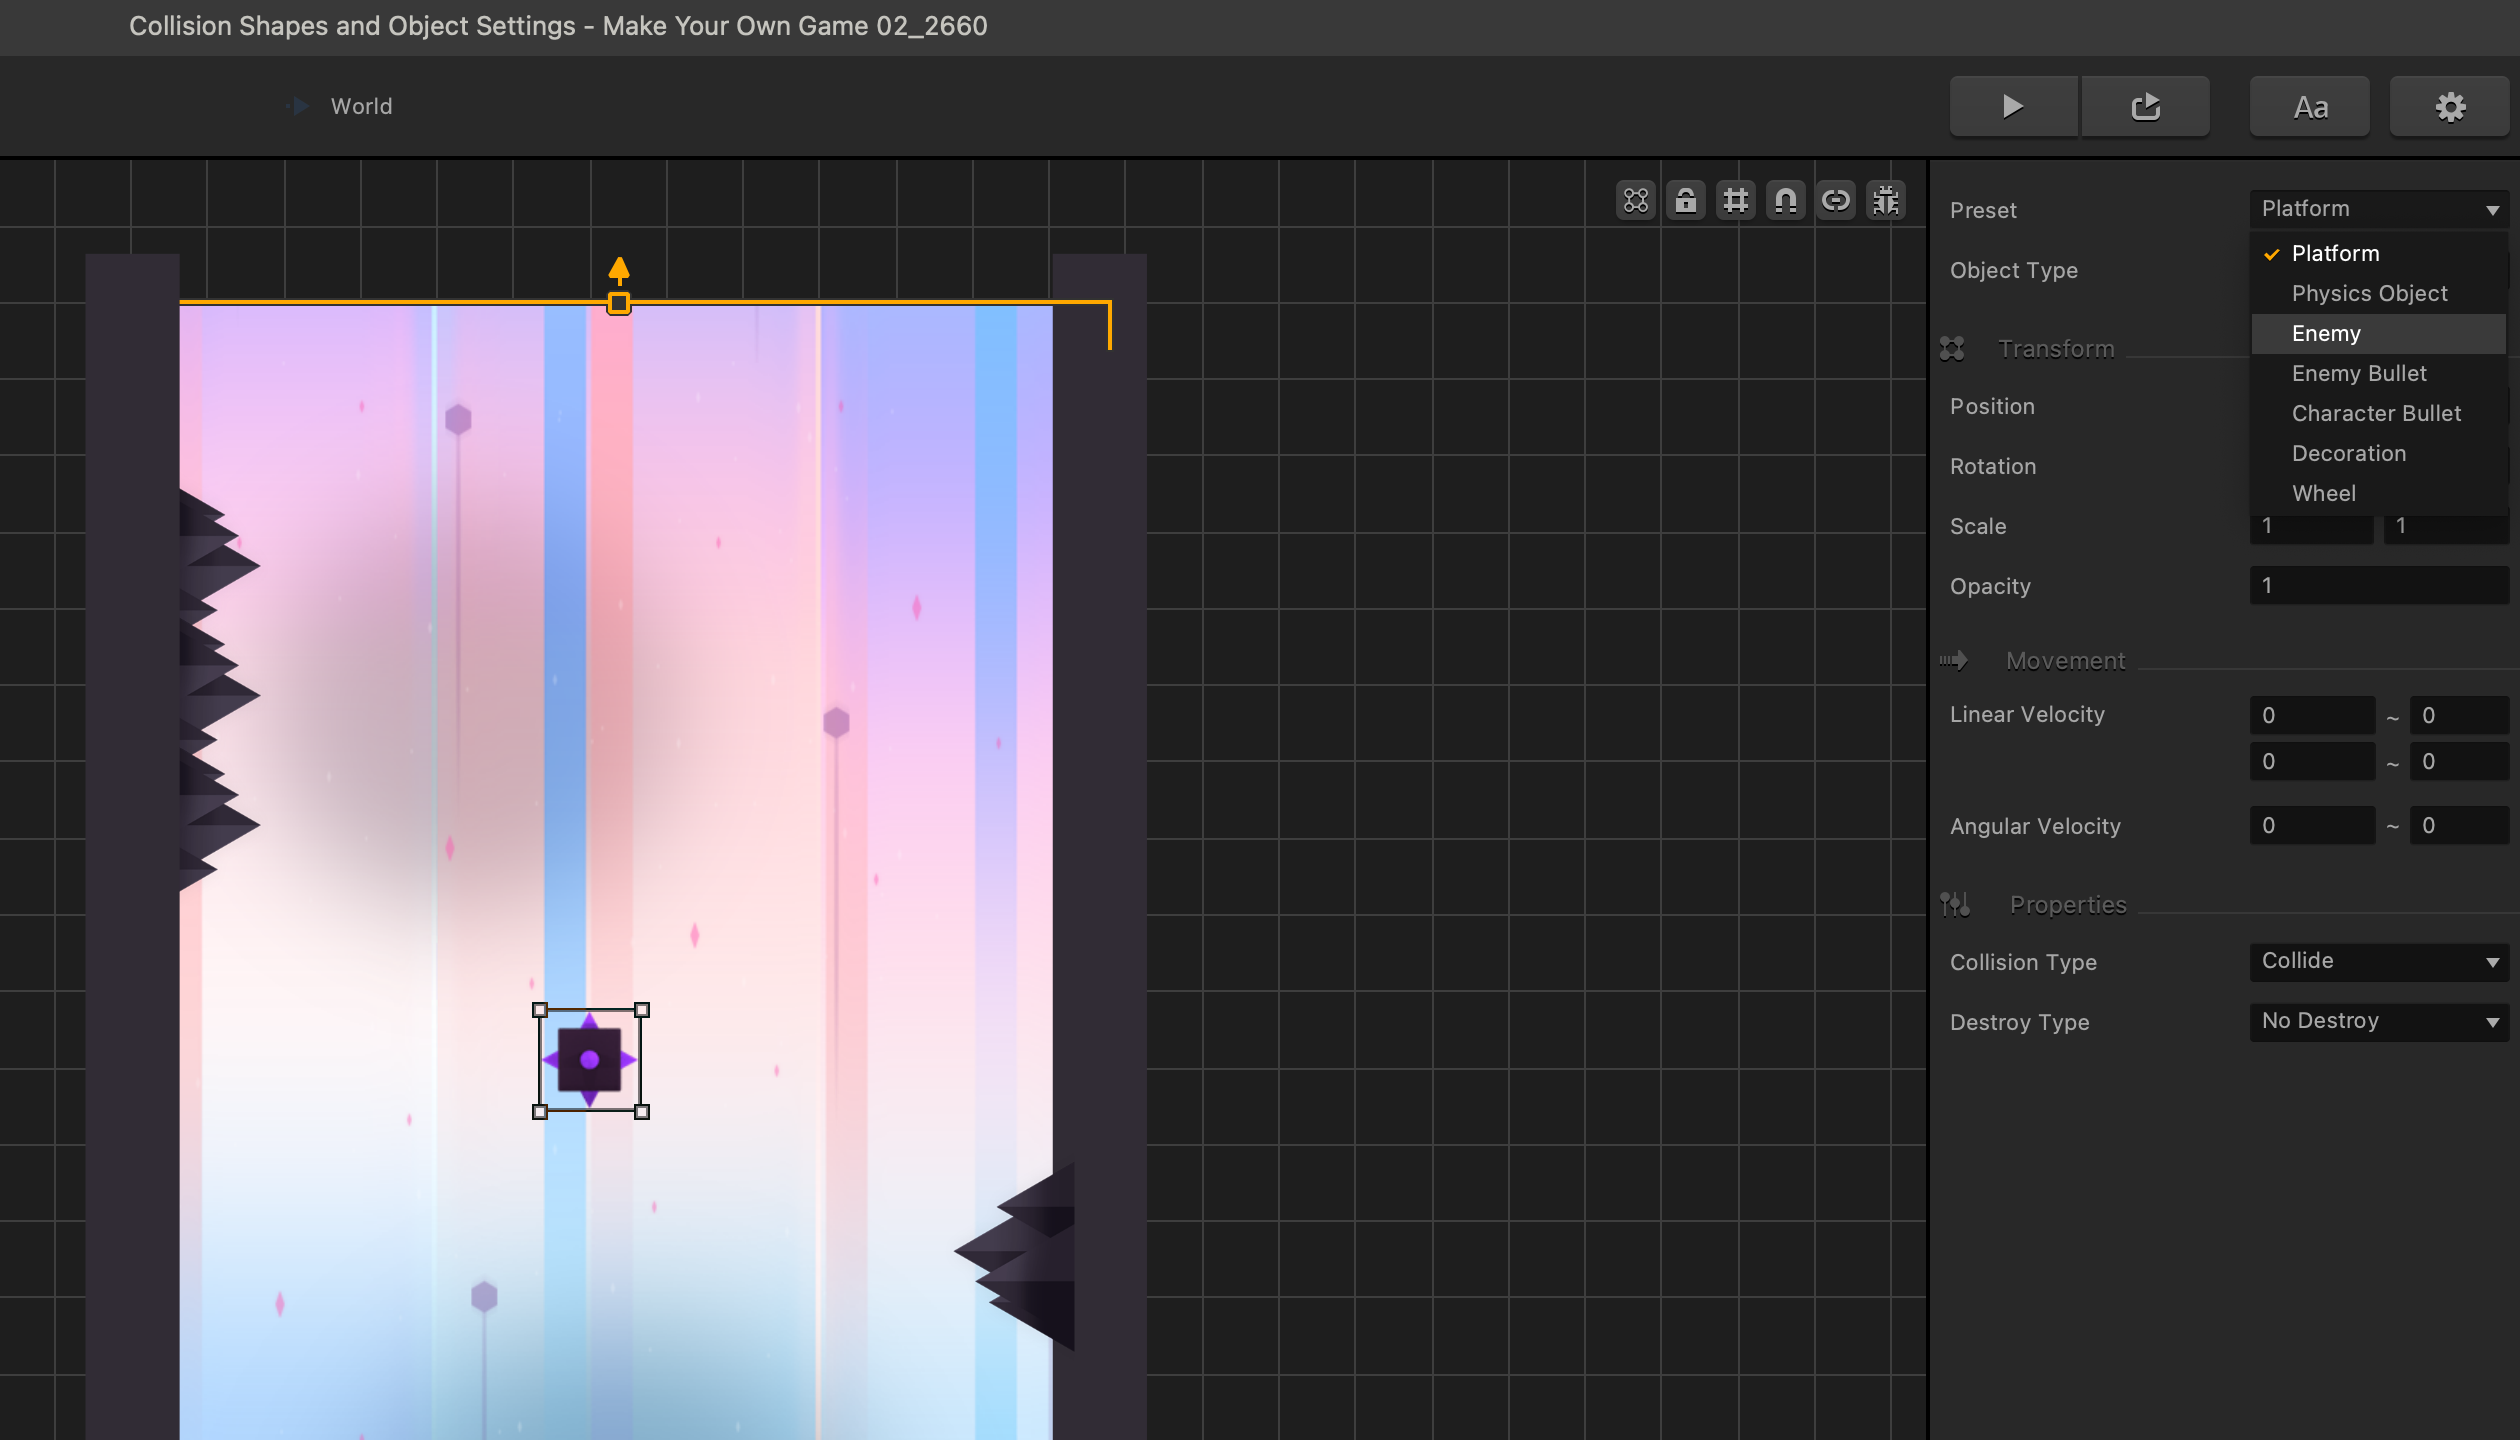
The next step is to edit the enemy’s collision shape by selecting the circle collision shape.
Because of the way its spikes are set up, this type of collision works best for this enemy.
If you preview the game, you’ll notice that despite the enemy looking like a spinning spike machine of death, it doesn’t harm the character in any way.
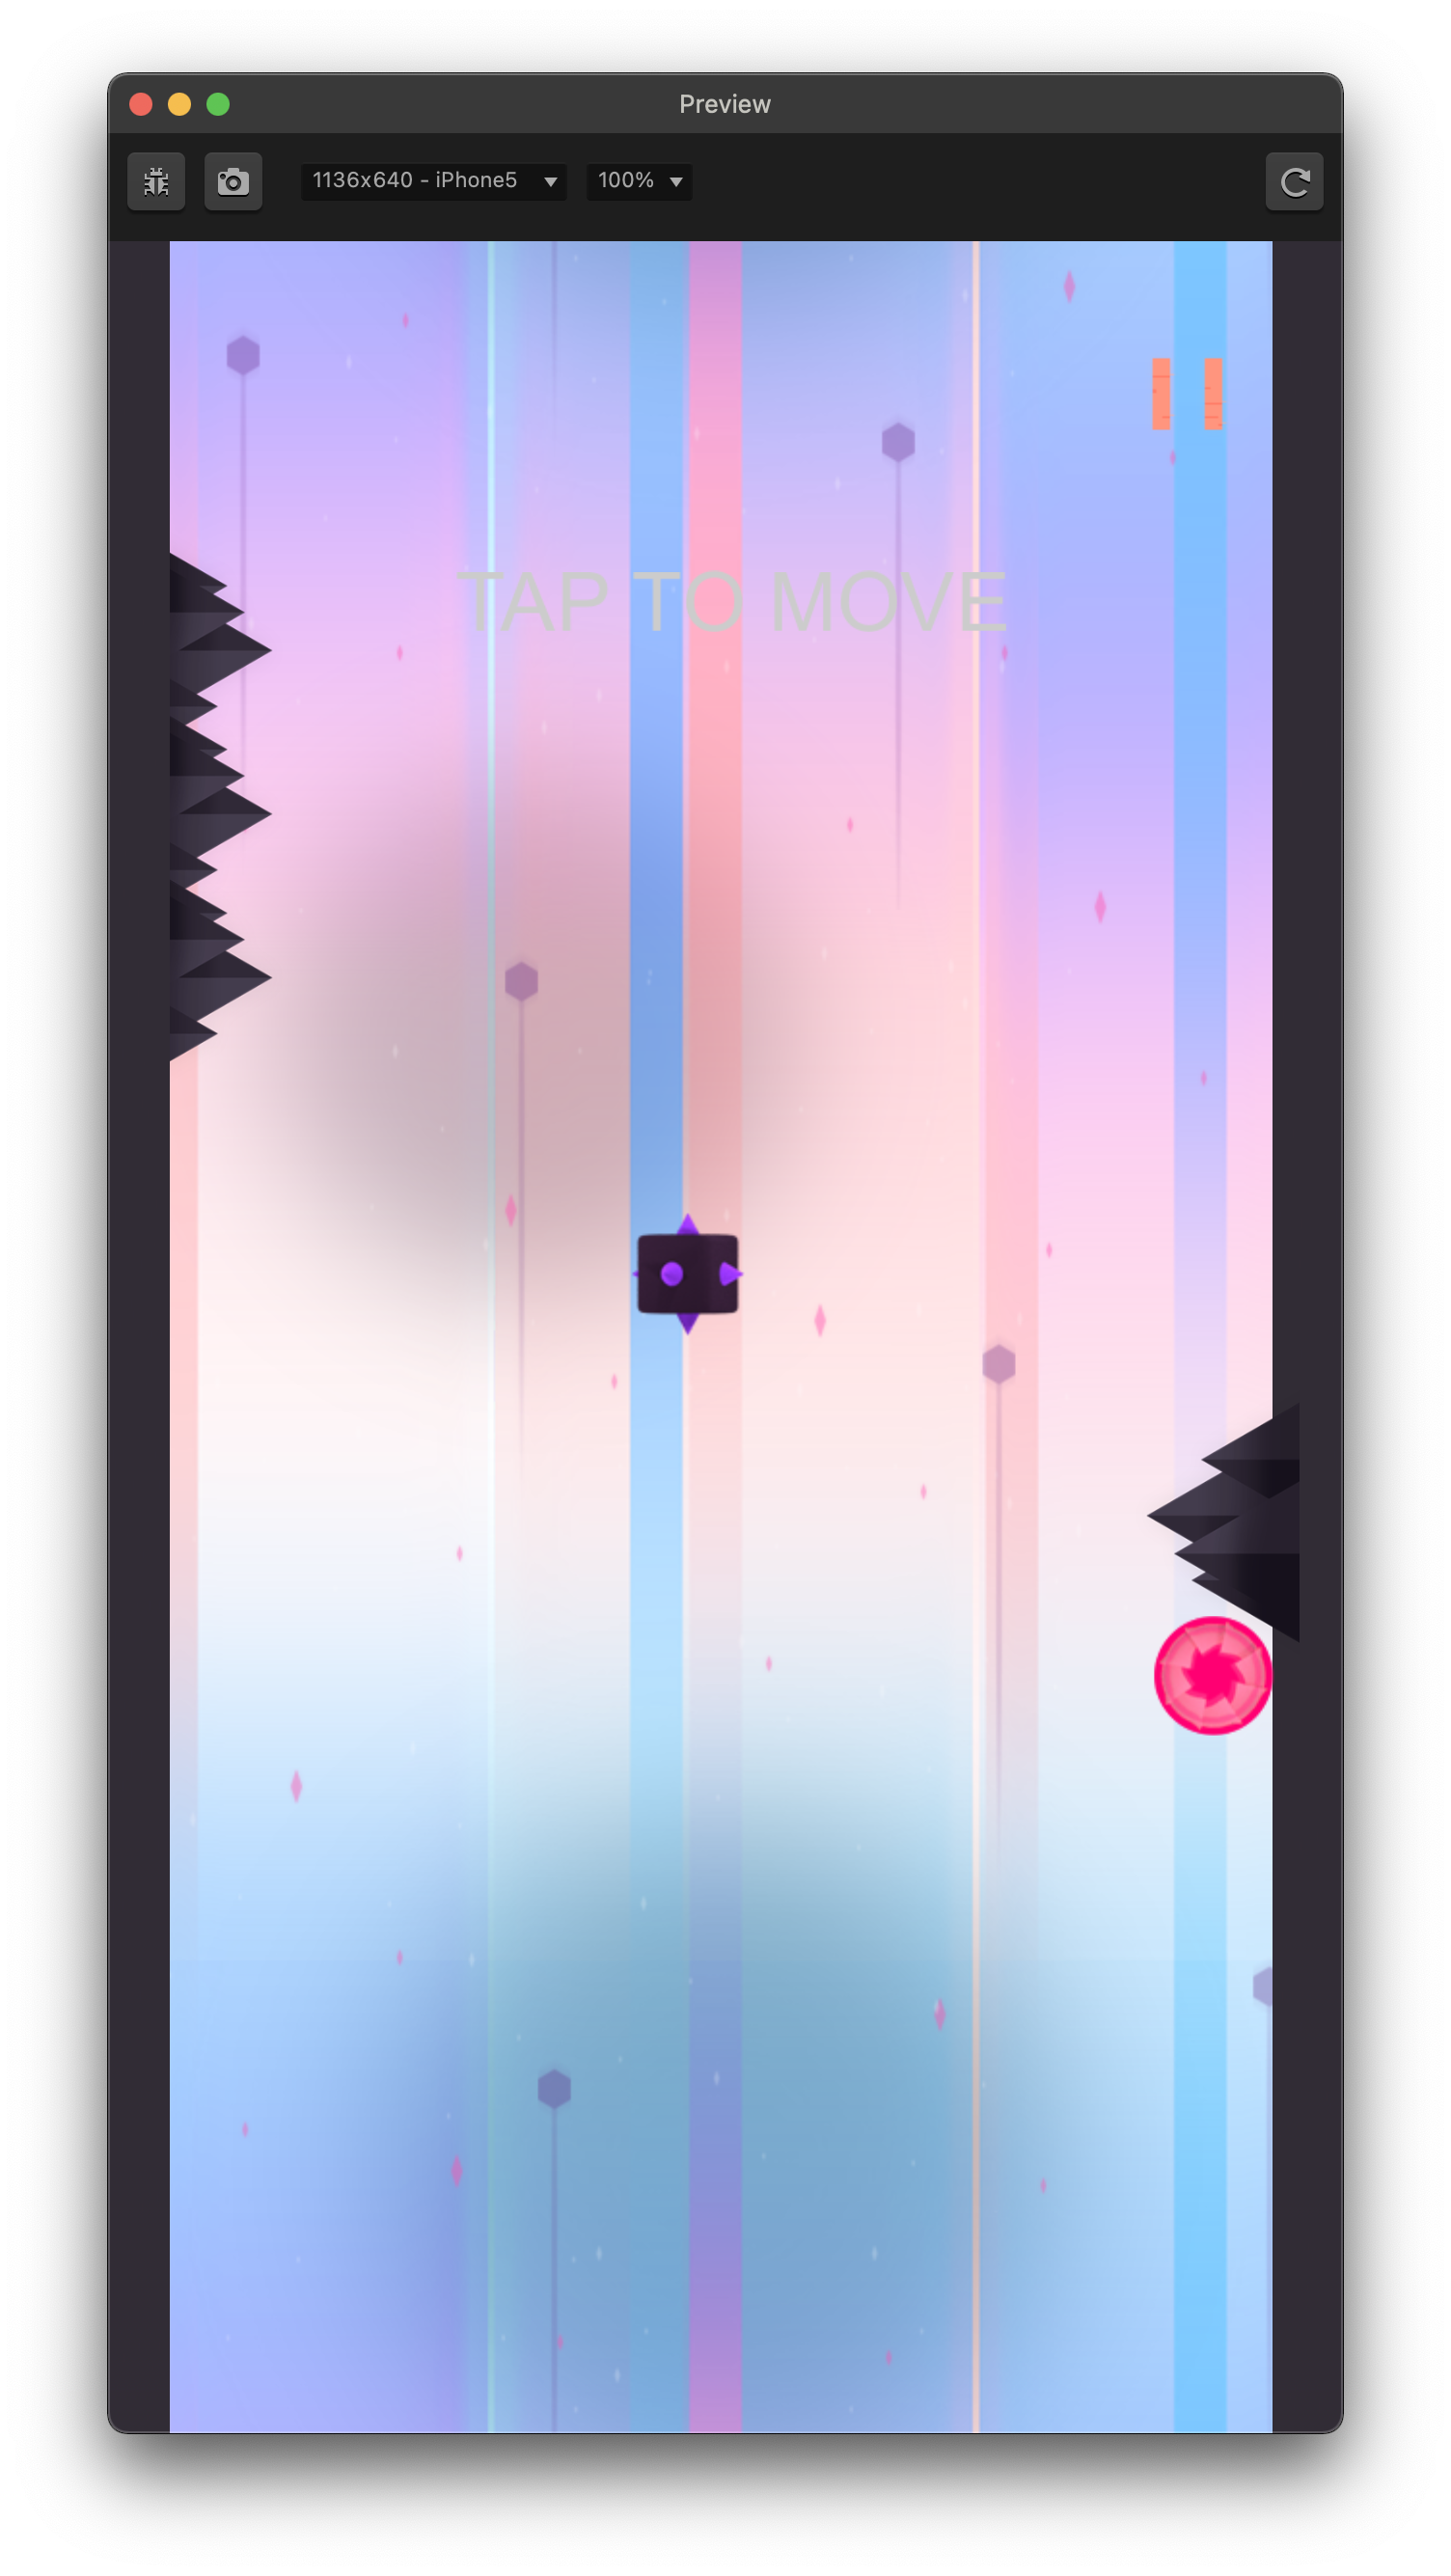
To make sure this spinning death trap harms our character as it should, simply change the preset from platform (its default mode), to enemy.
What we will do next is to add linear movement to the enemy square.
The point of adding linear movement is so that the enemy is more ‘sentient’ and we can challenge the player during the game play as otherwise the enemy would just be standing there, being difficult to avoid.
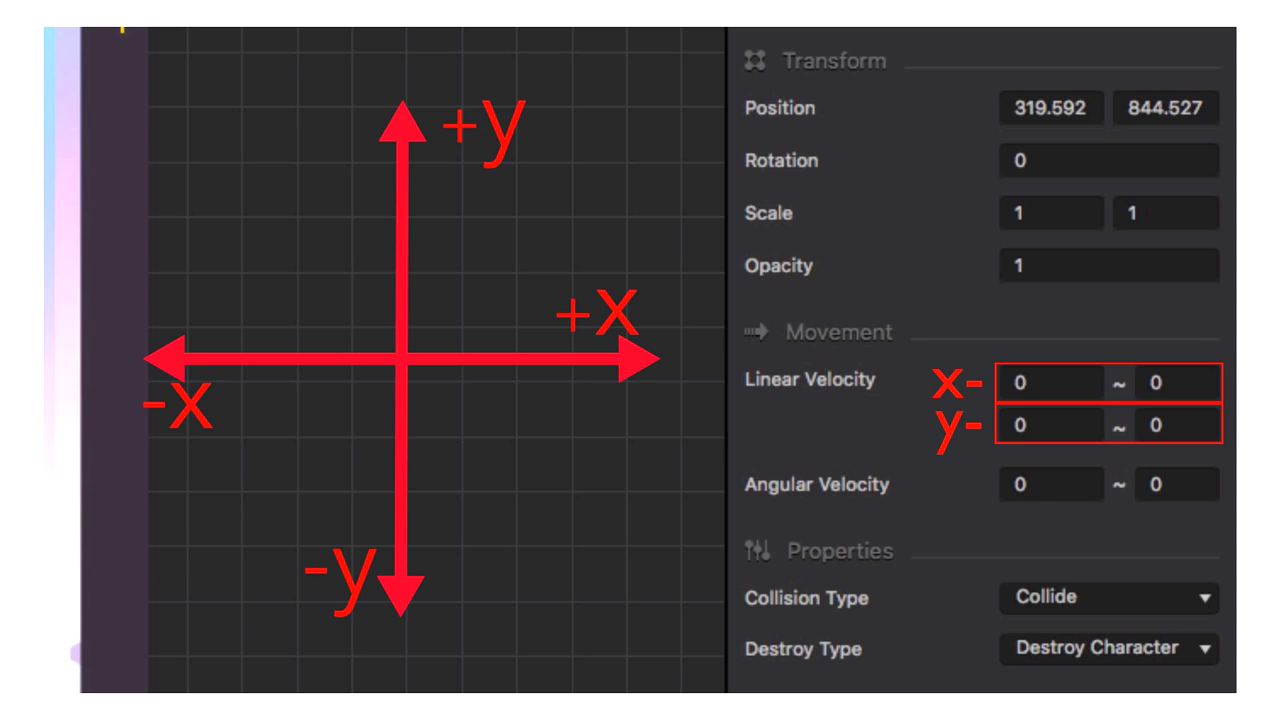
The X and Y axis:
Are you still familiar with the X and Y axis you were taught in school? Well, it will finally prove useful! At last. Remember that the x-axis really runs left and right, and the y-axis runs up and down.
When you click on an enemy, or any object for that matter, that is in a scene, you’ll see the movement section in the options panel.
The first row represents the X axis. The second row represents the Y axis (shown in the image in red). There are two boxes per row, but we’ll discuss the first column of boxes first.
If you add in a positive number in the X axis row, the object will move to the right. If you put in a negative number, it will go to the left.
Same goes for Y. Positive number makes it go up and a negative number makes it go down. Play around with these numbers and preview the game.
We encourage you to experiment on this and you’ll hopefully get an understanding.
Let’s talk about angular velocity. Angular velocity gives movement to objects in a circular or angular direction. Lower numbers will result in bigger orbits while larger numbers will result in small, faster orbits.
Try putting 100 in the angular velocity and see how the object orbits.
Now, try this again with the number 4. You’ll realize that the higher the number, the tighter the orbit. A smaller number makes its orbit so huge it looks like it is moving in an arch in the scene. Go ahead and experiment with this feature to learn more about it.
The second column highlighted in red with a number 2 is going to be called the randomizer.
Let’s add 0 for the box in the first column for the x variables and the number 10 in the box for the second column.
It will look like this: 0 ~ 10
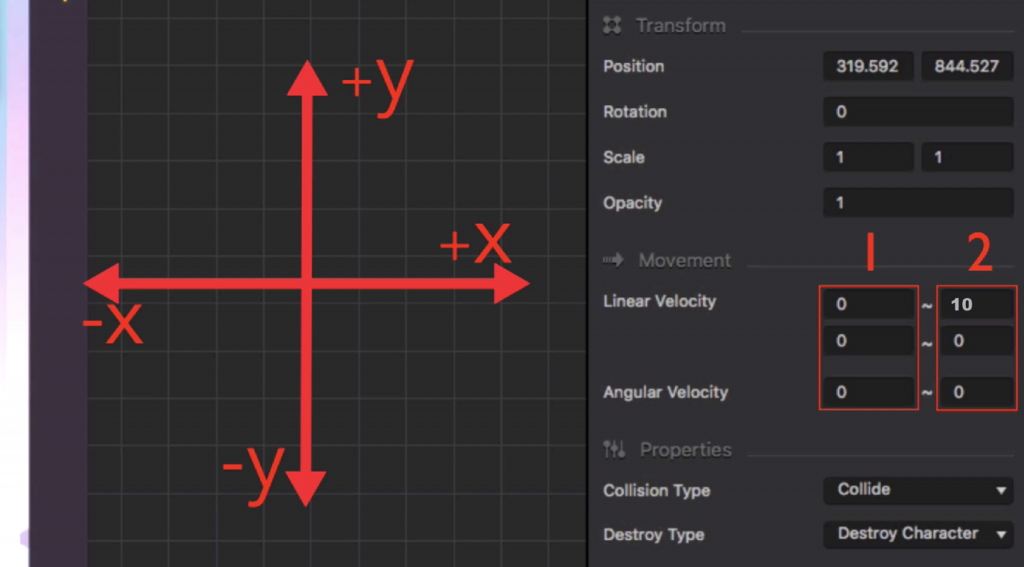
Once this is added, the second column will add a random number, between negative 10 and positive 10(including the numbers -10 and 10 themselves), to the number in the first column. It will be a random number every time the enemy appears.
Even if you duplicate the enemies, the randomizer will make them move at different speeds either left or right in the actual game.
If you put in numbers in the randomizers for the Y variables and Angular variables, you’ll see that the enemies are now moving unpredictably. Play with these numbers for a while.
In Buildbox, you will find that there are different object components.
The first one is the Wake Up component which allows the object to lay dormant until we either collide with them or get close to them.
For our enemy, we want to have a wake up component that is distance based. To achieve this, let’s try the following settings:
- Wake up: Distance Based
- Wakeup Distance: 300
- Sleep: Disabled
Having these settings, won’t make the spiky square enemy move until the character is 300 pixels away from the enemy.
If we want the enemy to stop moving when we’re 200 pixels away, we can simply enable the sleep option, choose distance based, and write in 200.
Preview the game to see how the wake up component works.
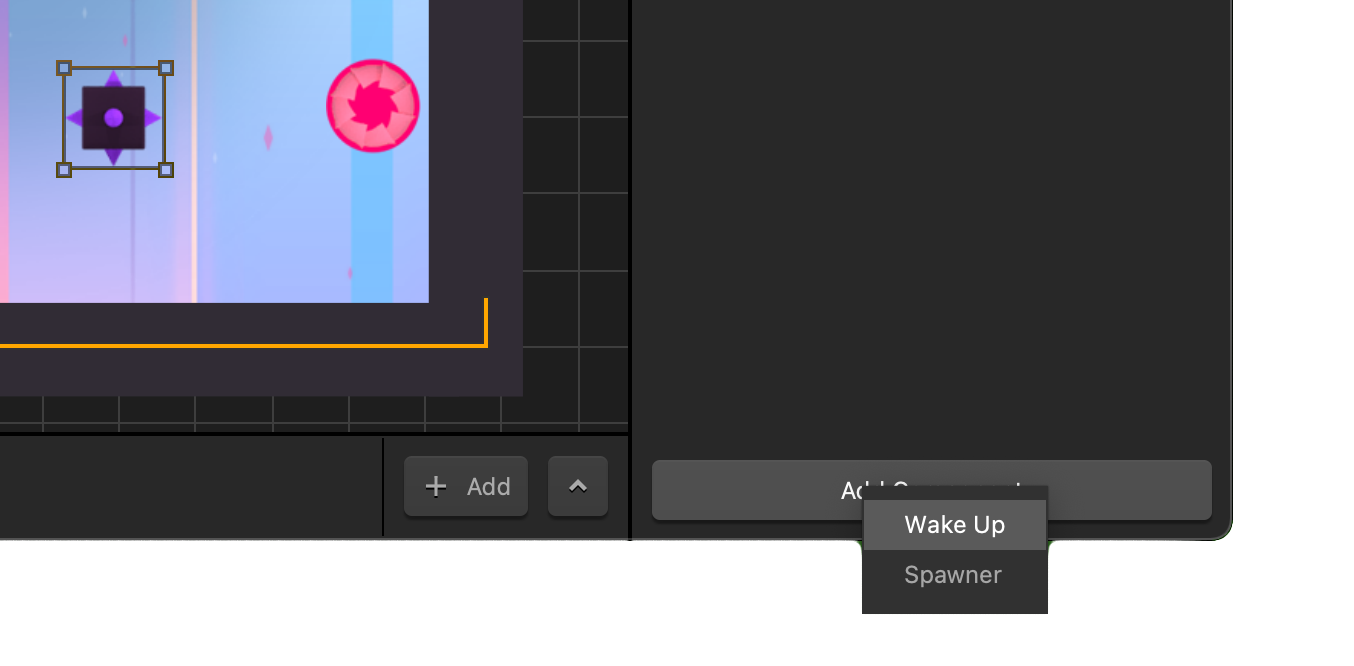
How about the spawner component?
The spawner spawns additional copies of an object. The number we put in the first box determines how many seconds until we spawn another copy of the object.
In our example, which is also the default option, the number is 1. This means a copy of the enemy will spawn every 1 second. Note that the original copy of the enemy will not appear if it has a spawner component. You can also use numbers lower than 1.
The “spawn action” option determines the conditions required to enable the spawning component of the object.
Should the character be jumping or shooting for it to start spawning? If it is set to permanent, the only condition needed for the spawning to start is that the object should be awake. That works best for this game so set the spawn action to permanent.
We can combine the Wake Up component with the Spawner component. Try the settings shown in the following image:
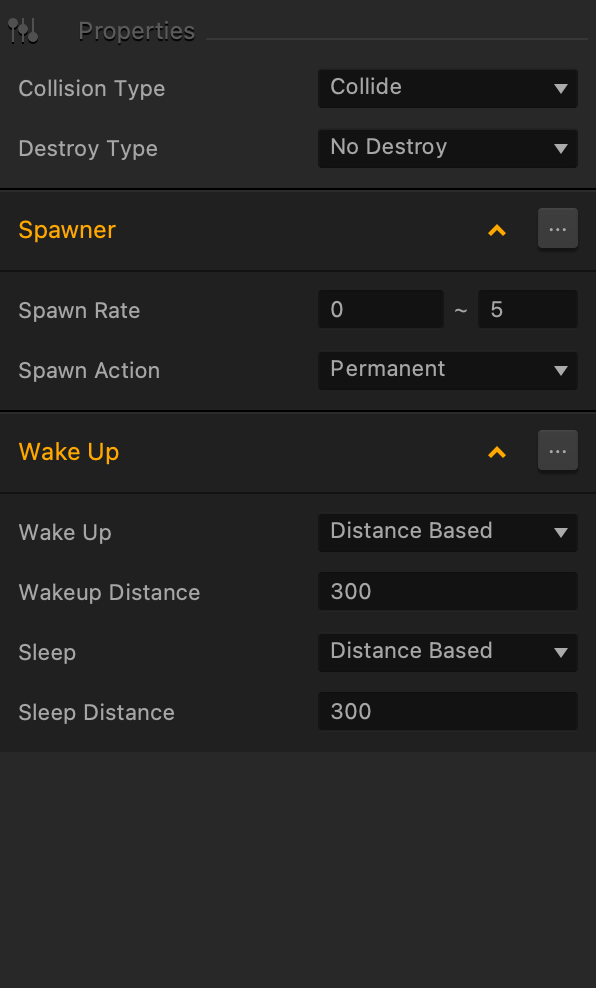
Once this is completed, the spawning will begin when the enemy wakes up, which is when the enemy is at a distance of 300 pixels or nearer to the enemy. The spawning, and any movement we may have put in the linear velocity and angular velocity boxes will stop once the character is 300 pixels away from the enemy.


