In this chapter, we’ll cover actions, effects and logic pieces in-depth. You’ll learn how to add actions like coins, invincibility, power-up magnets and action animations.
Creating an in-game economy with coins and other actions such as power-ups is an excellent way to give your players goals and reward them. When you make your own game with this in mind your overall gameplay experience will be better and player retention will be higher. The option to collect coins also empowers users to unlock characters and other special items you decide to include, which can lead up to an in-app purchase generating real money.
We’ll cover how to import coins for players to collect, how to add a coin tracker to your game’s UI, invincibility power-ups and the use of path logic pieces.
You’ll also learn how to add beautiful light effects and particle effects in creative ways to make your game look really professional.
Let’s start by looking for the PNG animation for the coin in the graphics folder. Go into the “GLTCH Extras” folder and you will find the “coin” folder. Open it up. Select the entire PNG sequence for our coin, and drag it into Buildbox, dropping it on the action option of the drag and drop wheel.
Let’s select the action in the assets panel and make sure we name it something easy to find in the outliner. Also, actions can be tied to buttons, so, make sure you name your actions so you can reference them in those buttons settings.
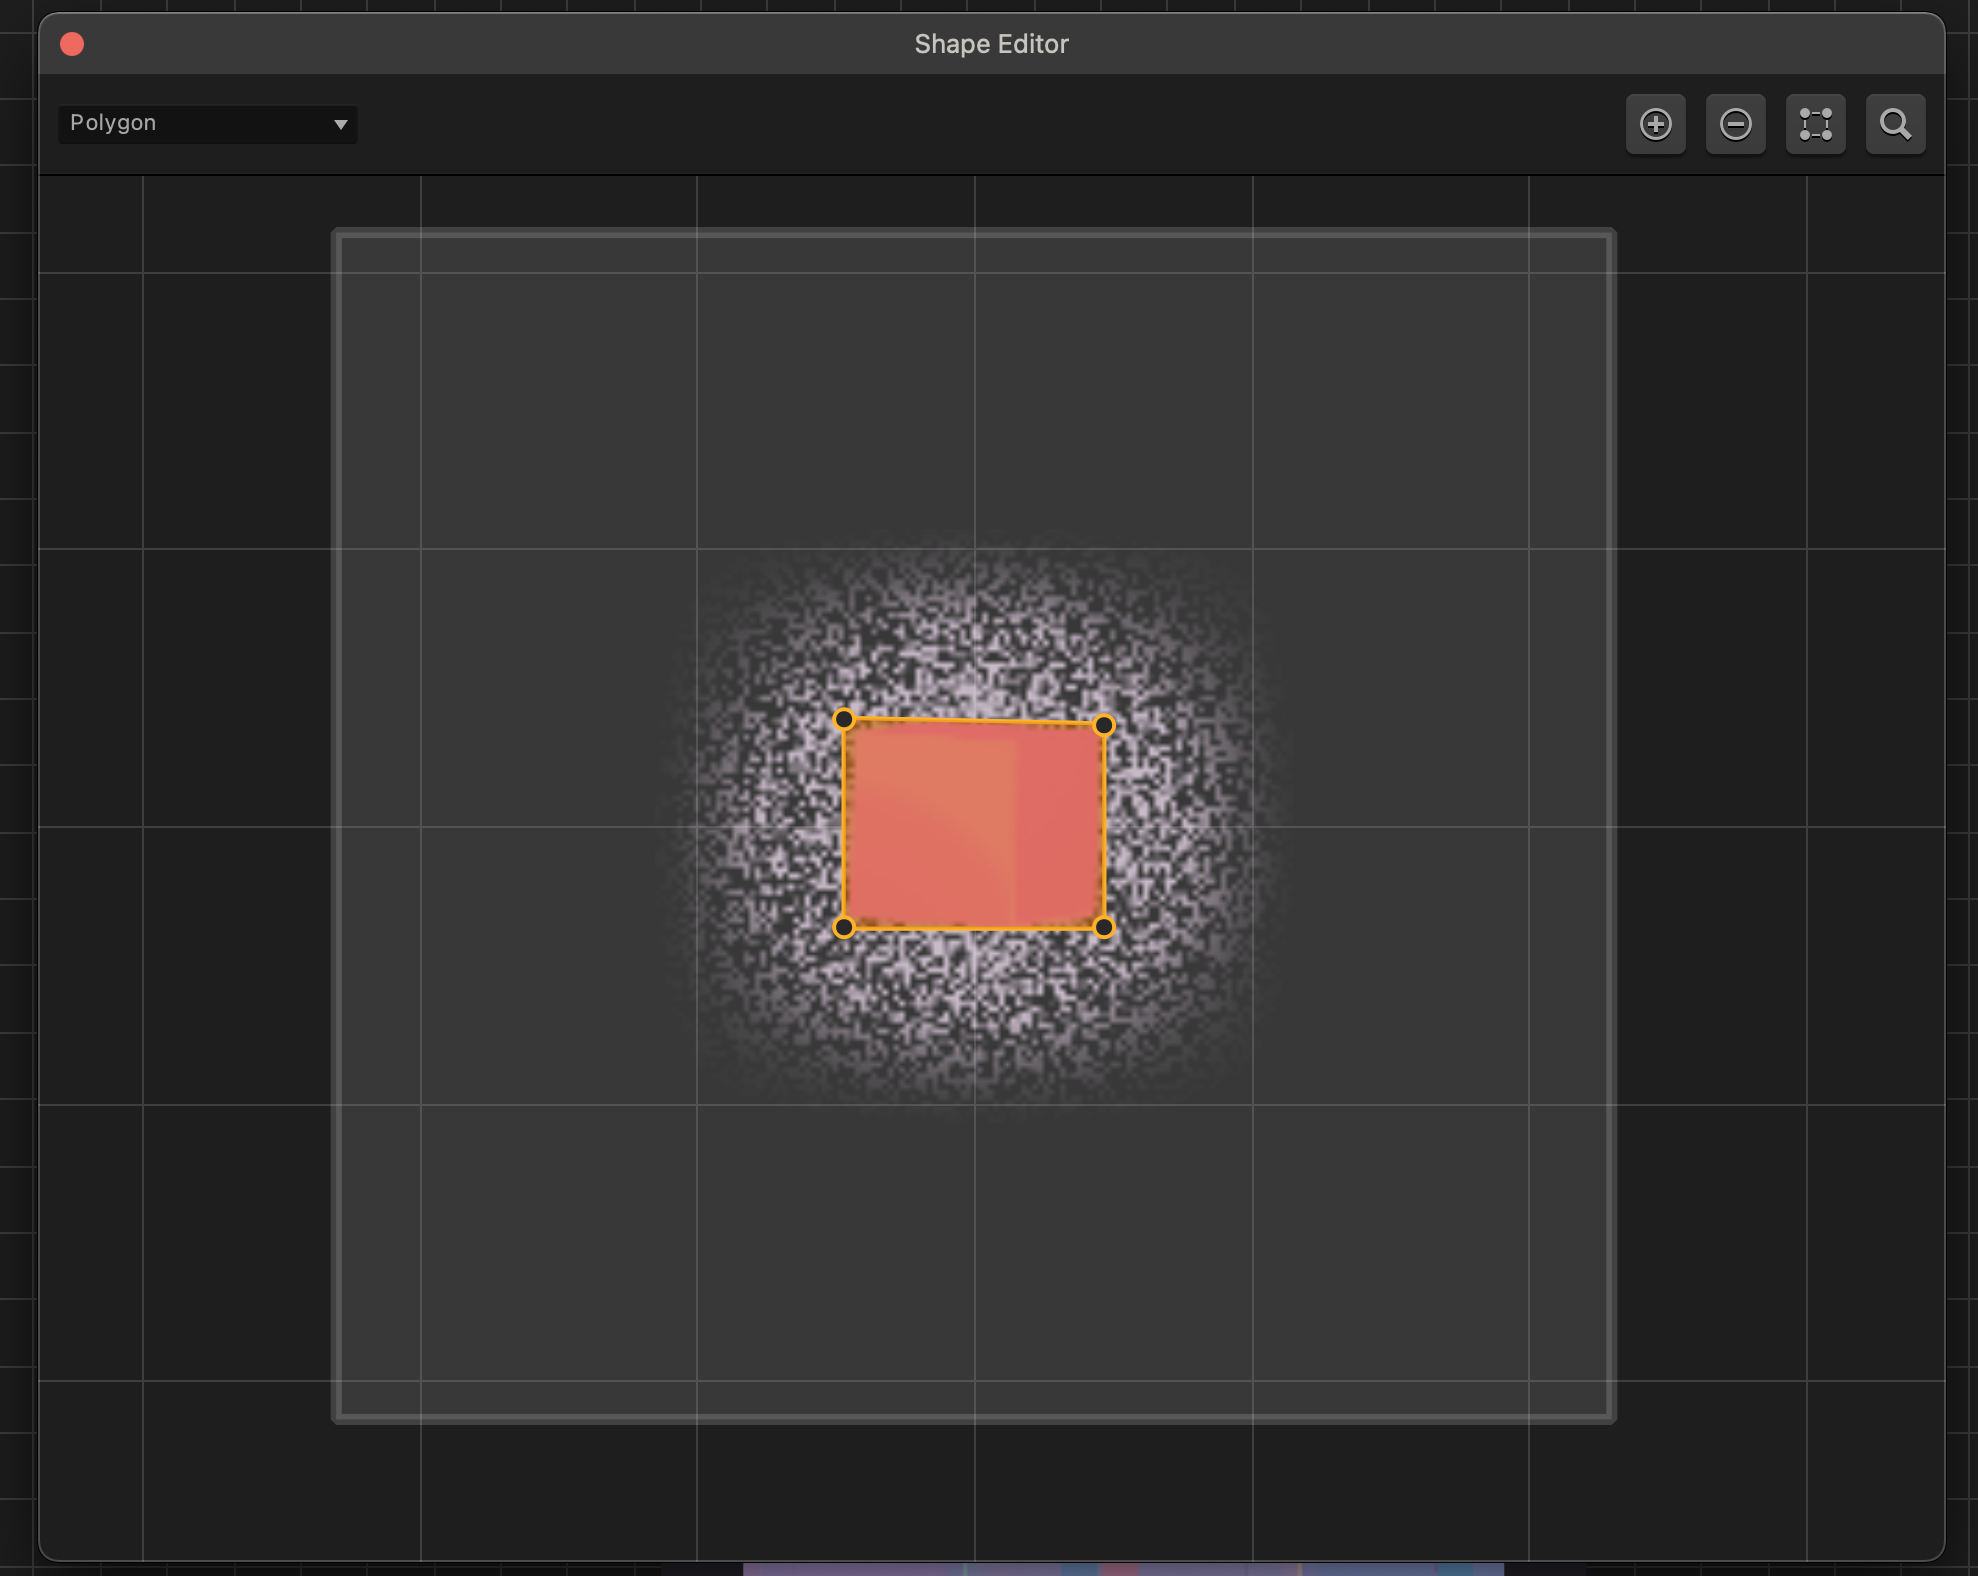
Next, let’s check out the collision shape and make the appropriate changes to our collision shape, but this time we want to go in the opposite direction with our forgiving philosophy about collision shapes, because this is something the player will want to hit, so let’s make it plenty easy for them to do so.
There are many different types of actions that can be created in Buildbox:
- a coin that we already discussed as being the currency for our in-game economy;
- a kill all enemies action which will kill all the active enemies in the scene, meaning enemies with wake components that are not yet active will live through the action but otherwise using this will take some tweaking if we don’t want to sterilize our scene of all the aesthetics;
- invincibility, which will make our players survive anything that would normally kill it. We are going to add an invincibility power up later in this chapter;
- a powerup magnet, which is an action that when collected, will attract all the other actions on the screen towards your character;
- strike is an action that will kill all enemies in contact with the player;
- set checkpoint will save the users progress, next checkpoint will move the player to the next set checkpoint;
- restart checkpoint will restart the character at the last set checkpoint touched;
- and finally, an action that changes gameplay options in something that is a mix of world and character settings
The action animation is the animation that happens when the action is collected by the player, and the animation can take place at the character where the action was when it was touched, or displayed full screen, and the animation can overlay or replace those options. We have sound options here for the action.
Remember, Buildbox will accept mp3s. Just drag them into the settings in the properties section, we can set actions to reward coins or points, and show either upon collection.
The duration is how many seconds the action will remain in effect, and the appearance chance is what percent chance the action has of showing up in the game.
We have options to trigger a camera shake or camera flash when the action is collected in seconds. So, a five in each would shake the camera for five seconds, and the camera flash would dissipate at the end of five seconds.
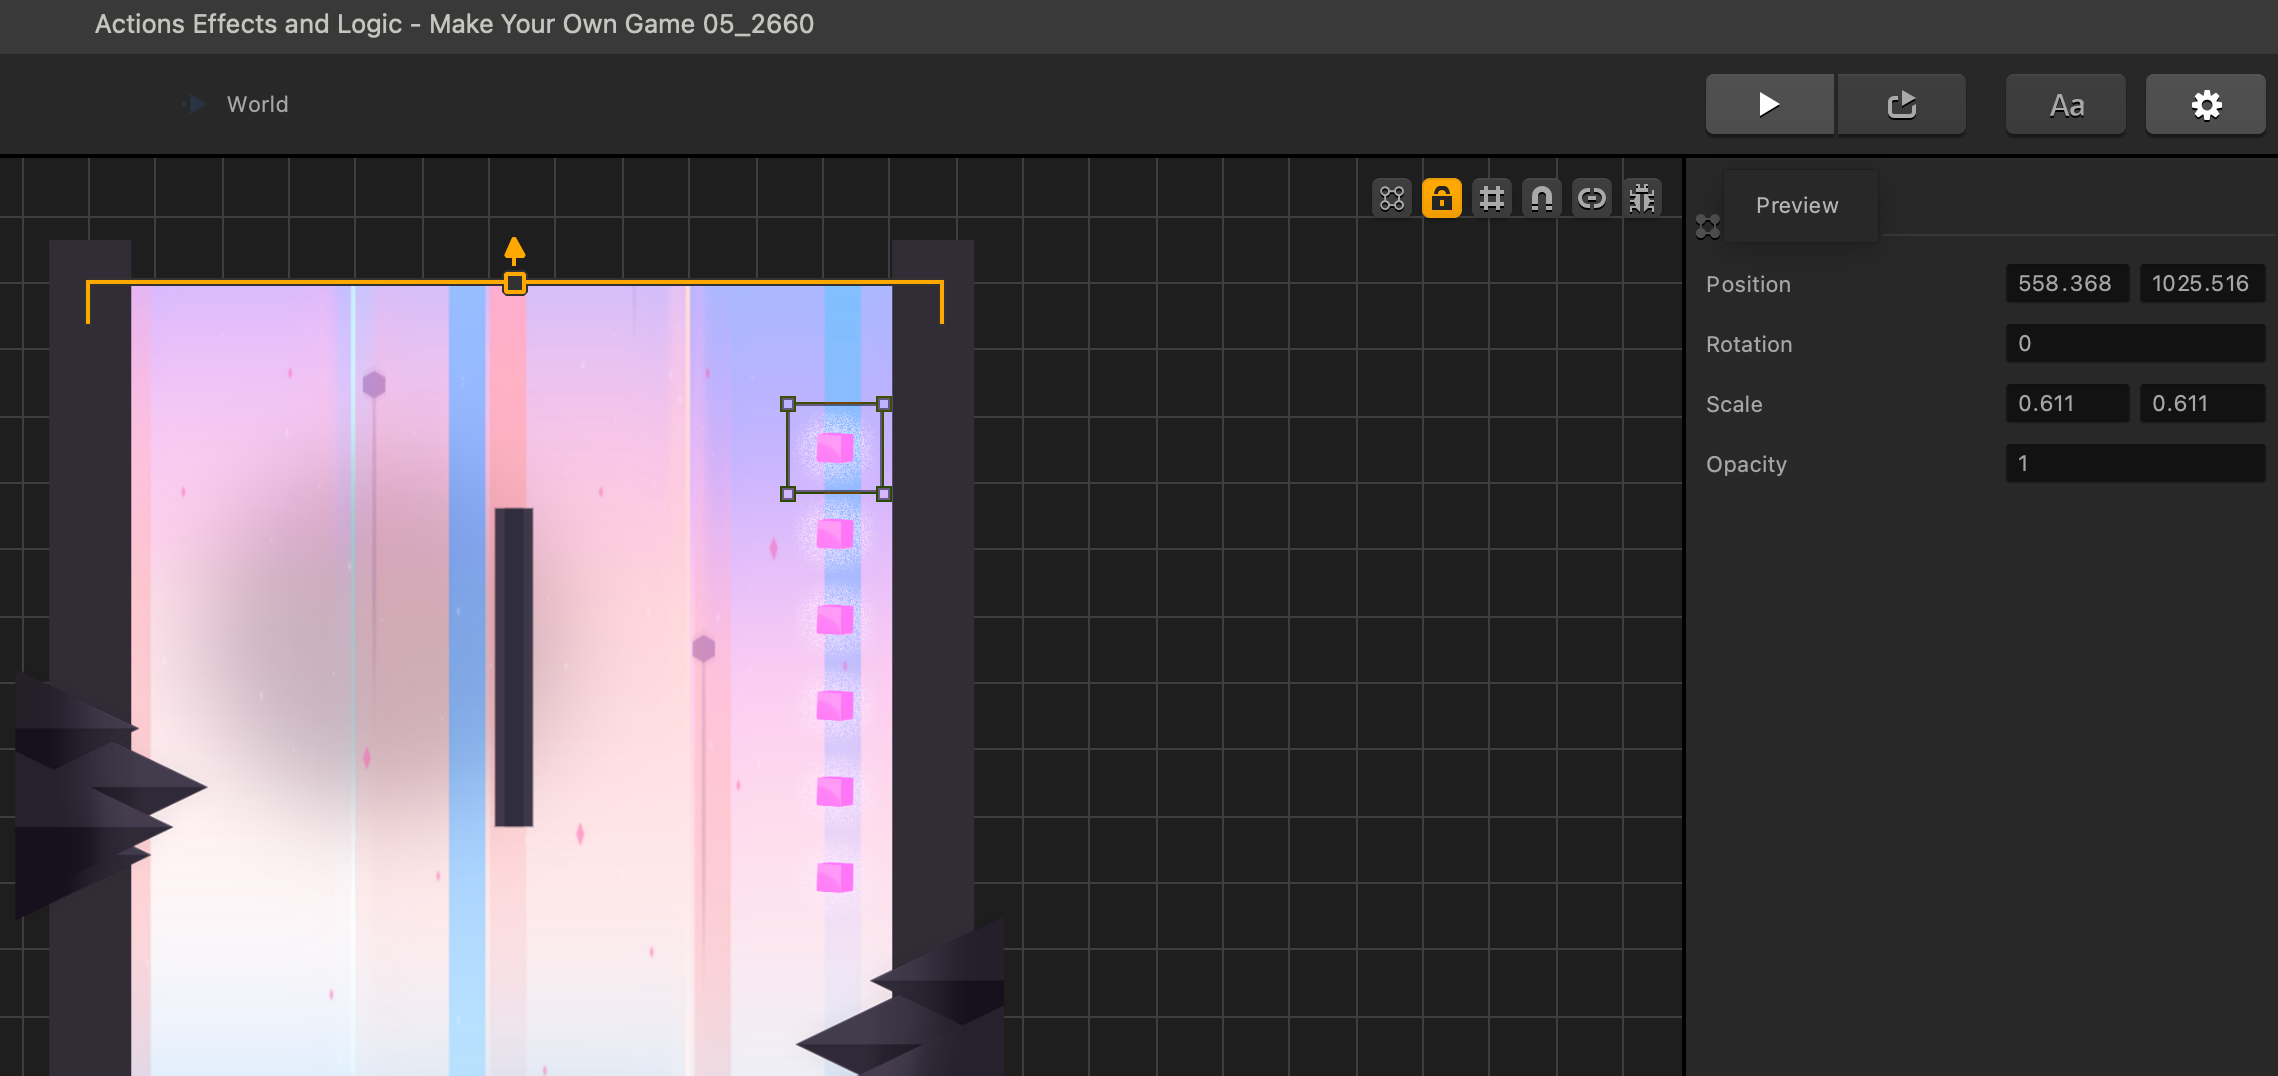
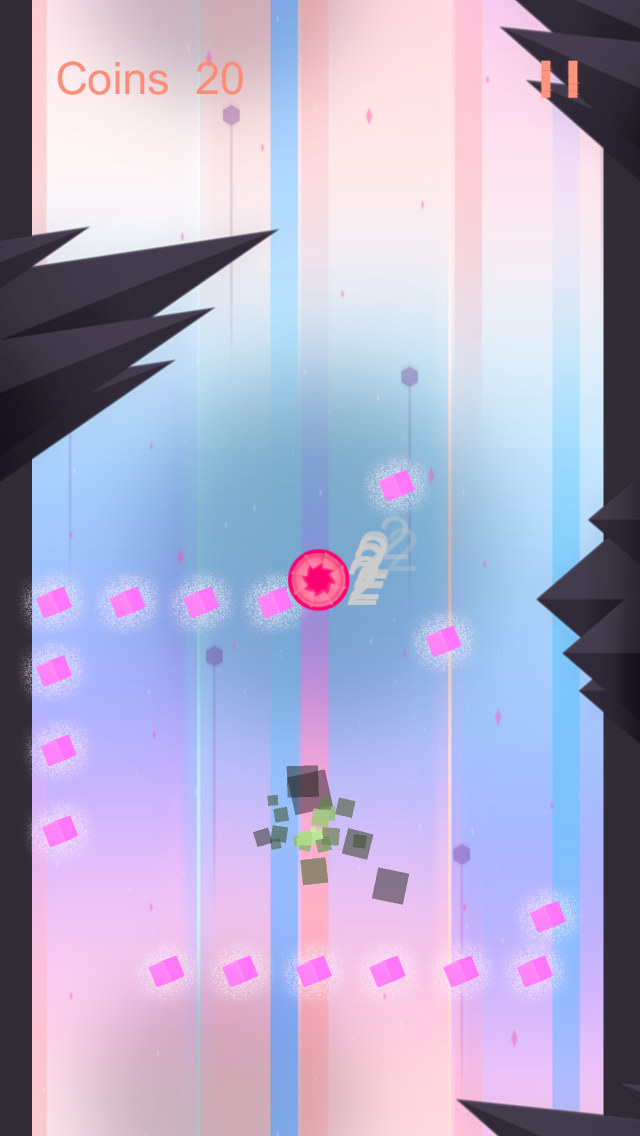
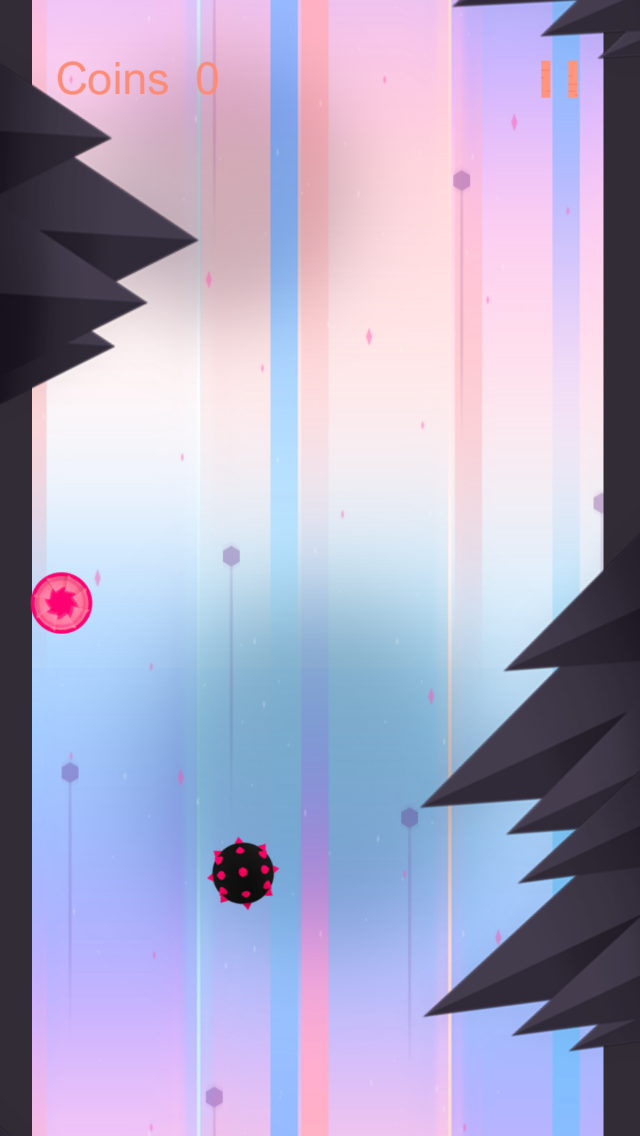
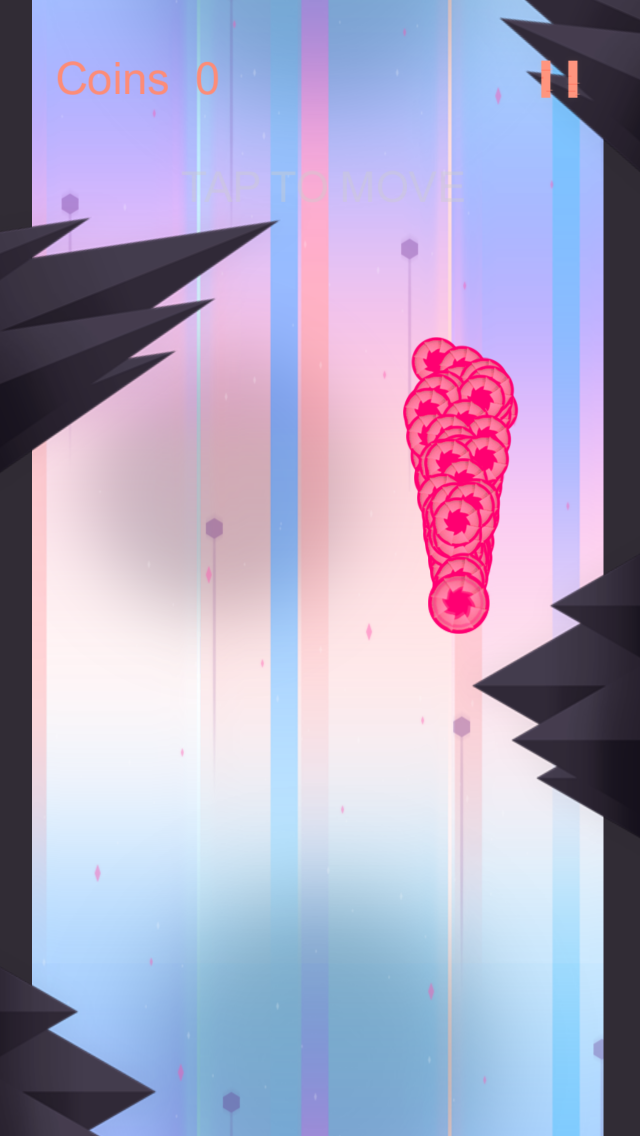
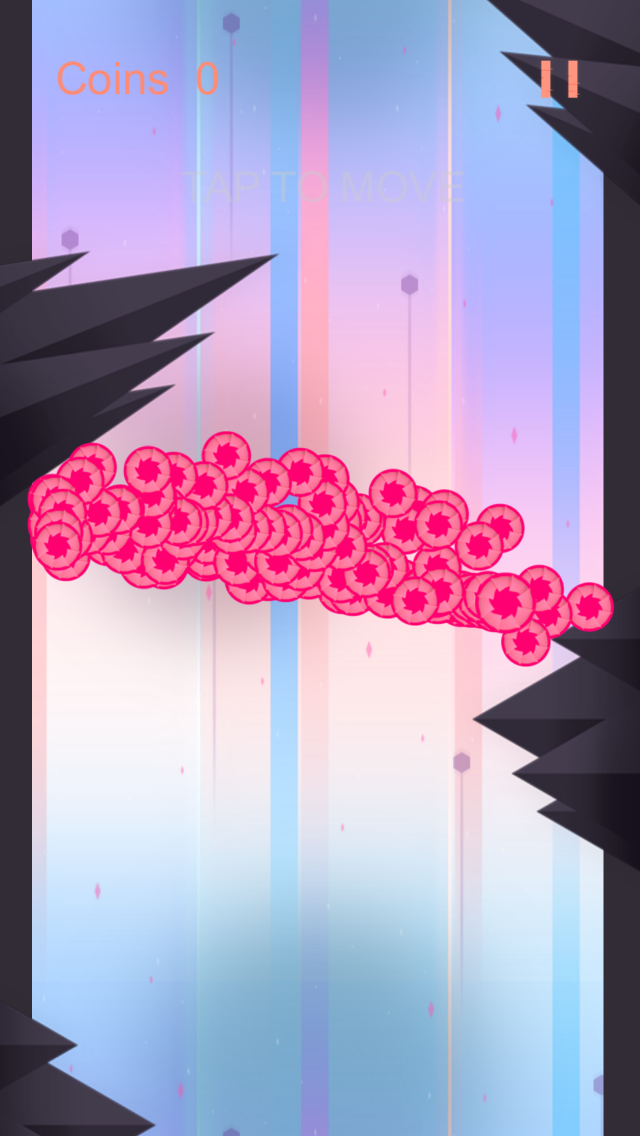
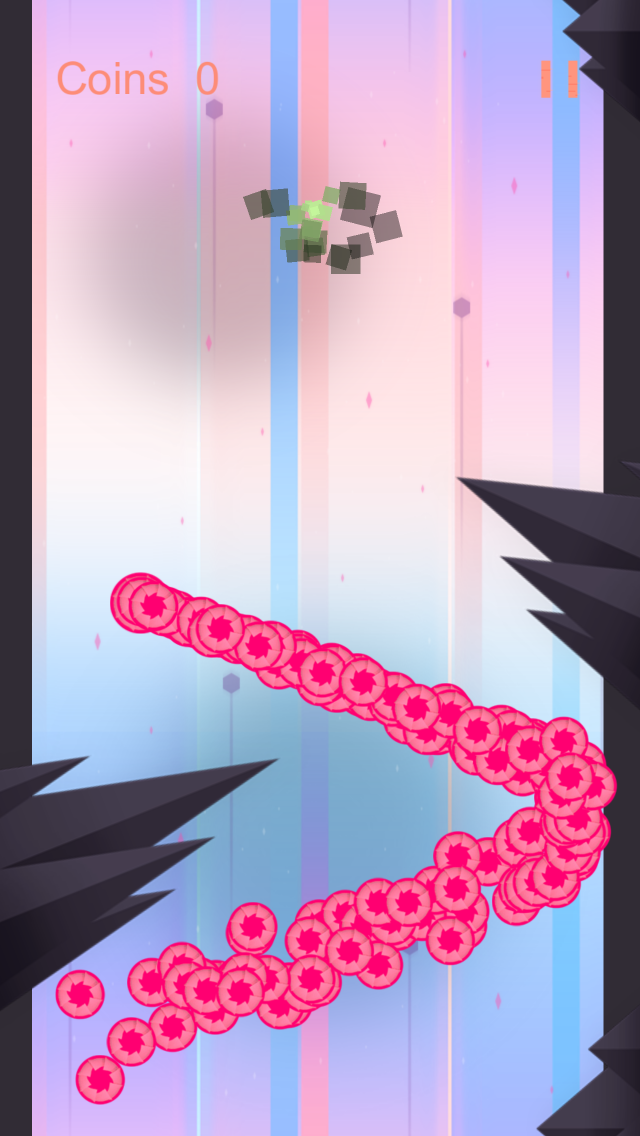
Now, let’s set our action to a coin, with its animation placement at the character as an overlay, and reward two coins per collection. Let’s duplicate the coins along the wall, and have a look at our action in action by previewing the game. Pun intended.
Upon previewing the game you’ll see it’s working perfectly. However, we don’t have a way to keep track of how many coins we have collected. Let’s fix that. Go to the World UI and add two labels into the UI. One in the Upper left, with function as “User Text”. The text could say “Coins”.
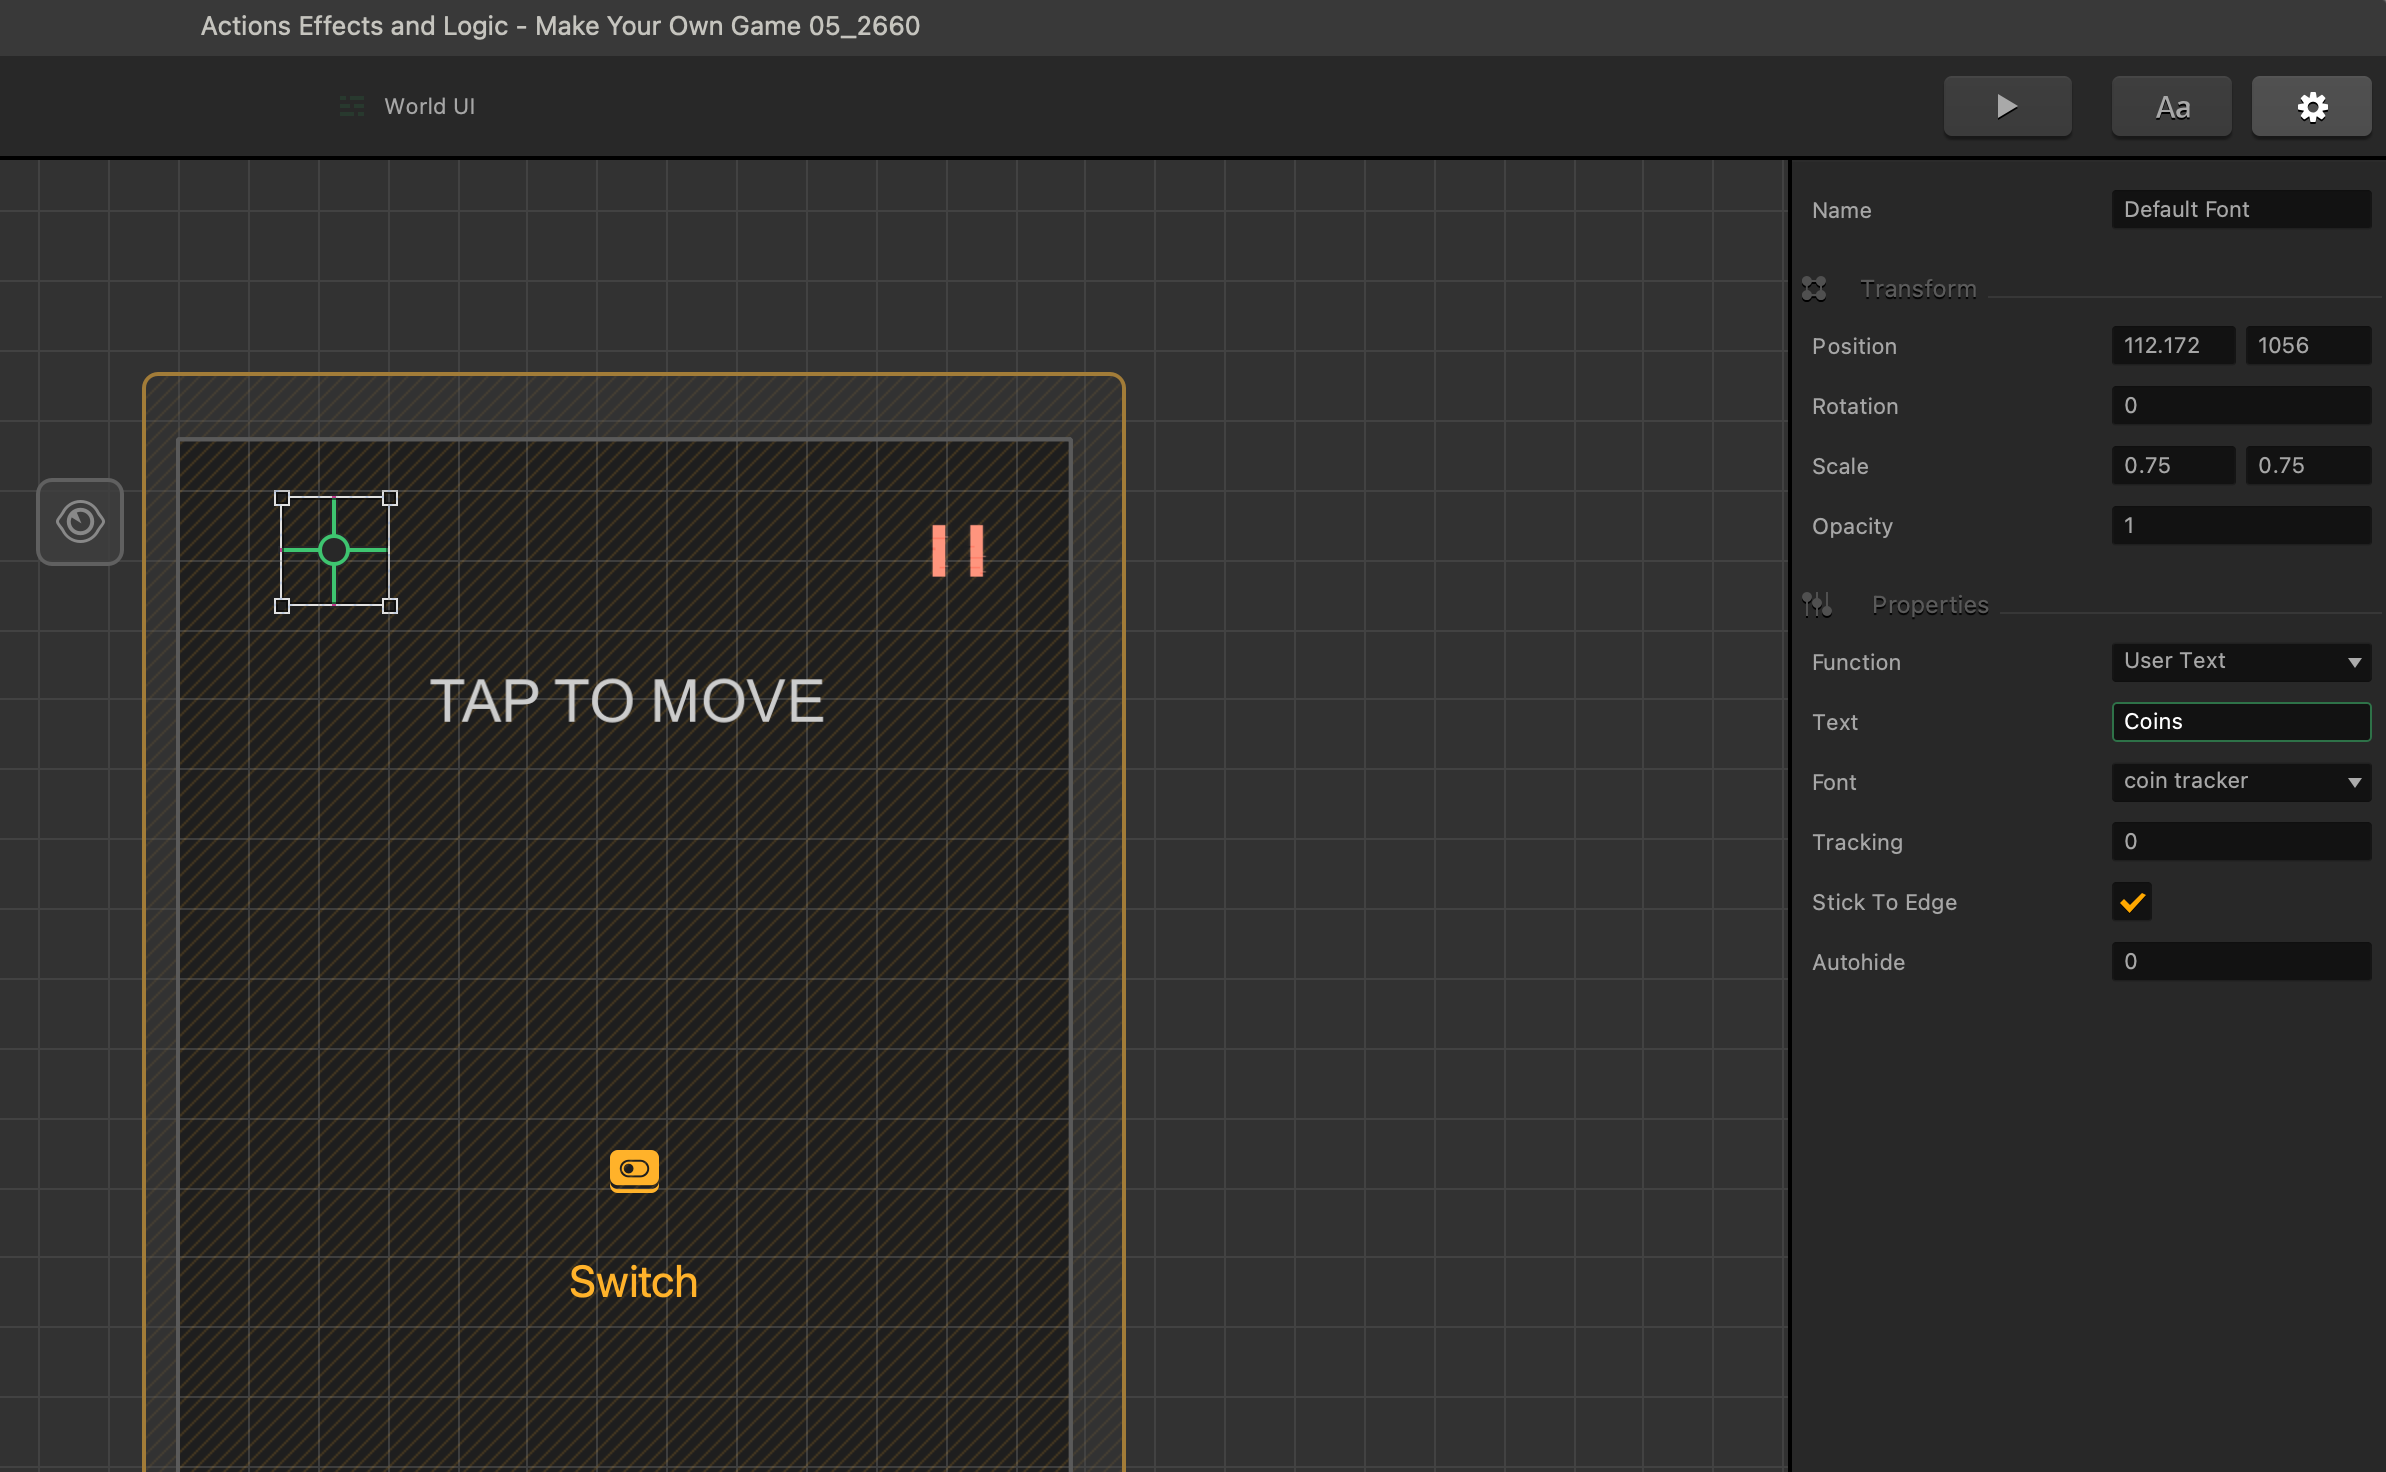
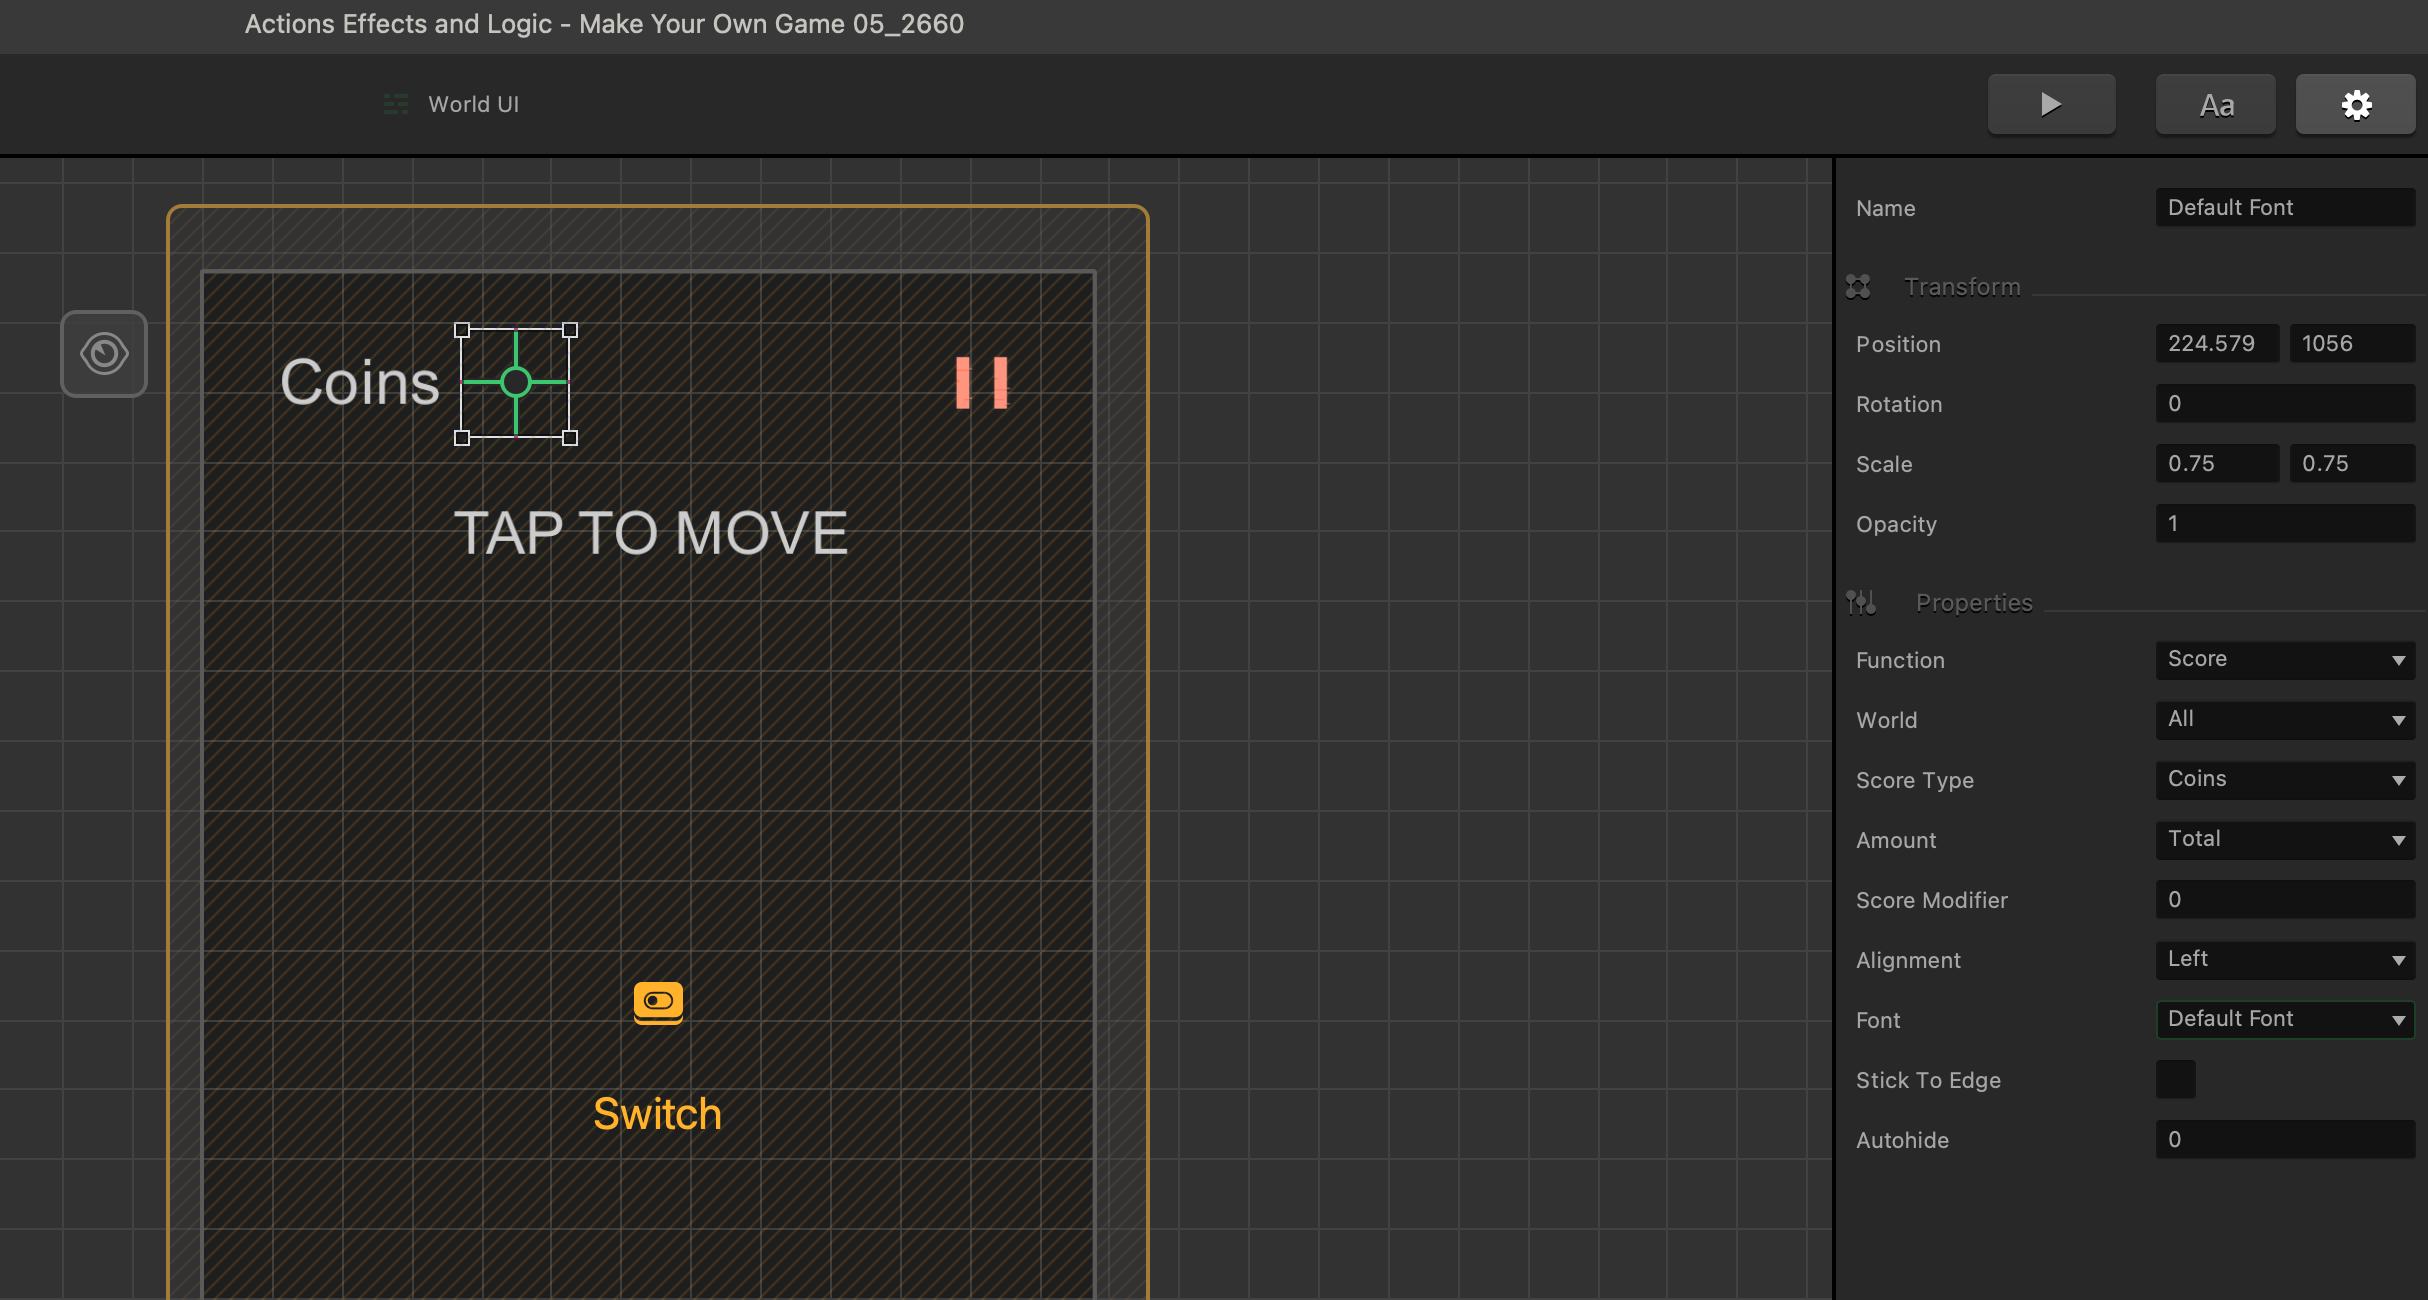
Duplicate this label to the right so it stays perfectly in line. This time, change its function to “Score” keeping track of all the worlds even though we currently only have one, and change it to count coins. We want to keep track of all the coins we have ever collected so the user knows if they finally have enough for something they’ve been wanting to buy in the coin shop, which we will create later in this chapter.
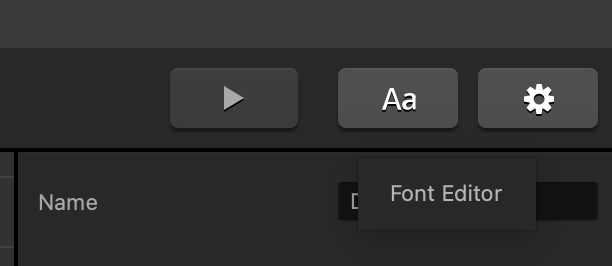
If you preview the game you’ll see that our changes in the World UI now allows us to see the number of coins we collect. But, we can hardly see it. We’ll have to fix the font colors. Click on the Font Editor button next to the preview button:
Here, you’ll end up in the Font Editor. This screen is where you set the font used in labels throughout your game. The fonts available are all fonts installed on your computer, so if you want more fonts for Buildbox, just install them as per normal on your computer.
Add a new font, name it something like “Coin Tracker” and use the eyedropper tool to make its color the same as the Pause Button.
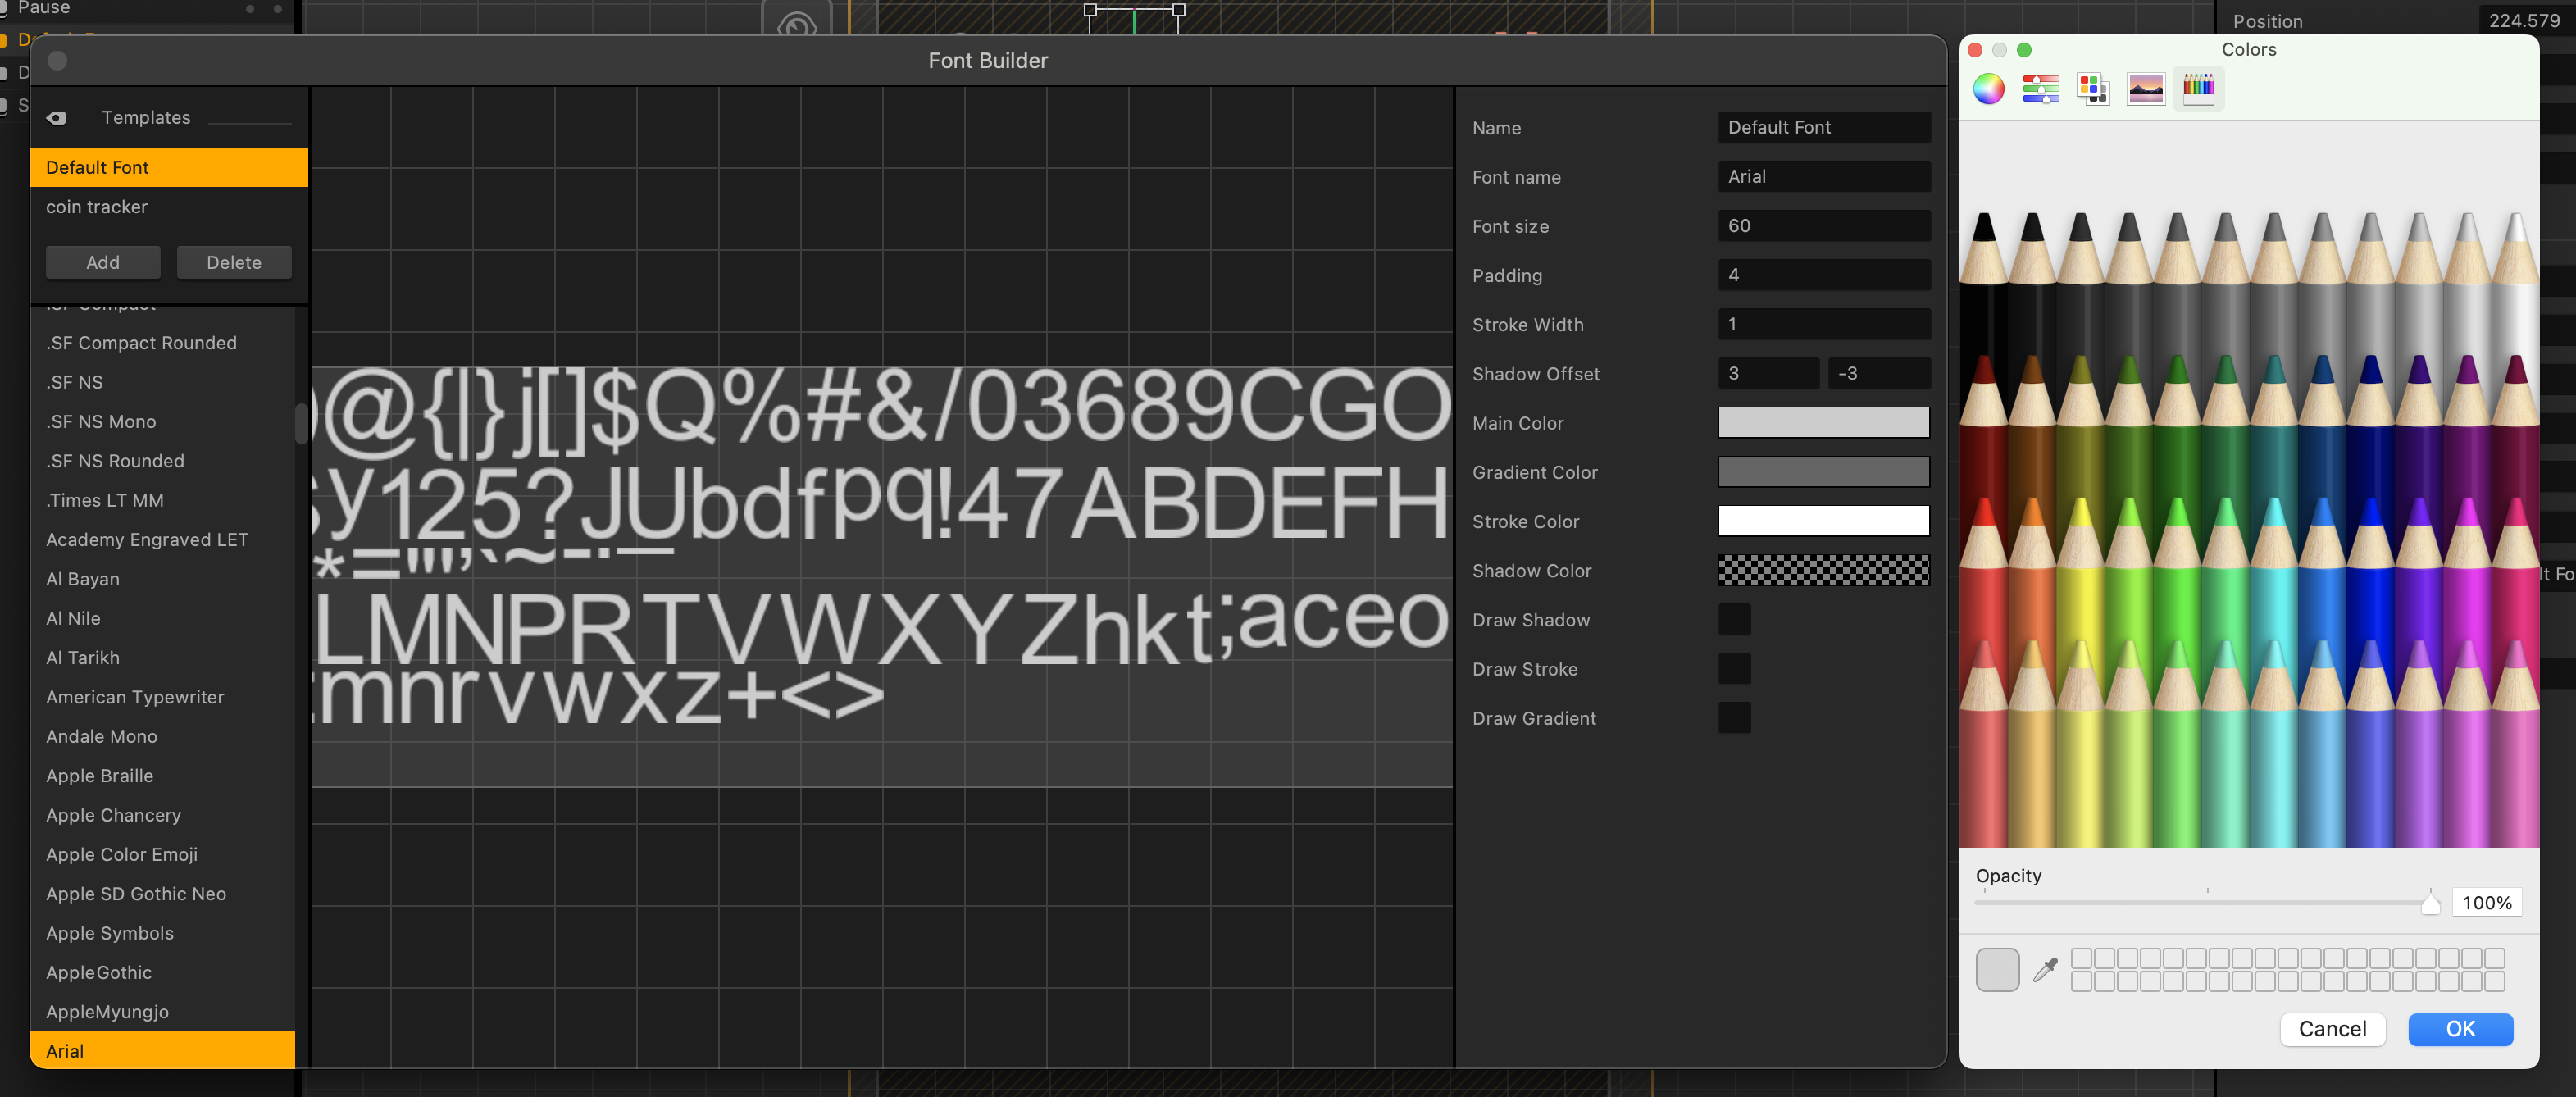
Let’s also turn off the gradient and close the font editor and make sure our font selection for our new label is set to our new font. Let’s have a look at our label now by previewing the game. That looks much better! Feel free to make the necessary adjustments we need to get it looking good.
At this point our game is looking good and nearing completion. Let’s add an invincibility power up mentioned a few pages ago.
Look for the PNG sequence for the shield. It’s in the Power_Up folder in the GLTCH_Extra folder.
Select all and drag them into the “Action” option of the drag and drop wheel.
Using the lessons learned in this chapter, name it, change the collision shape, and choose its action type to Invincibility. You can put the Invincibility Power up in scenes where you want the character to pick it up.
We are now going to drag in our animation for the invincibility, mainly as a way to communicate its lifespan. We always want to have a way to tell our player when invincibility is going to end.
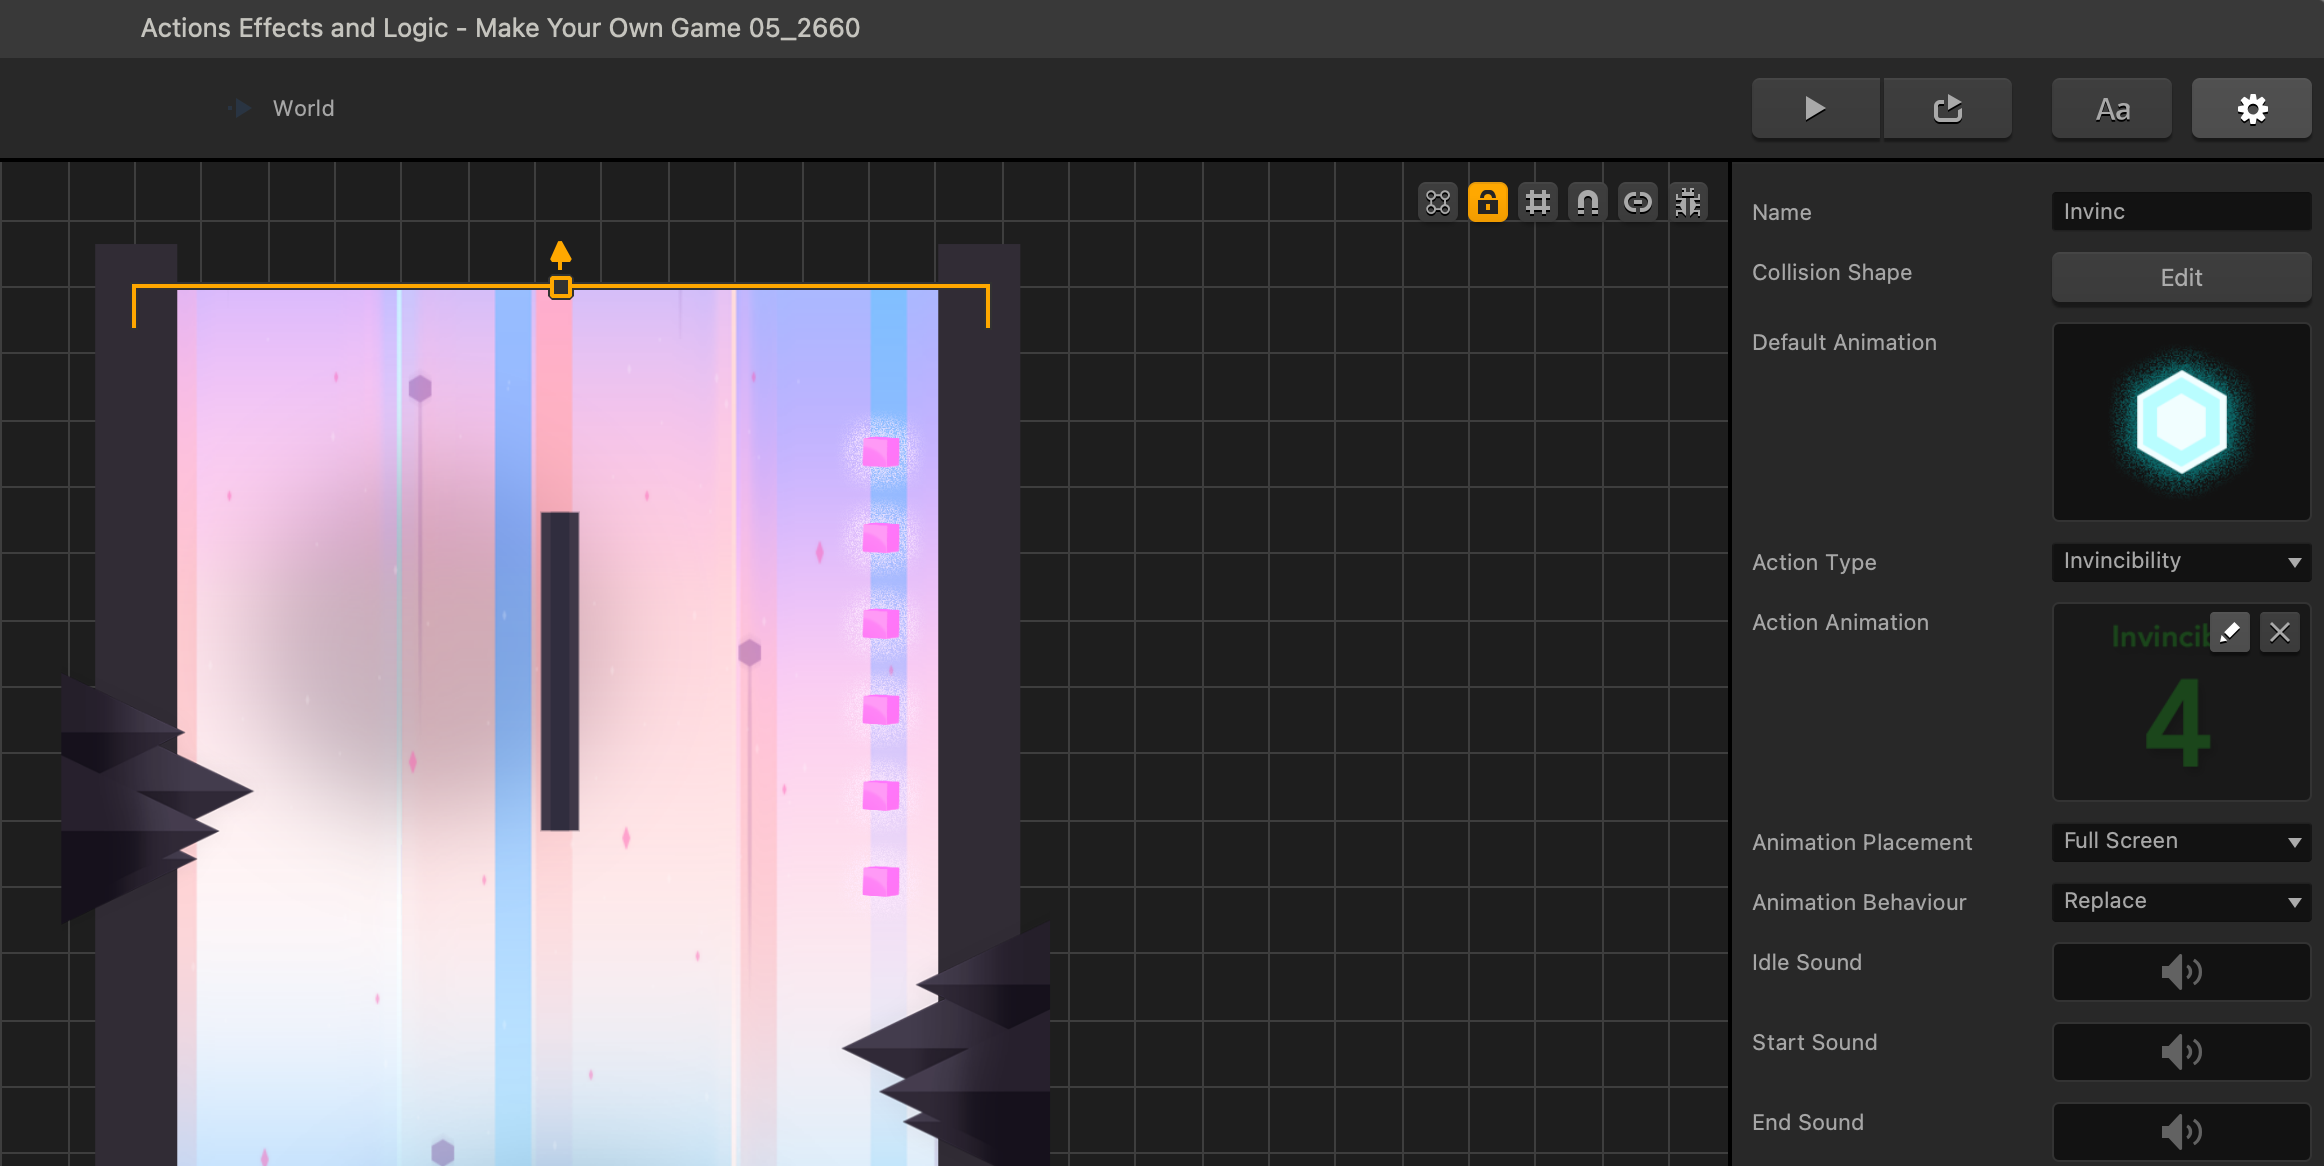
Let’s go into the invincibility actions animation editor and adjust our speed to play our animation for the duration we want. Buildbox will always play animations at 30 frames per second. So, We will adjust the speed accordingly. The proper speed here, using our Math prowess, is 0.033.
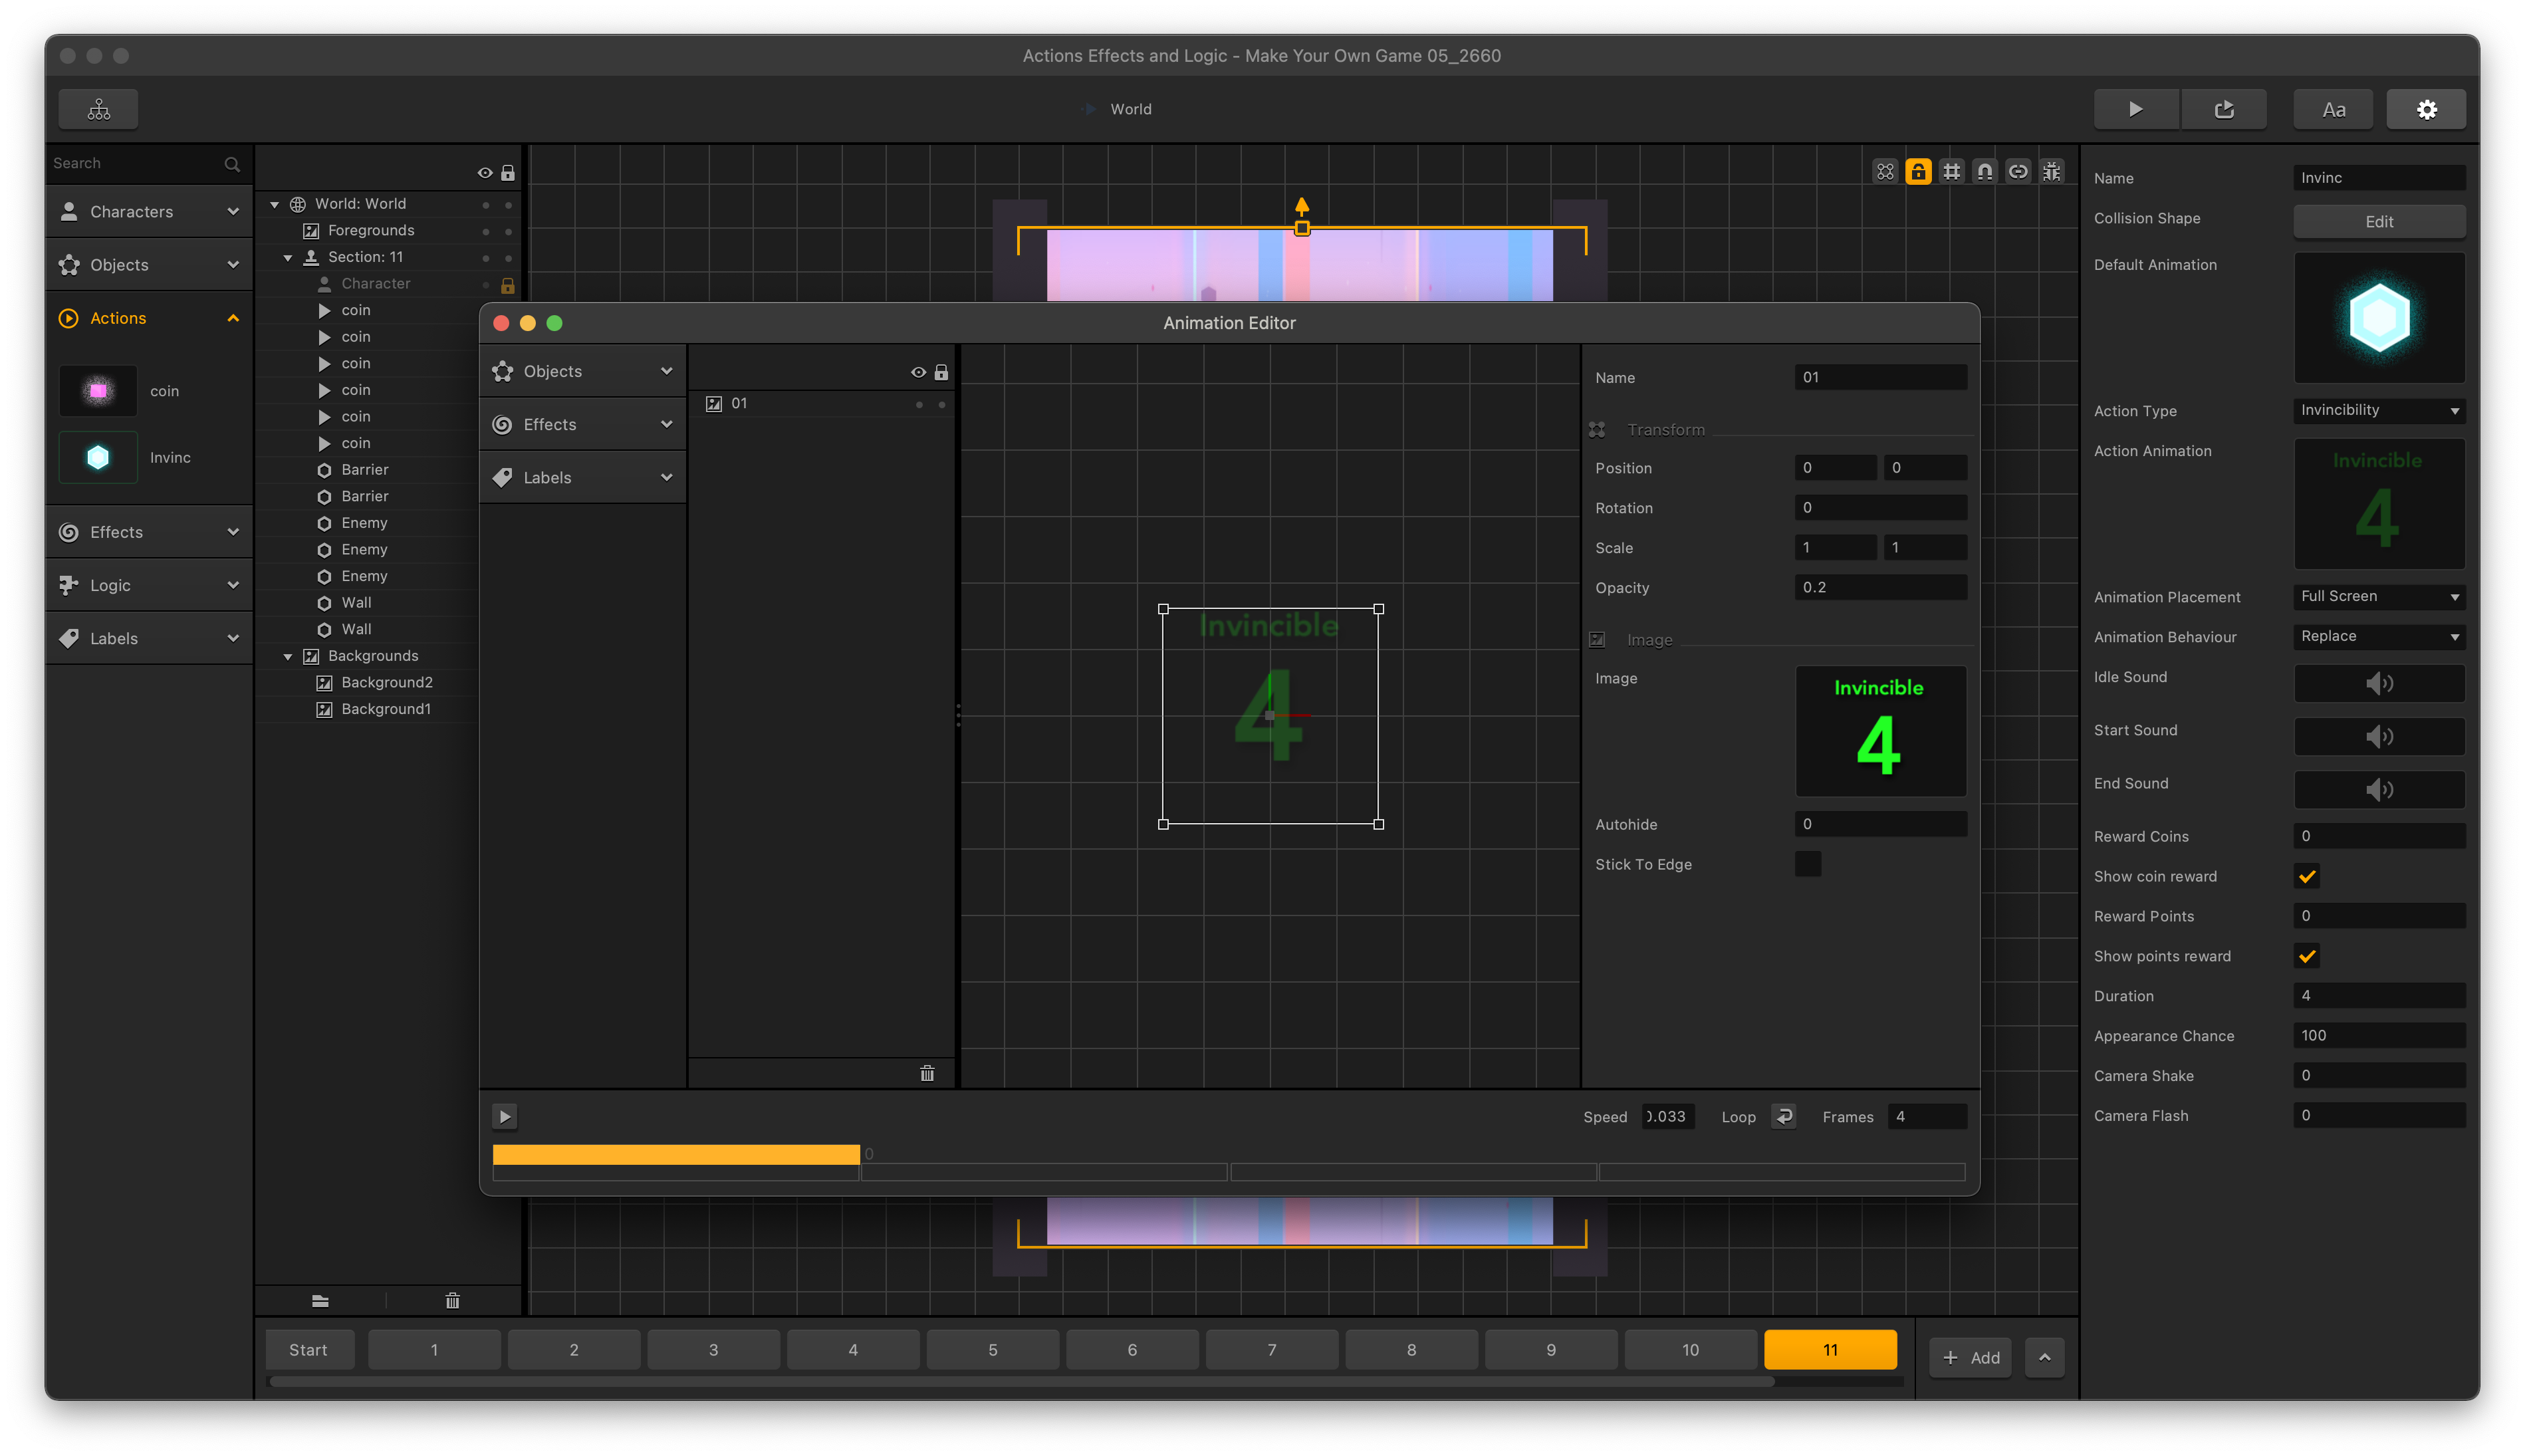
Now, we need to set the animation placement and behaviour, and also make sure the duration follows our frame timing we set up in the animation editor. In this case, duration should be 4 seconds.
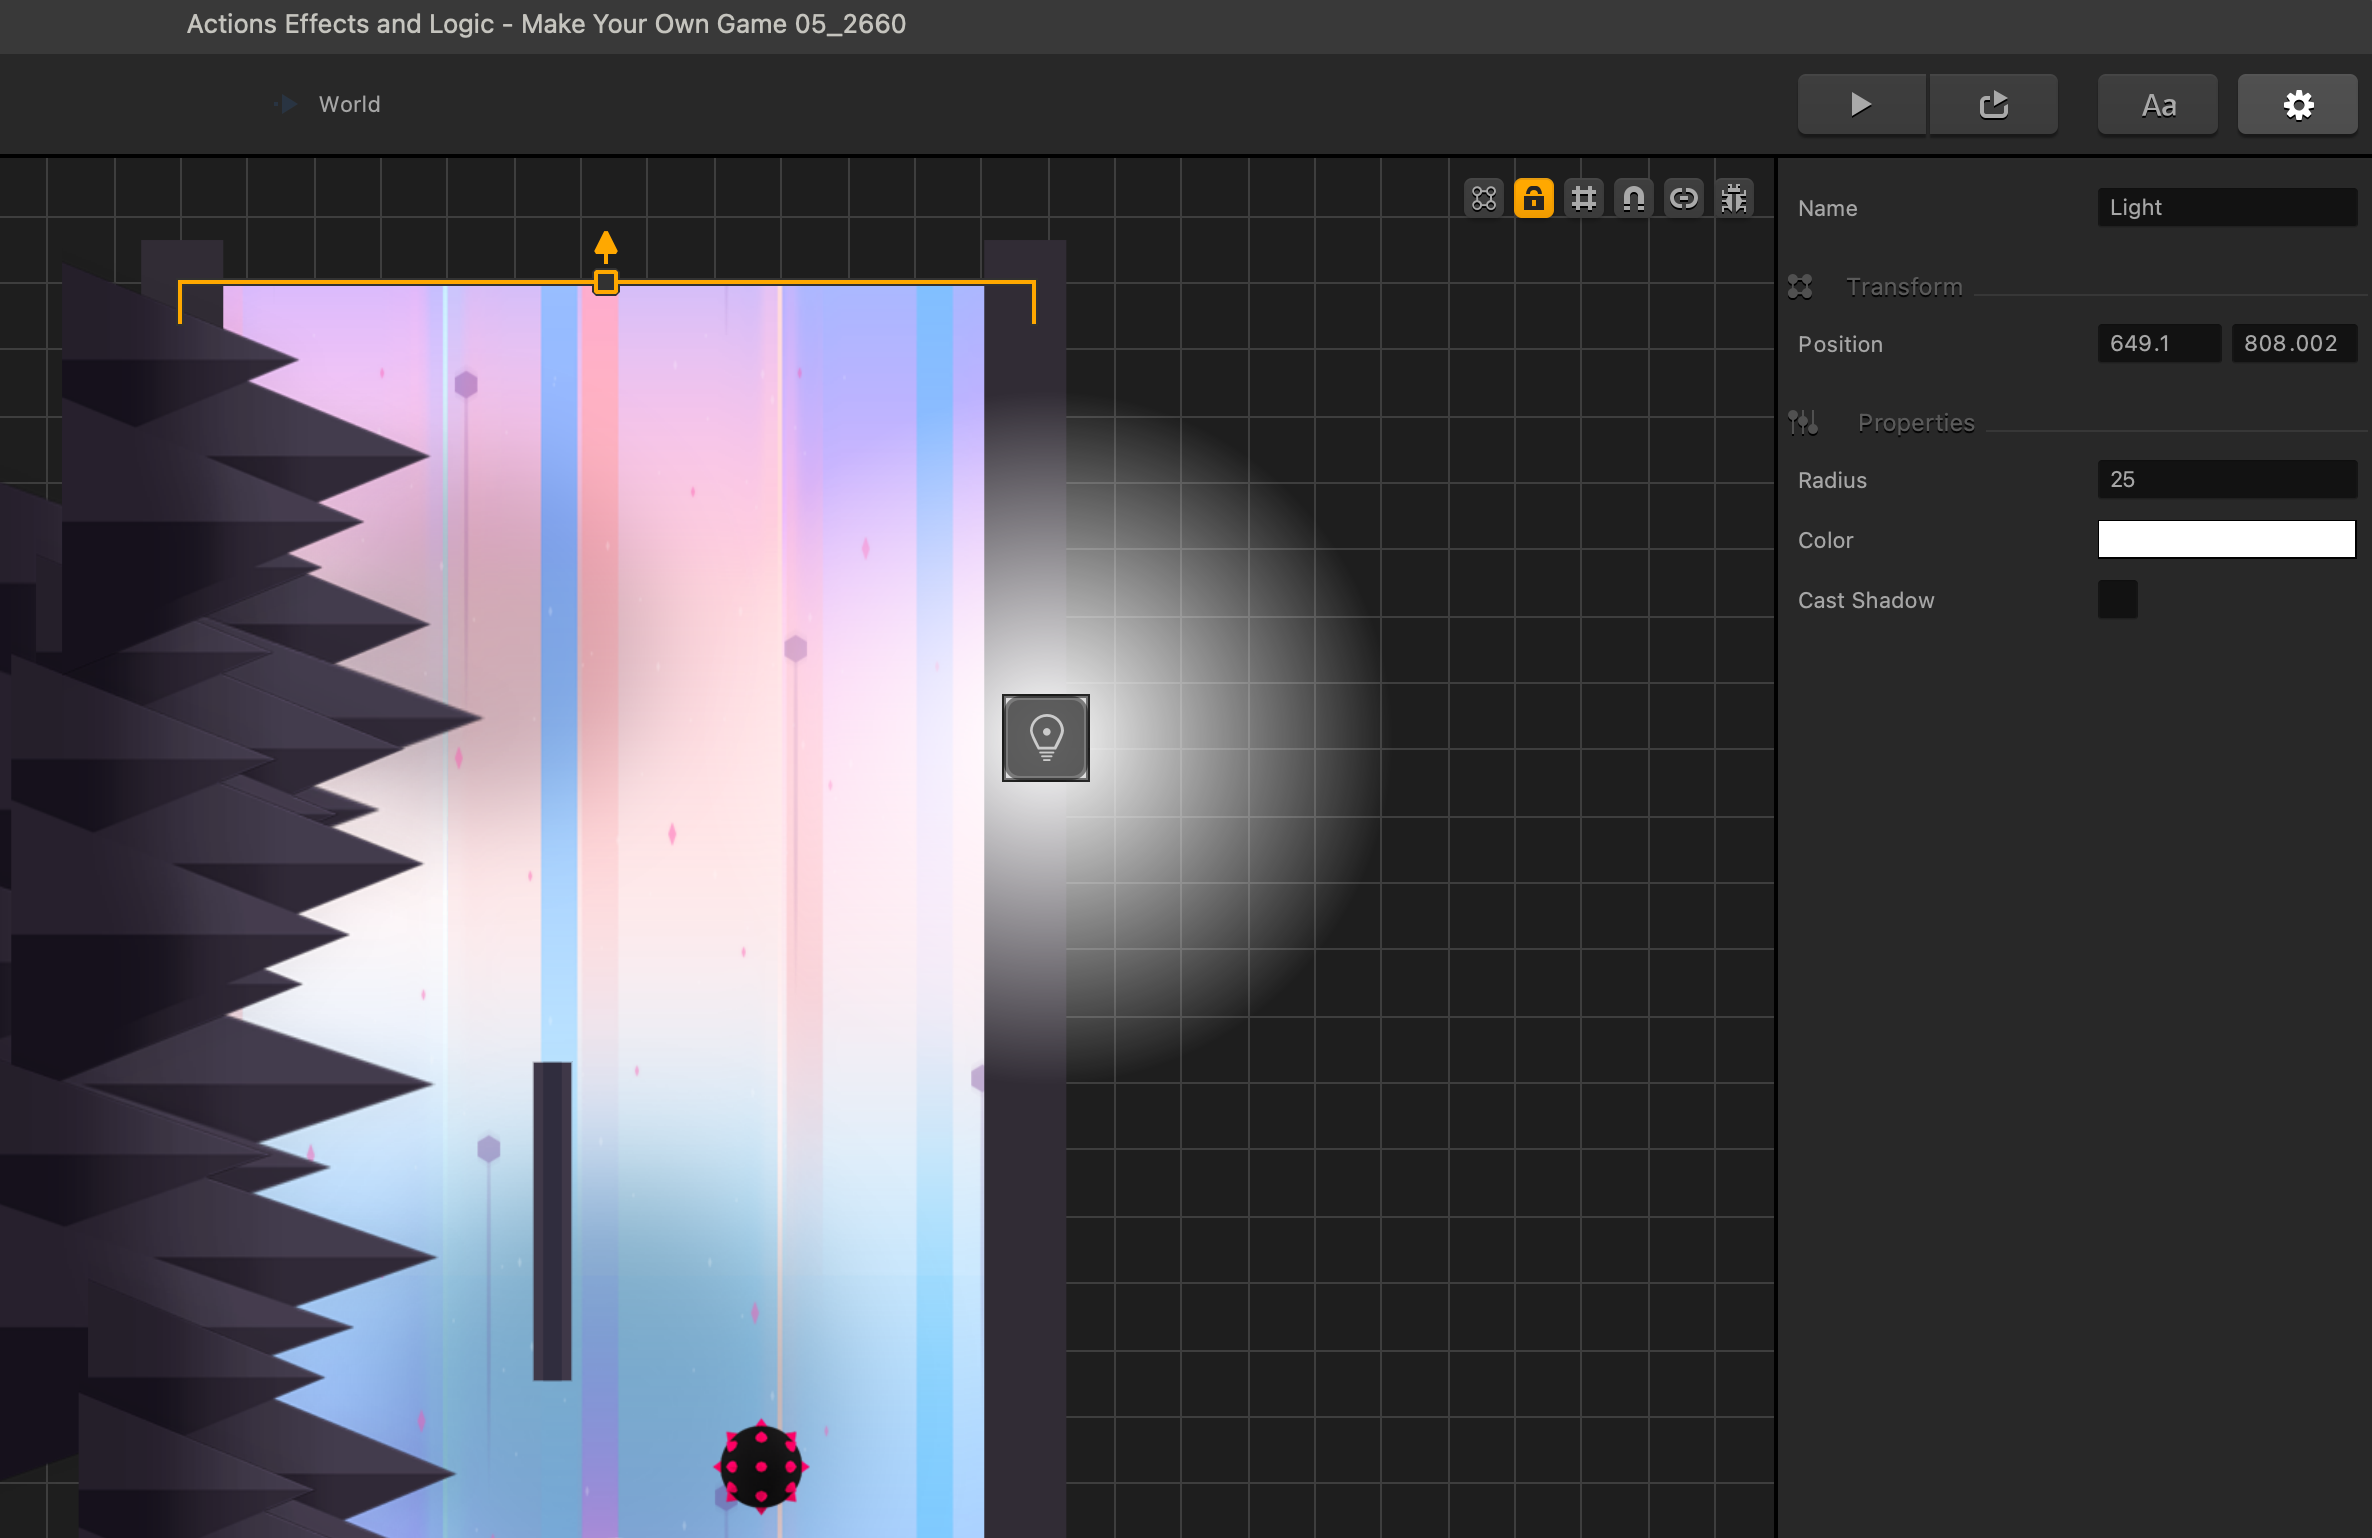
This time, let’s add some light into our scenes. Lighting is a great way to set atmosphere and to use coloring and shadows in creative ways. To the far left in the assets panel, let’s open the effects menu, and pull a light into our scene.
Once you have selected the light, you will see that there are some options we have in the options panel to the far right.
We can name the light so if we have several lights in one scene we can easily find which one we are looking for in the outliner.
Clicking on the color bar will bring up the color chooser. You can use the eyedropper to select a color, or cook up whatever you like. And our lights also have the ability to cast shadows. You can also play with opacity.
Feel free to play around with these settings until you achieve your desired effect.
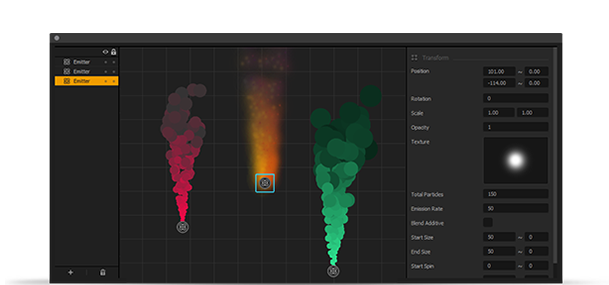
Now, let’s try and play with the Particle Effects and drag one into a scene. This is located in the same panel you dragged the light from.
Click on the Edit button in the options panel so we can play around with emitters.
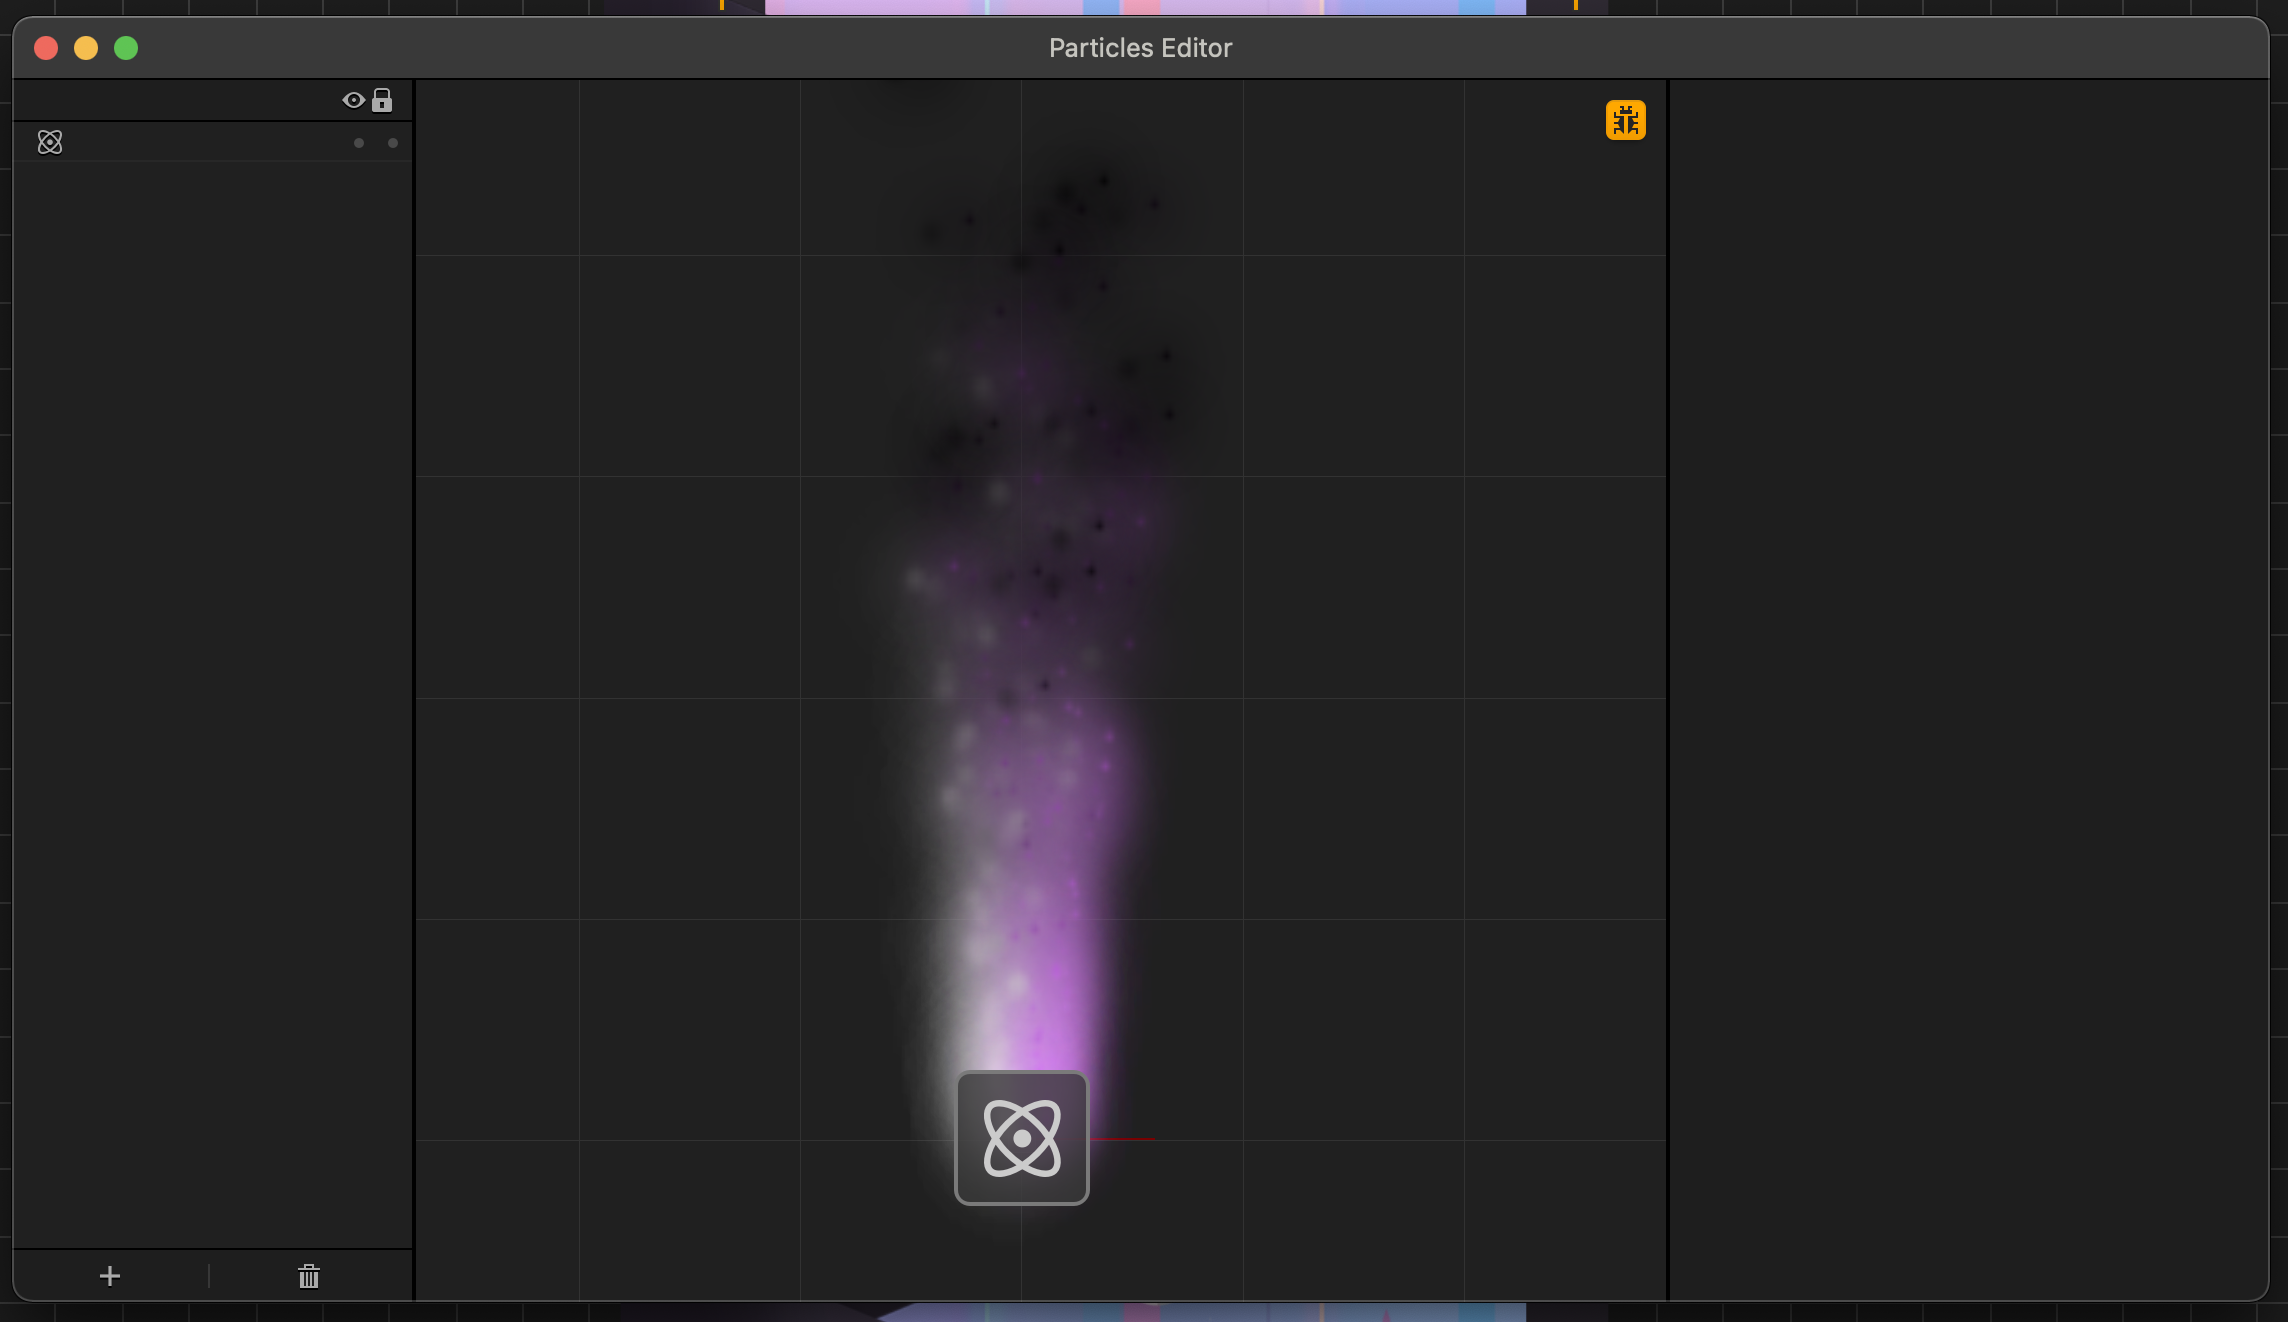
This will bring up the particles editor. Let’s use the mouse scroll button to zoom in and hold the space bar while we click and drag to move the editor around, and let’s take a look at the options in this editor.
This window can also be resized, so make it as nice and big as you like. We can move the position of the emitter around, or we can randomize the x and y value of its position. For instance, if we put a 100 in the x-axis randomizer, the particle will emit at random positions 100 units on either side of 0 along the x axis. That setting structure is likely familiar to you by now.
Let’s now change that back to 0. We can rotate the emitter, and change the scale. This is where the emitter gets really fun. Let’s drag in a new texture for the particle it is emitting.
Total particles denotes how many particles to have on the screen at any one time. So, a new particle will not be spawned unless existing ones dissipate. If we change this to three, there will never be more than three on the screen at one time
The emission rate is how fast to emit the particles. So, if we change this to one, it will emit one particle per second.
Checking blend additive means that overlapping particles will add to each other making the overlapped areas brighter. This is great for spell animations and especially flames.
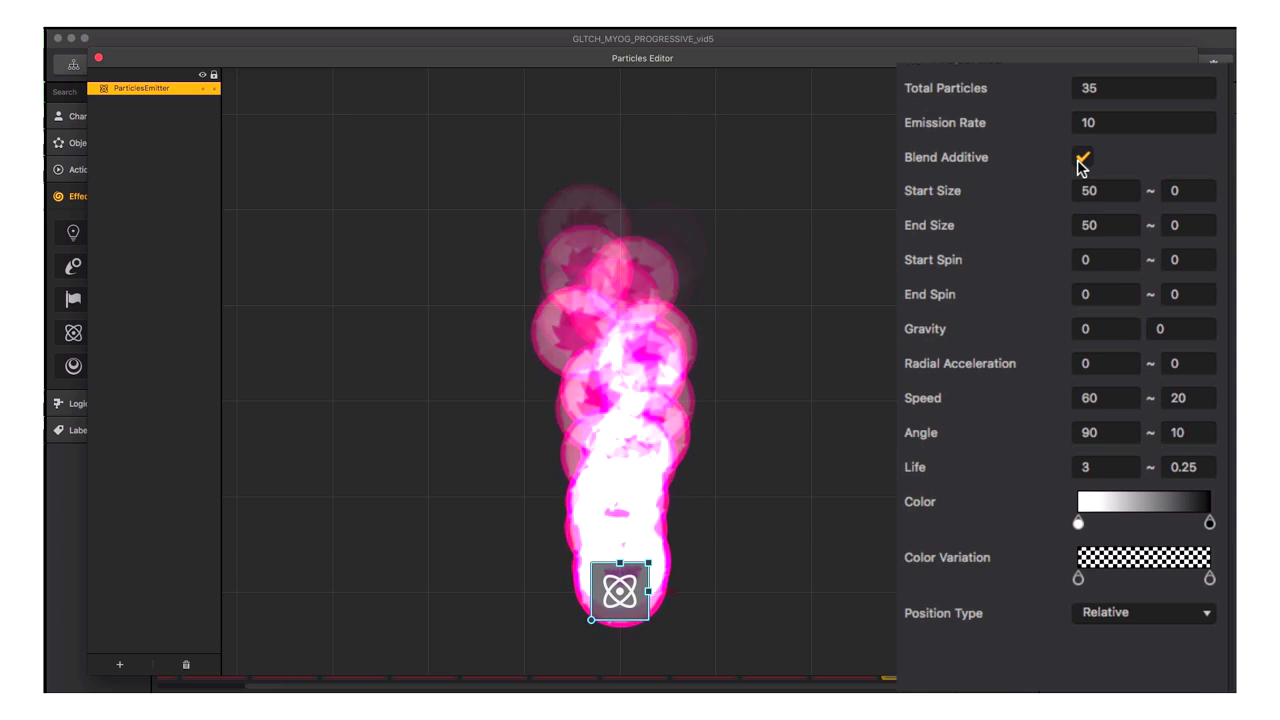 Start size is the size of the particle when it is spawned, and we can randomize that as well. So, if we put 30 as a starting point and 25 in the randomizer. We will get a bunch of different sizes coming out between five and 55. End size is the size of the particle when it dissipates if we put a 1 in the end size, every particle, no matter what size they spawned at will shrink into nothingness
Start spin is a rotation of the particle when it is spawned. So, if we put a 45 in the randomizer, you can see them coming out at different rotations. End spin is the rotation when it dissipates. So, if we change the start spin to 0 and put a 90 in the randomizer on the end spin, you can see all the particles rotate as they dissipate.
Gravity is a wind force on the particles, and these are settings for x and y, so if we put a 25 in the x-axis setting, the particles will dissipate along the positive direction of the x axis and if we put -45 in the y setting, you see that they get blown down along the negative direction of the y axis.
Radial acceleration is how much acceleration away from the point of emission is given to the particle.
Speed is the initial speed of the particles when they spawn and that can also be randomized. The angle setting is the initial direction of travel of the particles.
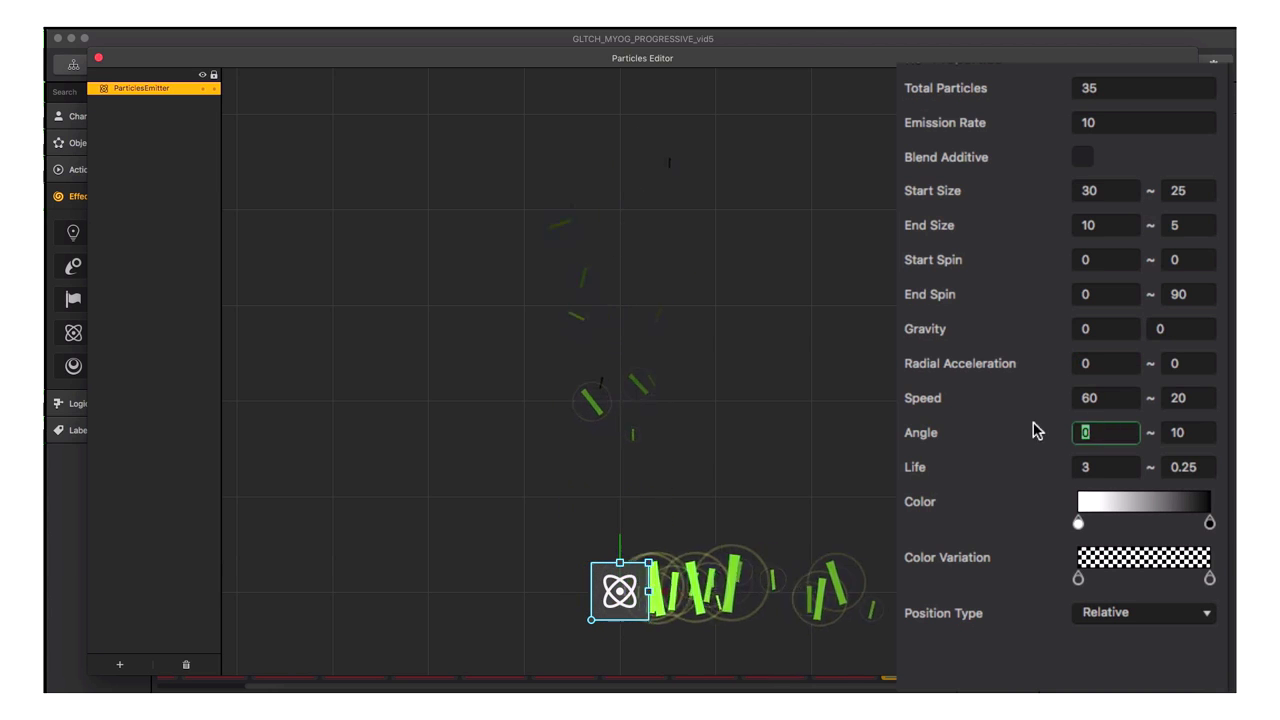 And of course, we can randomize the angle. Life is the life span of the particle before it begins to dissipate. If we make that 1 and remove the randomizer, you can see that the particles last one second before they end.
Color is the tint of the color when it is spawned, and when it dissipates. . Color variation is a setting to allow the variation in the color setting, so, if we put yellow in our starting variation, some will be tinted yellow. And finally, the position type of the particles is how the particles will act once emitted from a moving emitter.
We can also add particles to the animations of the character. Open the character’s default animation editor and drag in a particle and send it back. Open the editor for the emitters.
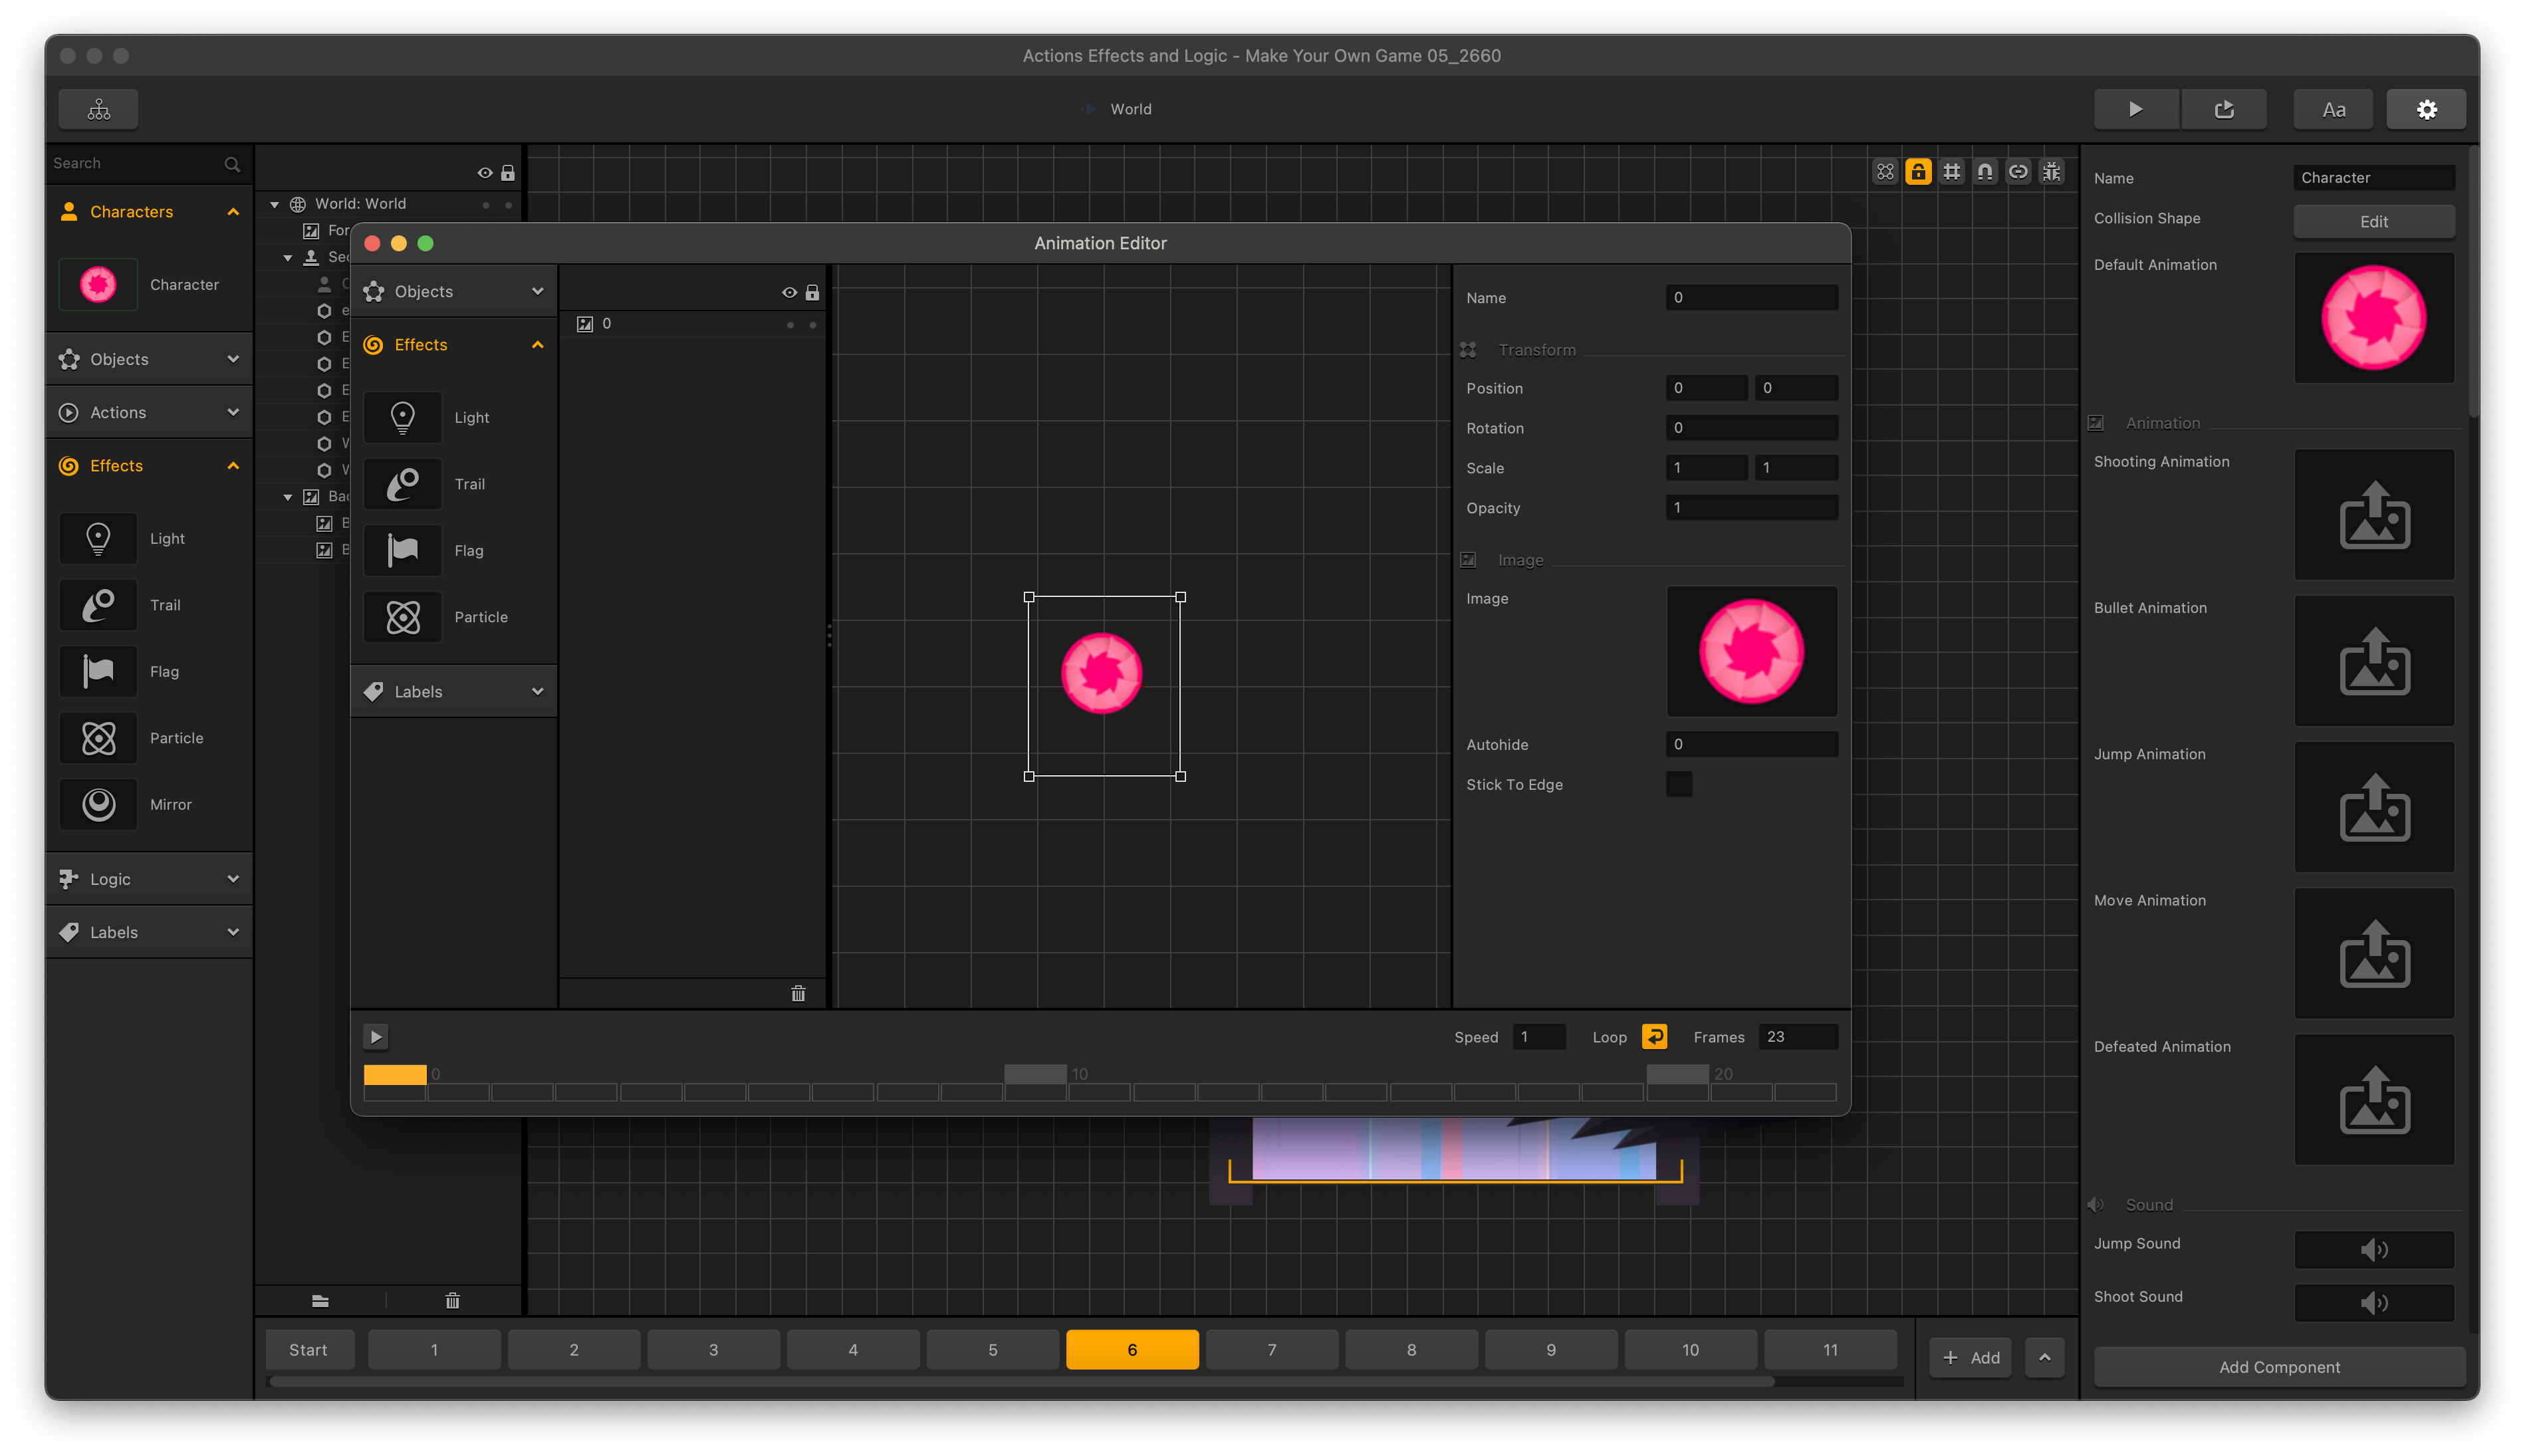
At the bottom, under Position Type, Grouped means the particles will move and dissipate in a manner that looks attached directly to the emitter.
Free means that when the particles emit are free to dissipate based on where they spawned.
Relative means the particles dissipate in a manner that looks attached to the game world and not the emitter.
This setting most closely resembles real world emission, like the exhaust on a motor vehicle.
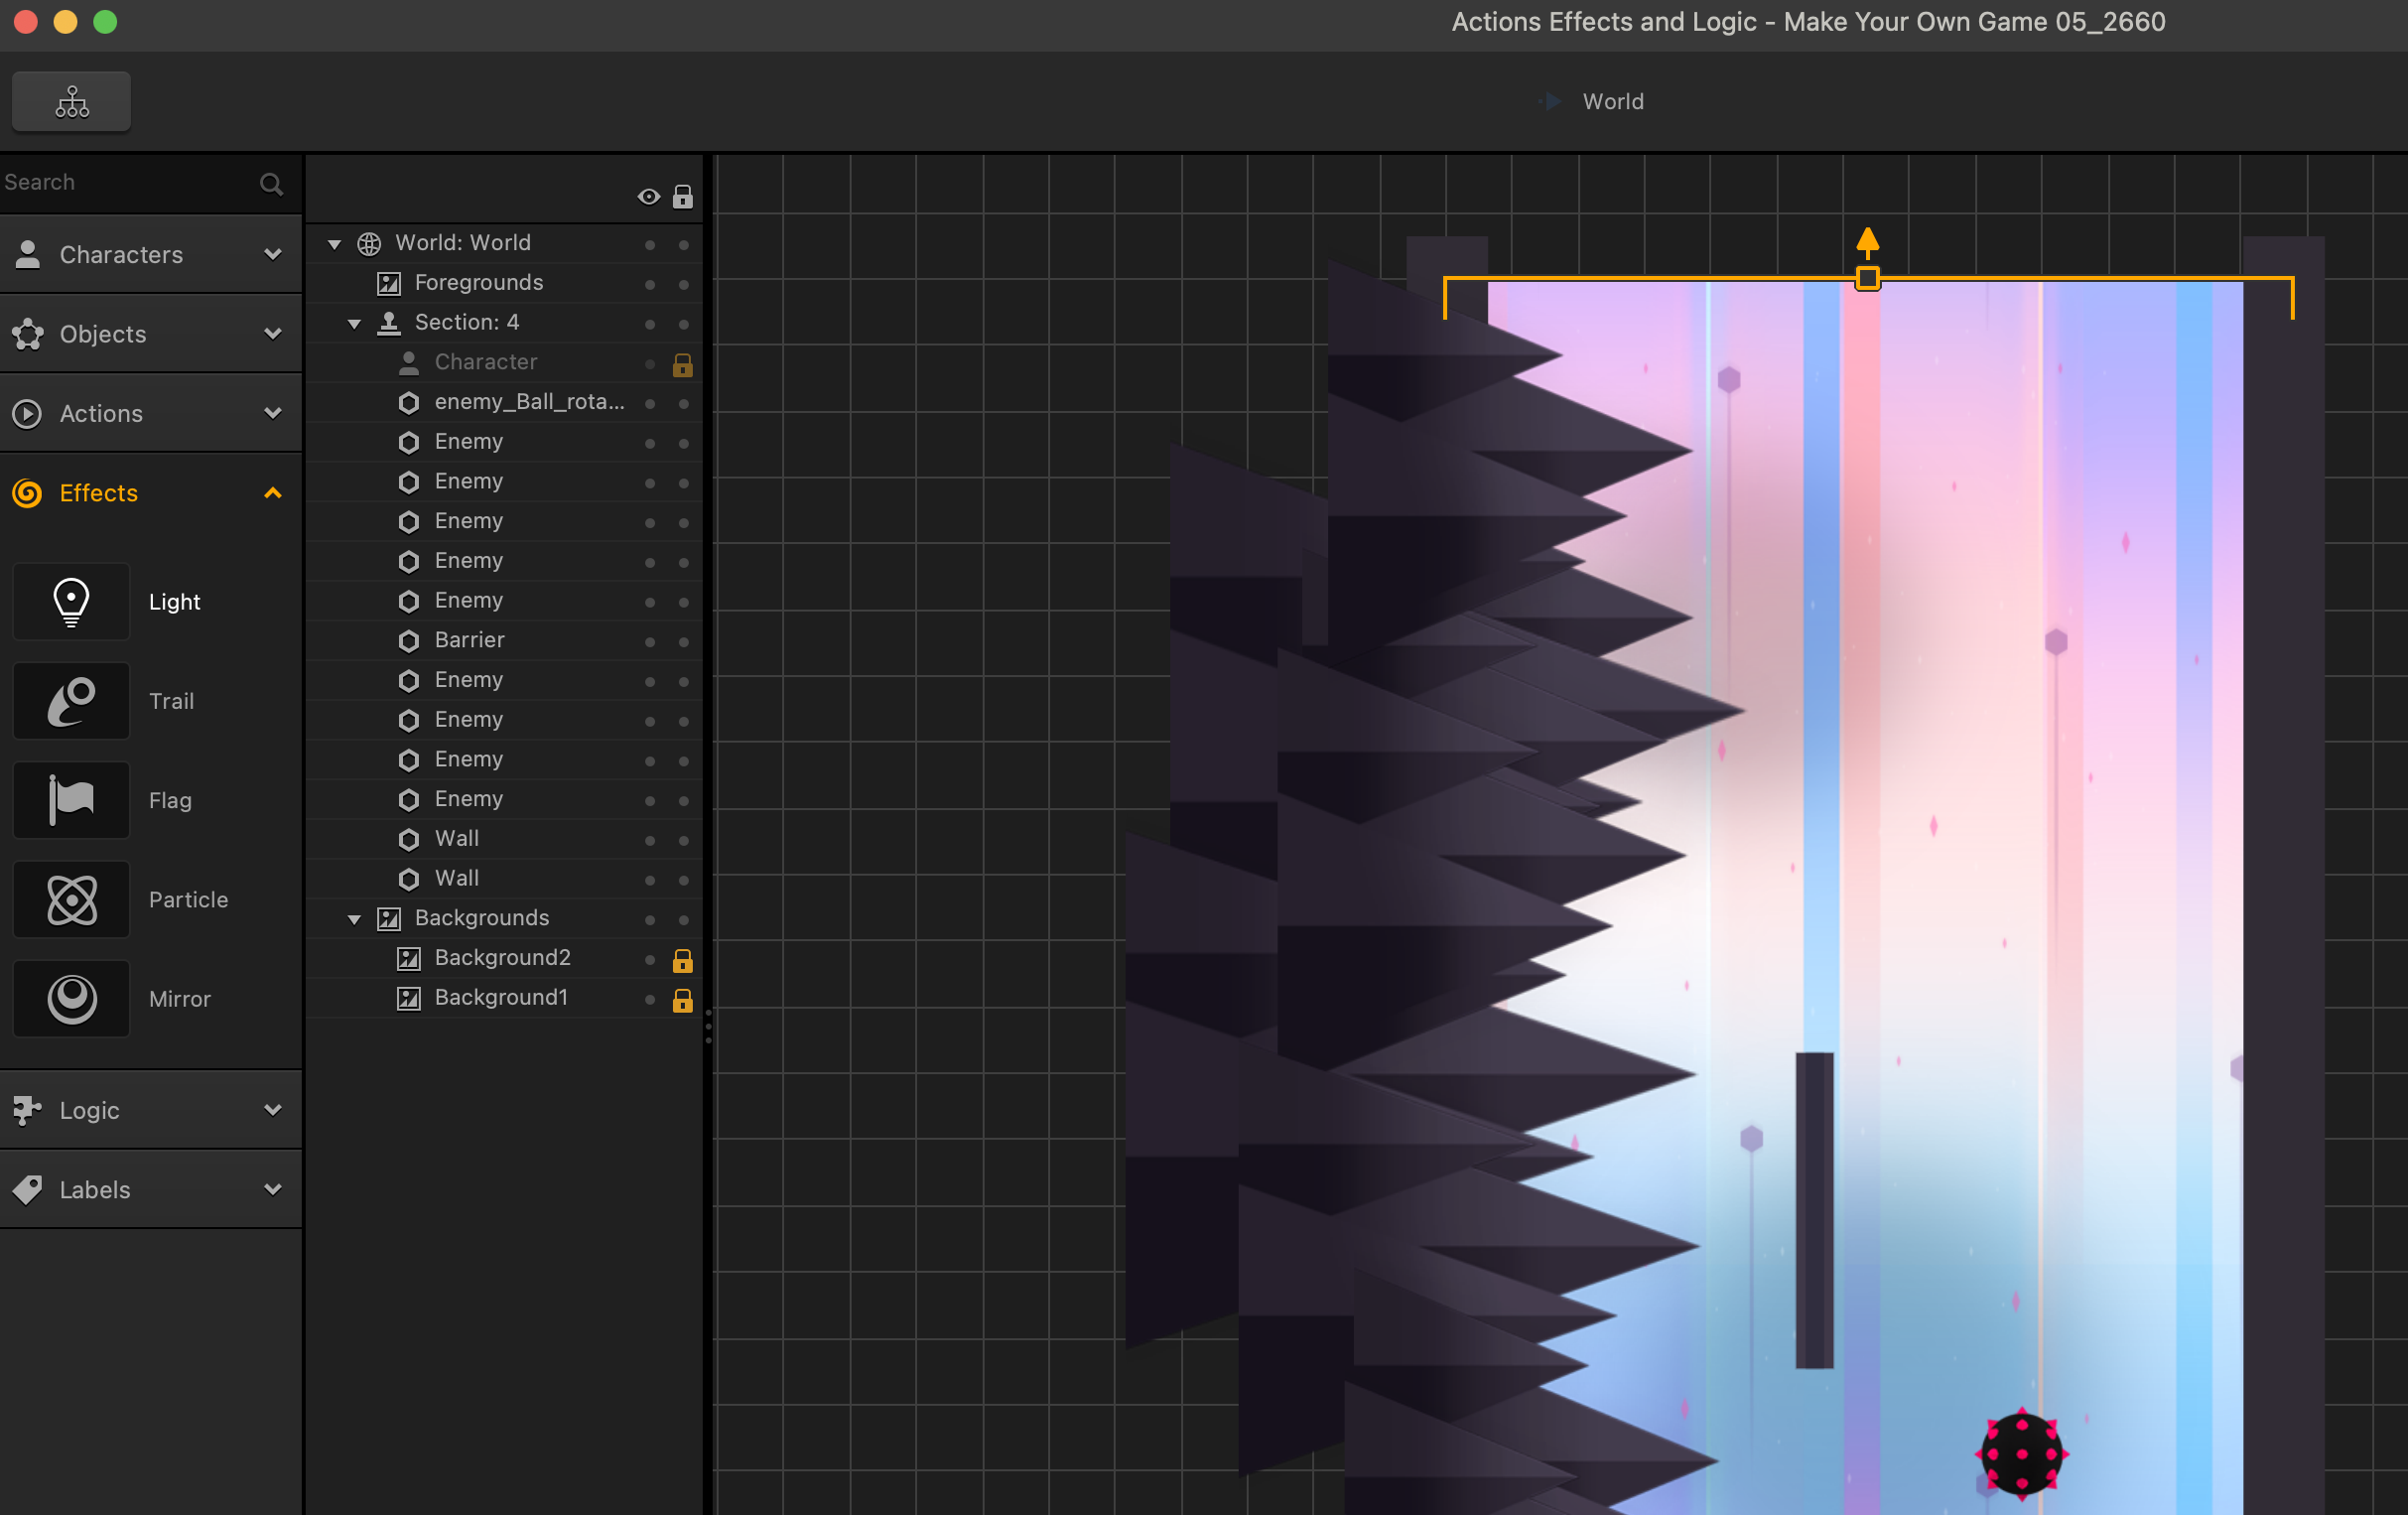
Now, let’s talk about Logic. This is where objects that dynamically control game objects appear. It is located under Effects and above Labels on the main bar to the left. There is currently a single Logic item available. They are not the only thing that can be used to alter game play during game play. Actions can also be used to alter game play settings.
Let’s go ahead and delete the particle effect from our character’s default animation, and also delete the particle emitter in our scene, and drag in a new one before we talk about logic pieces.
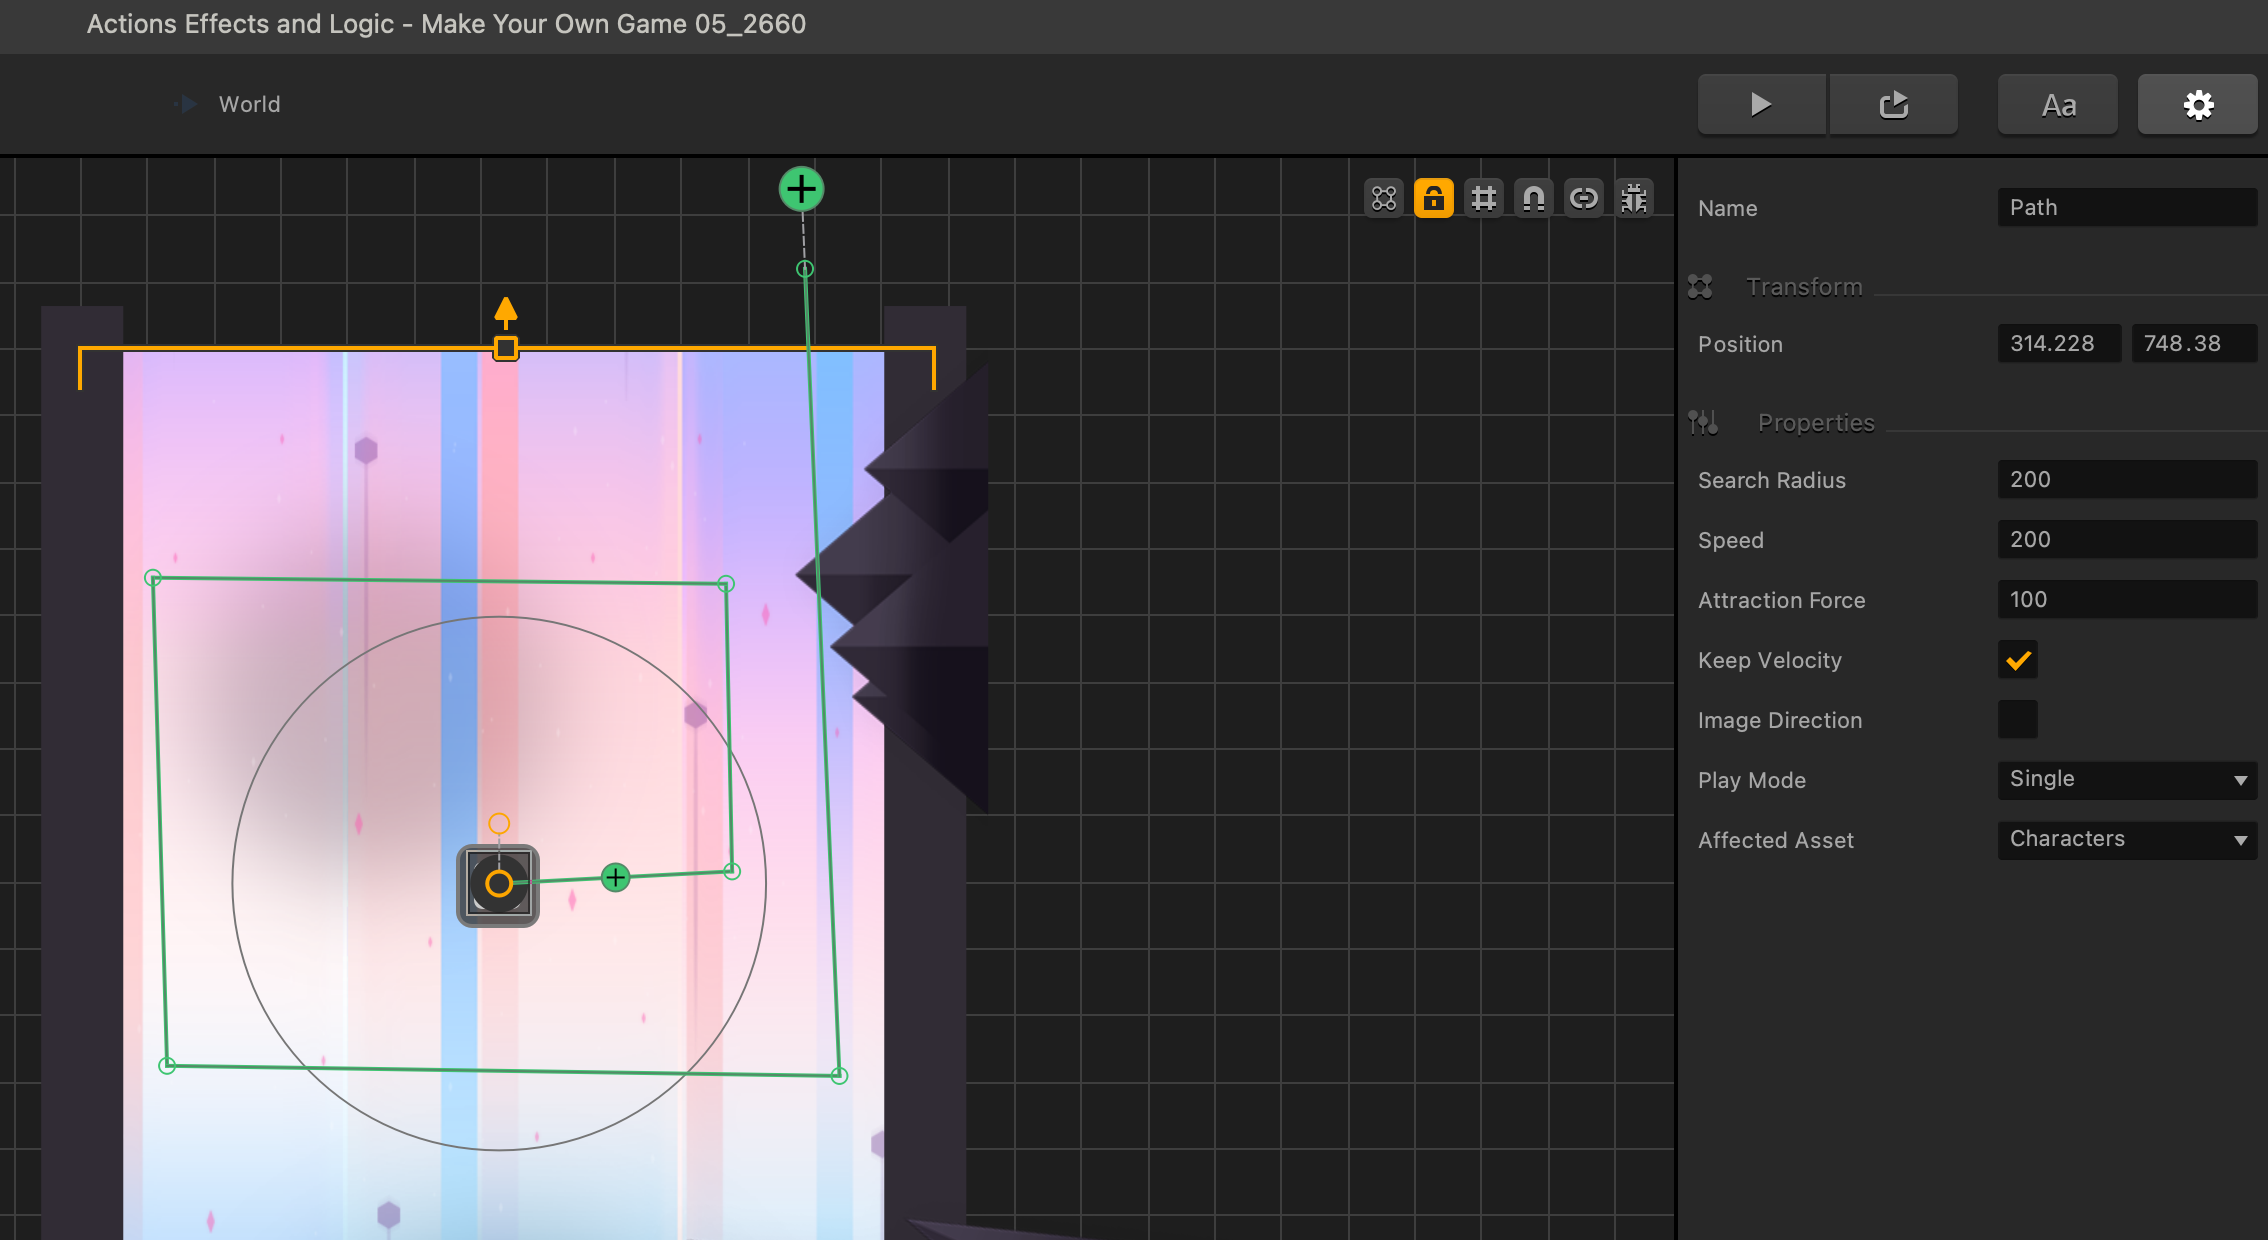
Logic pieces are items that dynamically control game objects. A path logic piece can force objects to follow its path or force our character to follow its path as well. Let’s drag a path into our scene right above our particle emitter. After dragging onto the design screen, you will see the Path represented as a green line.
Note the following elements:
Click this to select the Path: ![]()
Click the larger version of this ![]() to add a segment to the end of the line. Click any of the smaller versions in the middle of a segment split a segment in two (if they are not currently visible, the split action will still occur).
to add a segment to the end of the line. Click any of the smaller versions in the middle of a segment split a segment in two (if they are not currently visible, the split action will still occur).
Click and drag a corner like this to move it ![]()
Having the path selected, we see the options in the options panel. We can name our path or adjust its position. The search radius is how close an object or character needs to be to the starting point of the path and order for it to be forced to follow it you can see the change easily if we put 500 in there. Put 200 because if the search radius is larger than the path it could force us to never leave it.
The speed is how fast affected assets will travel along the path. Let’s add 200 in there. And attraction force is how much magnet force is in each joint in the path which maxes out at 100. So, low numbers will make for some very interesting gravitational effects.
As a path is simply a magnet force which can be escaped from with certain gameplay styles, keep velocity allows the object or character to return to its original velocity once it exits the path.
Image direction is used to keep the graphic of the affected asset pointing in the direction of travel. Play mode allows for some variations on how the path is followed. And finally let’s select our character in the affected asset option.
Let’s test this path out:
The path is invisible in the game but if we turn on debug mode, we can peek behind the curtain and see the character follow the path.

Now let’s copy and paste some elements from other scenes, and drag some coins in along the path, and see it all come together.