Google Play Basic Settings
- Login to Google Play Developer Console ( https://play.google.com/apps/publish )
- On the top of the page, click [Add new application]
- on the popup dialog, select the default language (English UK or US recommended), enter in your game title, and press [Upload APK]
- on the next screen, press [Get licence key]
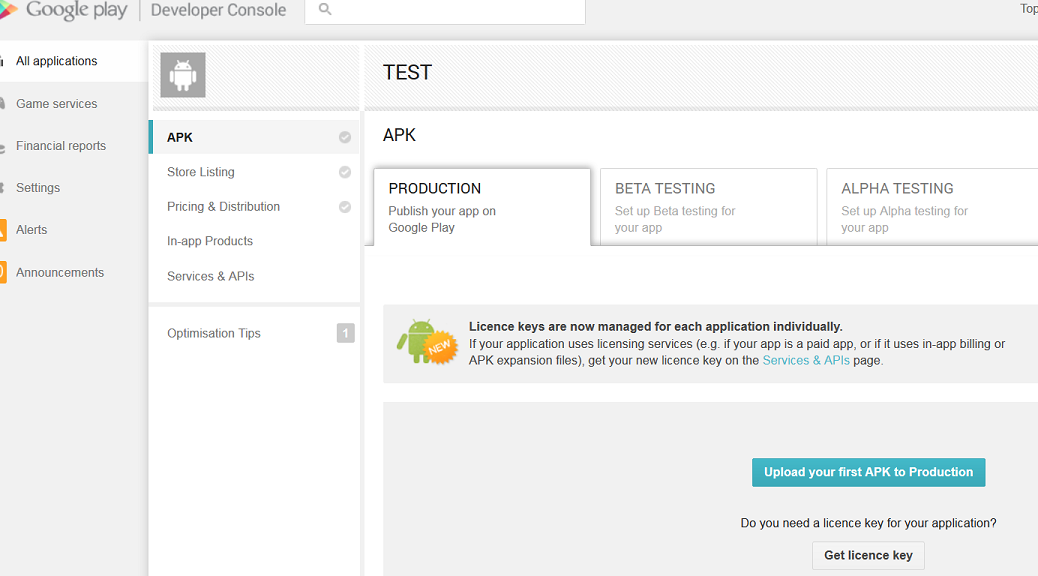
- on the next screen, half-way down under YOUR LICENCE KEY FOR THIS APPLICATION heading, you will find your licence key for this game (show blanked out in the screenshot). Using your mouse, select all of this text, and copy it to the clipboard ([CTRL]-C or [Command]-C for PC or Mac, respectively).

- Within Buildbox, Project Settings screen, paste this text into the Licence Key field for Google Play Store.
- Press [Use Google Play game services in this app] if you plan to use Game Services (the screen that comes up can also be accessed by pressing[Game Services] on the main menu to the left of screen at any time).
Google Game Services (Optional – only if using Game Services Leaderboards)
- Continue from the above section, or simply press the [Game Services] menu button on the left of screen – under [All Applications].
- Press [+ Add new game]. Not really labelled well. This is to create a game entry in Game Services – which in some respects is a mini app-store of its own, which users can browse on their phone, pad, etc. Games can be Android or various other platforms including Web-based.
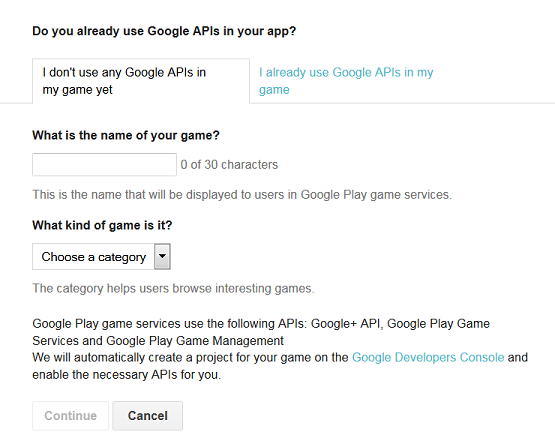
- Enter the name of the game in the main language you are using – ie English. It should simply match what you are using the Play Store.
- Pick a game category for listing in Game Services.
- Press [Continue] to create your entry, and take you to the Game Details section.
- Enter in a description.
- Leave Category and Saved Games options as they are.
- Upload an icon – 512×512 pixels including transparency if you like, and a feature graphic at 1024×500 with no transparency allowed.
- Click on Linked apps in the side menu
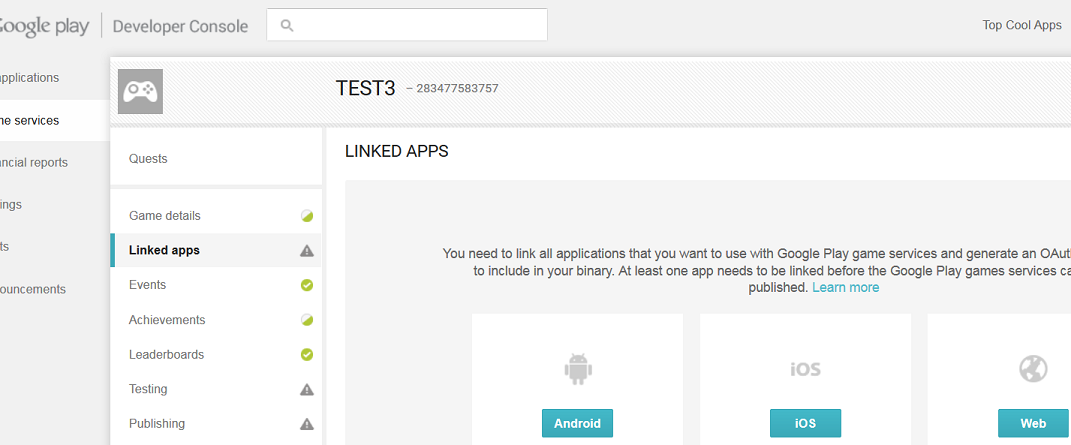
- Click [Android]. This will bring up another screen, as shown:
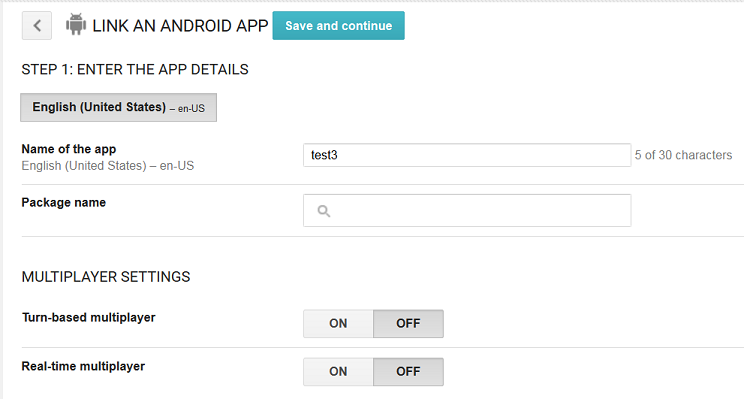
- You can leave these settings exactly as they are, with the exception of Package Name. Click Package Name and you will see a list of games setup for Google Play. Click on one of these, to select it.
- Click [Save and continue].
- on the next screen, click [Authorise your app now].
- you should now see the Application ID. Copy this and paste it into the Google Play ID field in the Buildbox settings screen.
- From the menu on the left, click on Leaderboards. You will now see a list of leaderboards – most likely blank at this stage.
- Click [Add new leaderboard].
- On the next screen you will have various settings – most of which you should leave at the defaults. Enter in a name, and upoad an icon – 512×512 pixels in size. When done press [Save as draft].
- On returning to the leaderboard list, you will see there is a value for your new leaderboad, in the ID column. Copy this value, and paste it into Buildbox Leaderboard ID for the Google Play settings.
- Some time before launching the game, you will need to publish the leadarboad. Do this by clicking on the [Ready to test] button on top-right of screen. It will give you some options, and you should click on [Publish Game]. Note: this is entirely separate to your Google Play game publish settings! Also, if you cannot publish, click on Publishing in the left-side menu. It will have a list of things you need to complete before publishing.